A new life for a changing table
While getting the nursery ready for our newborn, we came across this interesting piece of furniture. This is the story of the baby changing table and dresser restoration.

Or vice versa: on restoring an antique baby changing table for our newborn.
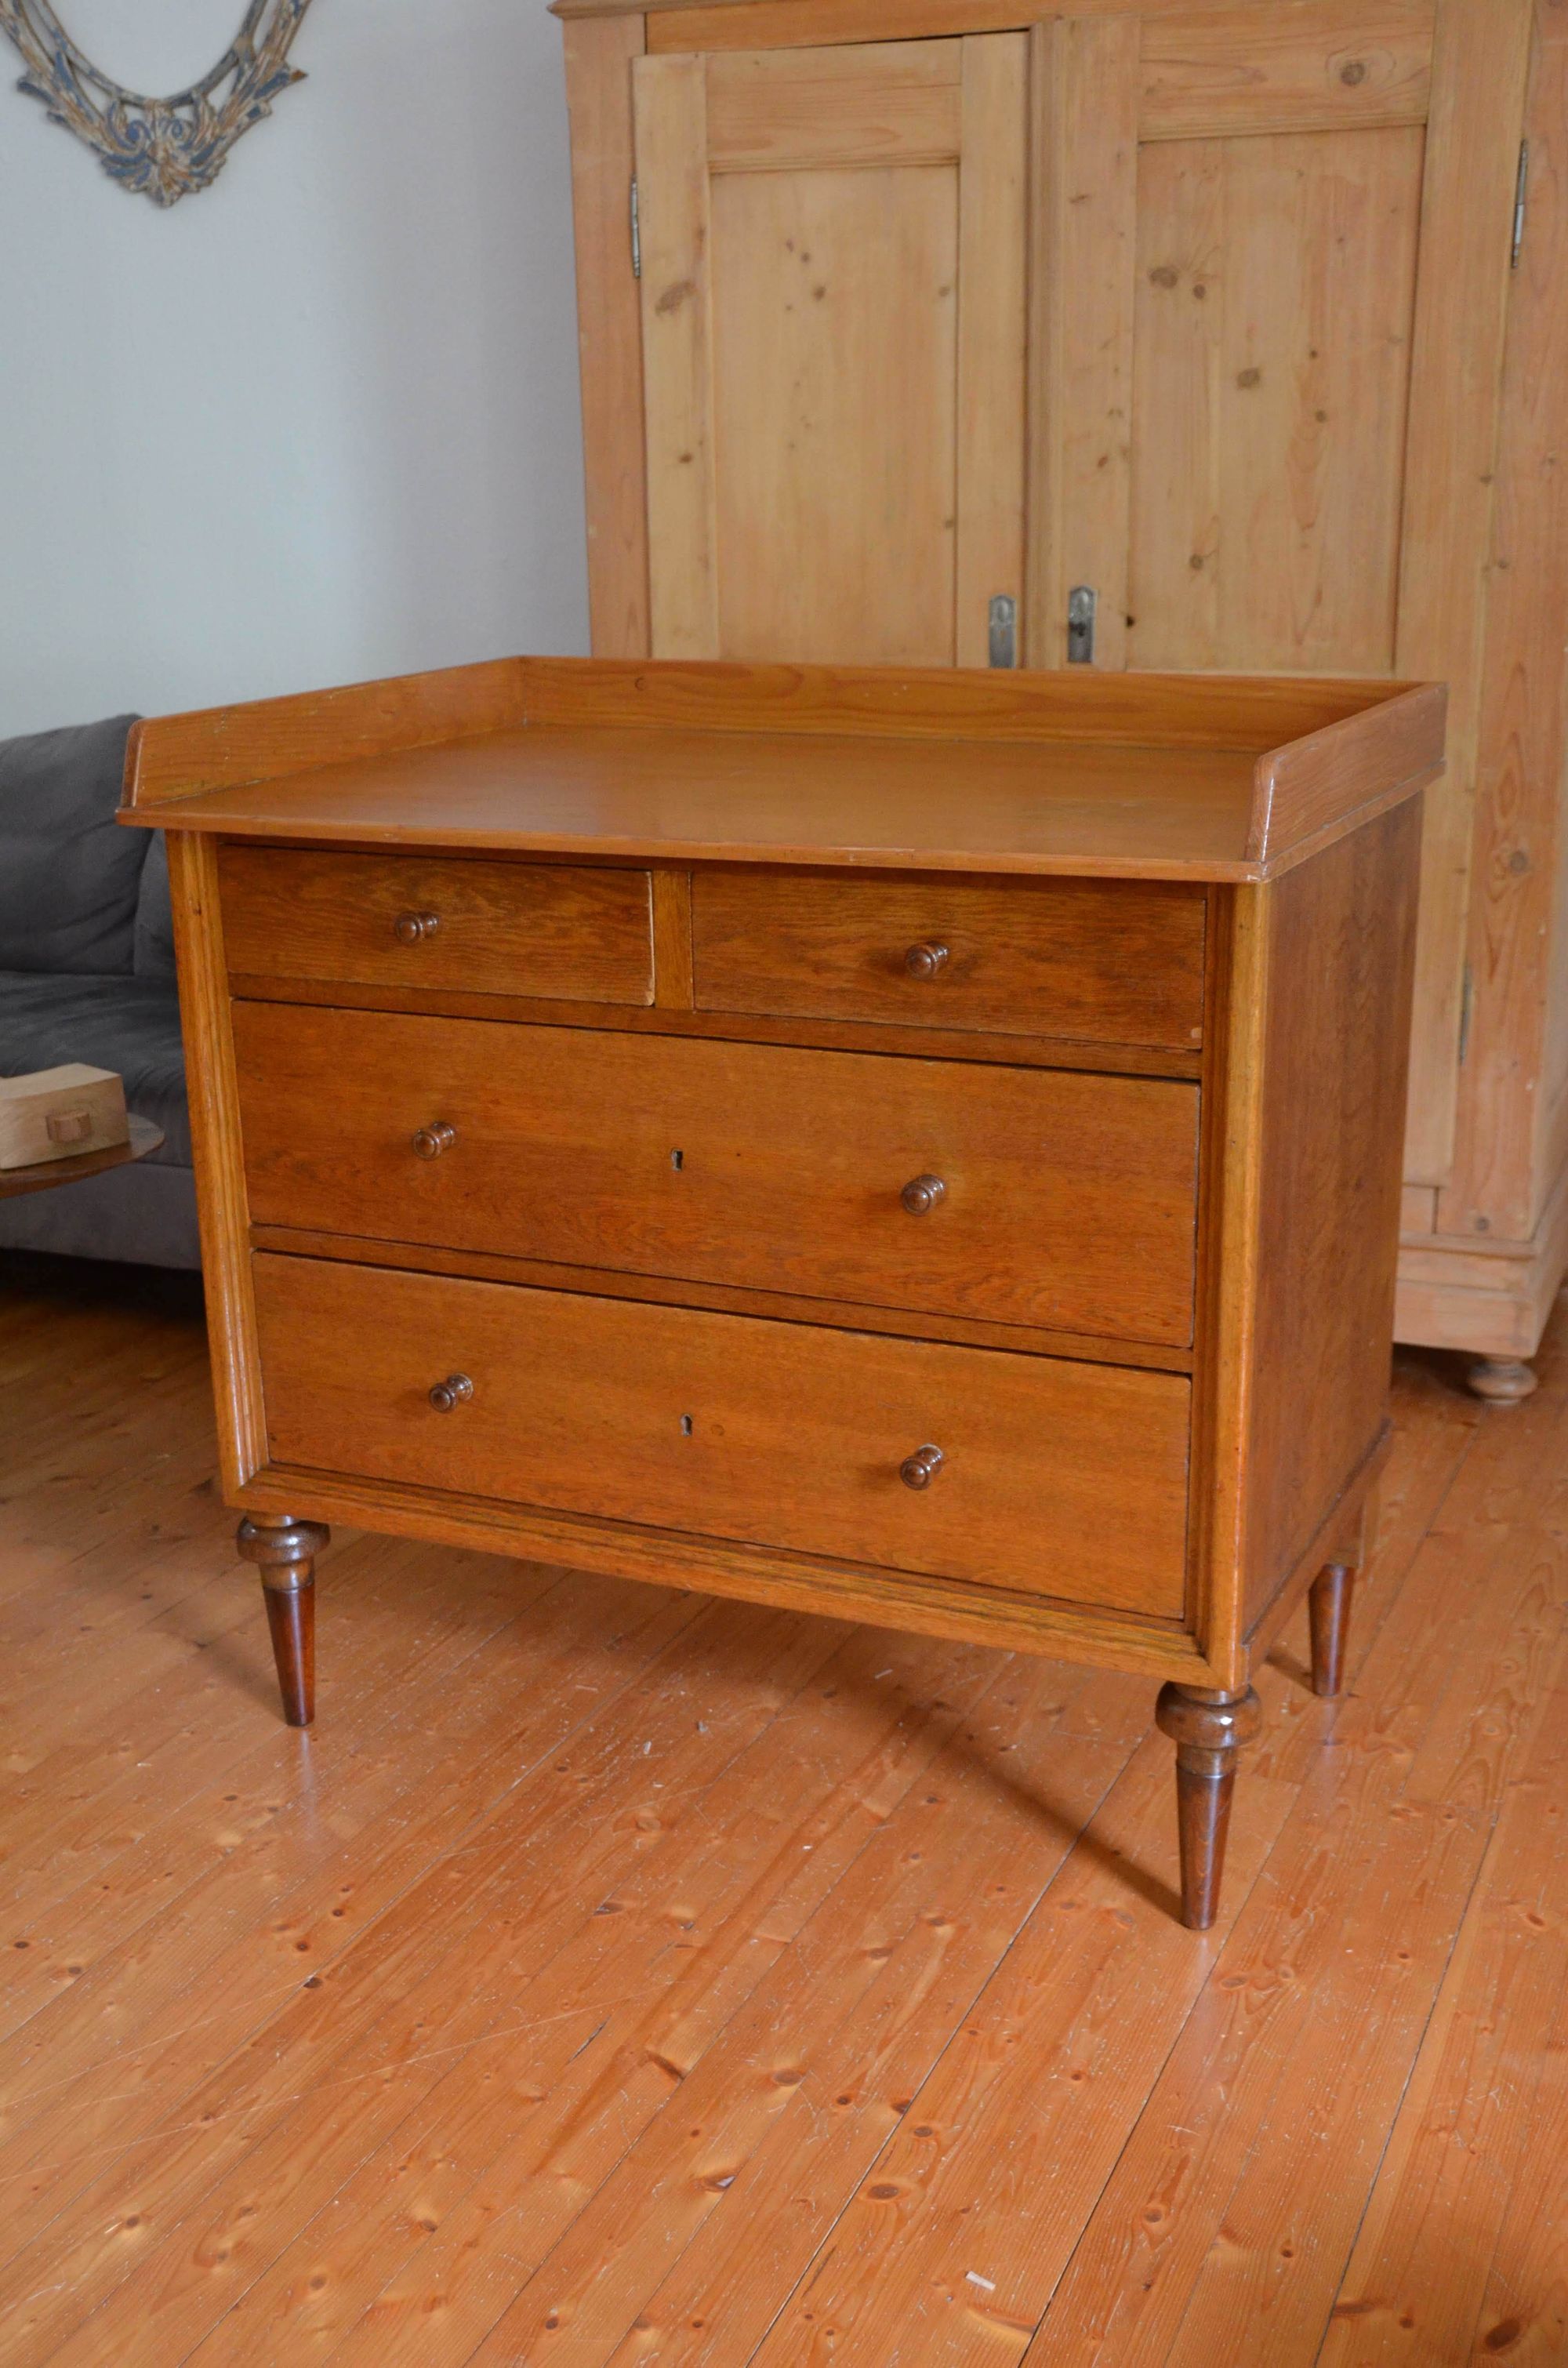
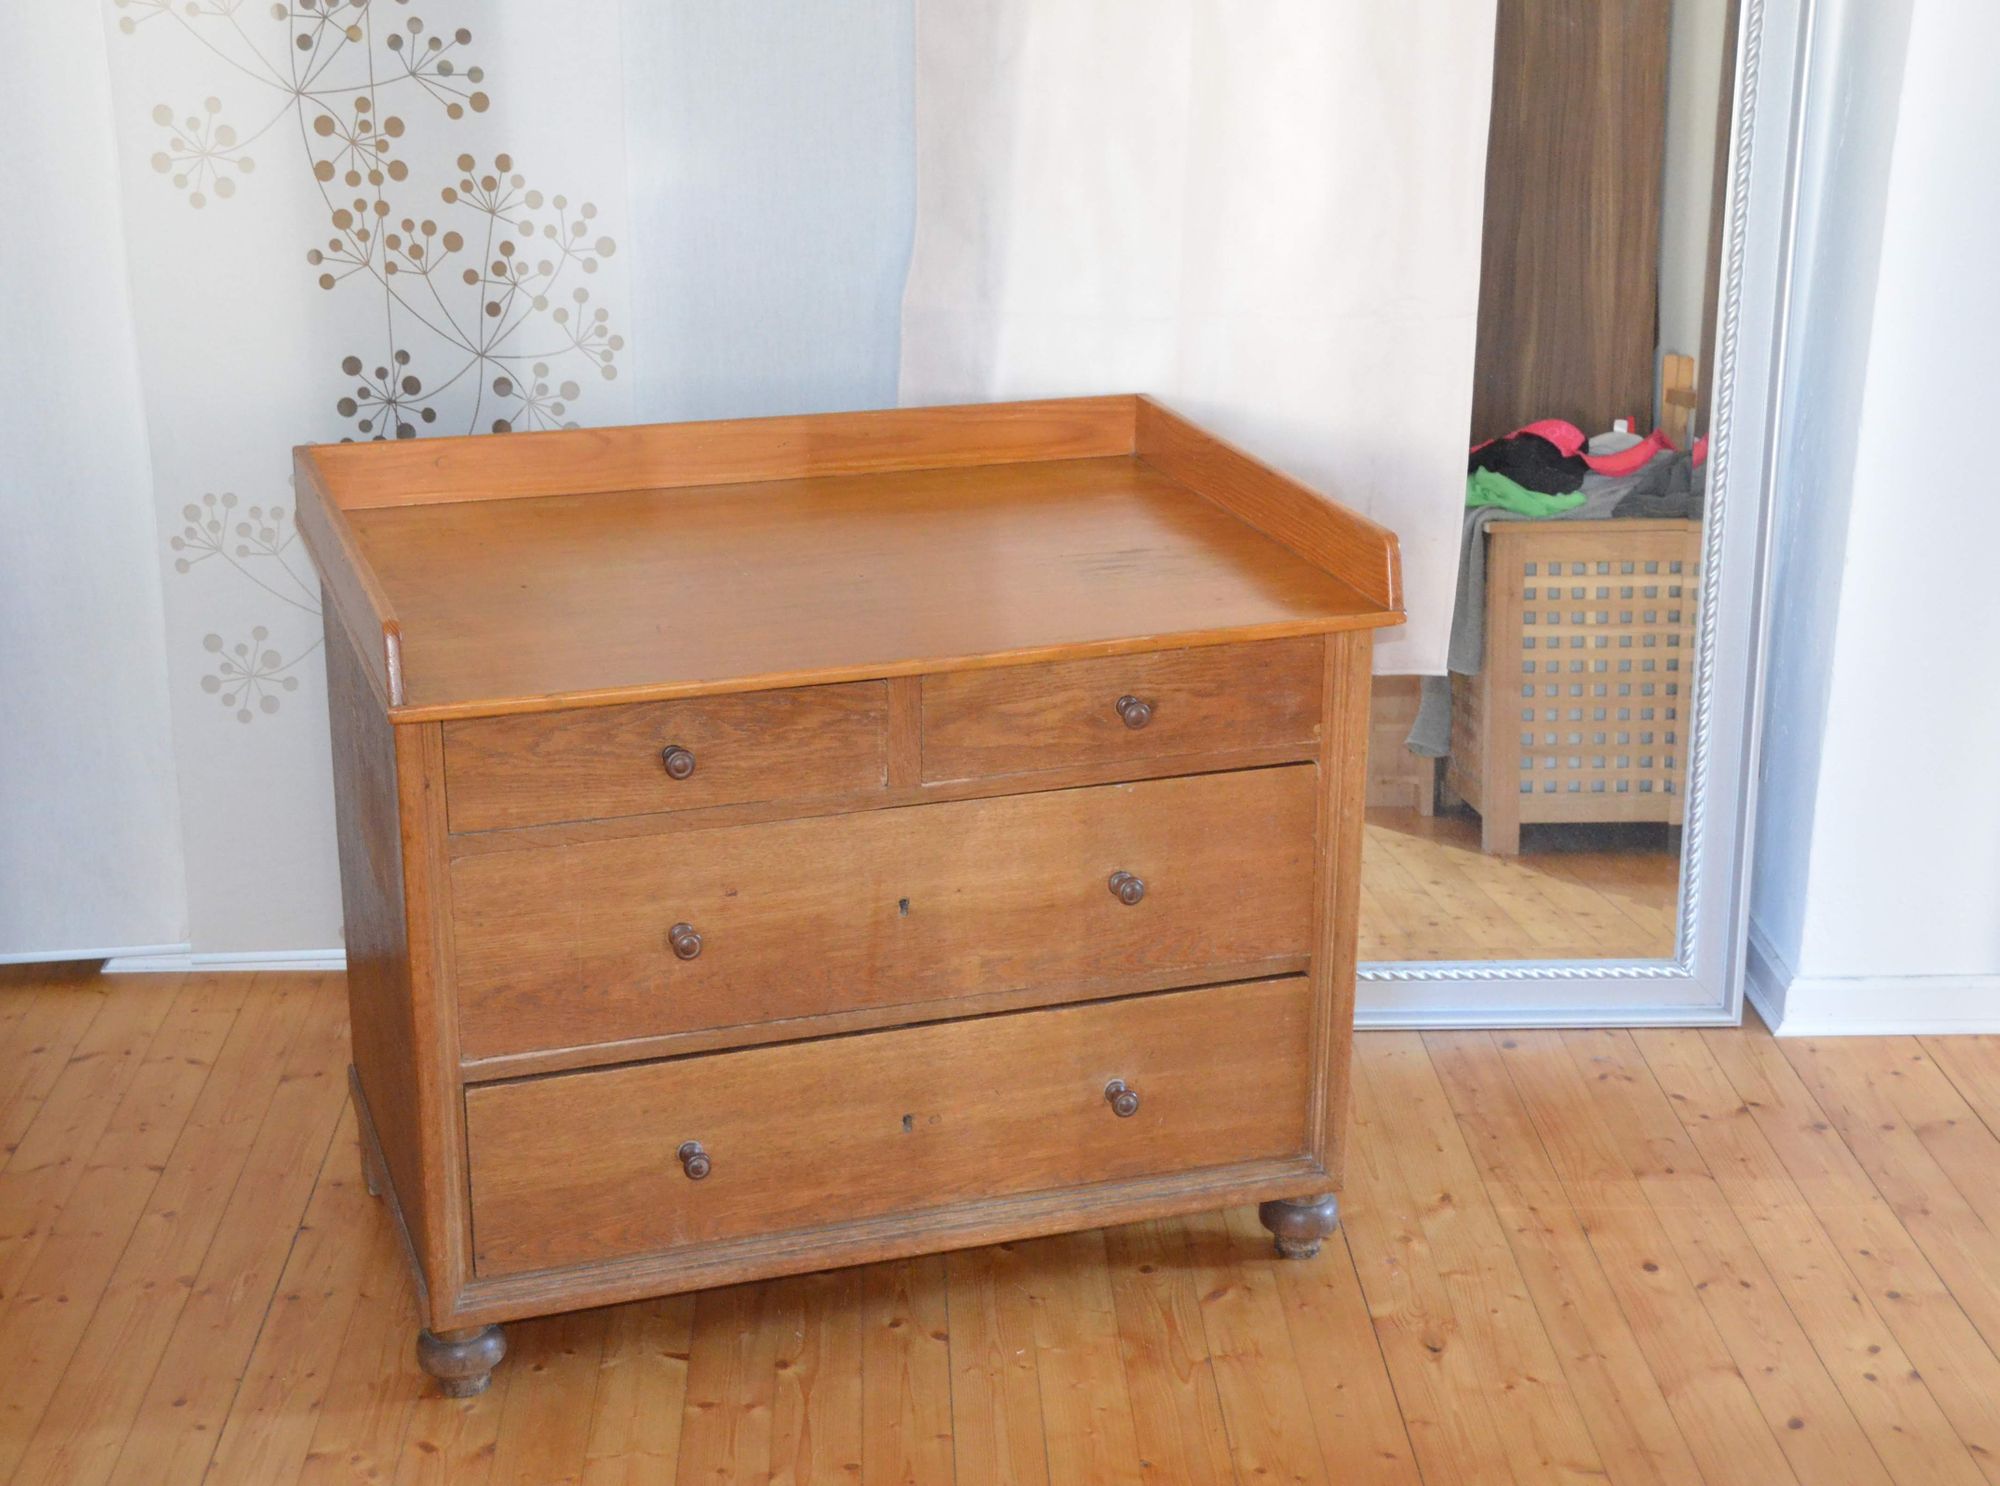
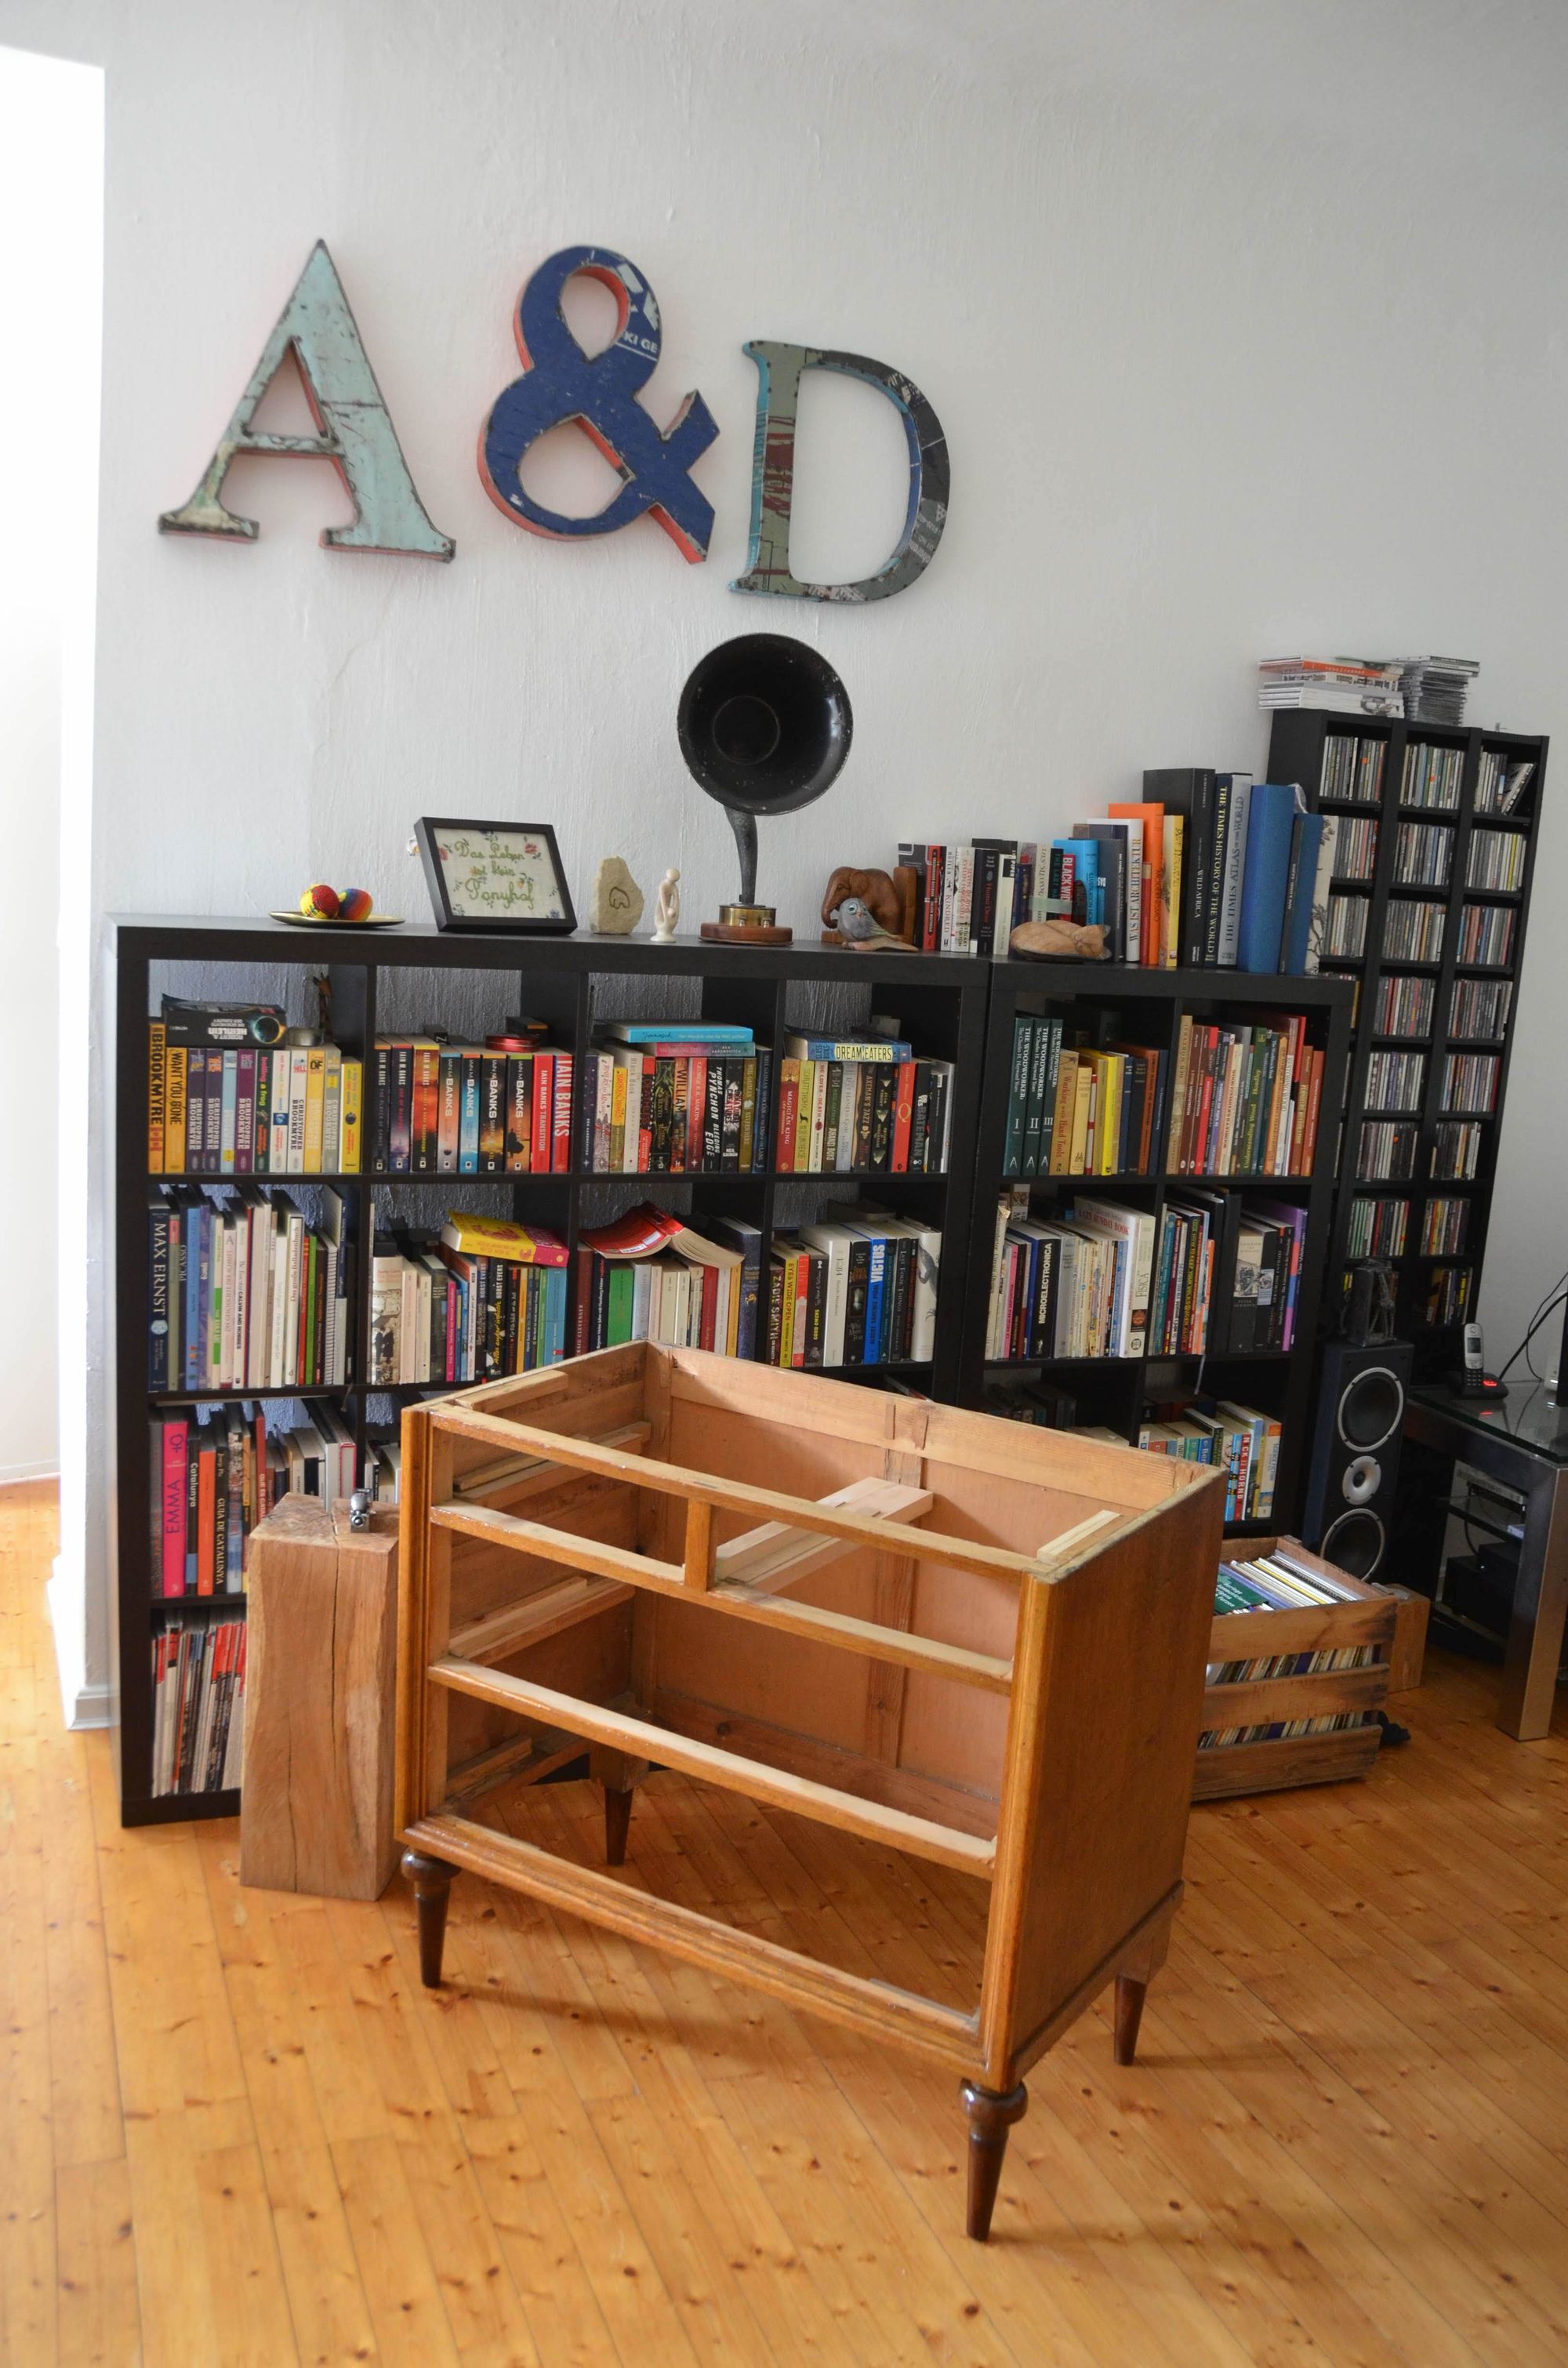
As we were getting the room ready for our first child, we came across this interesting piece of furniture. The previous owner told us that the original chest of drawers must have been built in the 50s or 60s. It had been repurposed with the tabletop at some point and used in the family ever since.
We took it home on the spot.
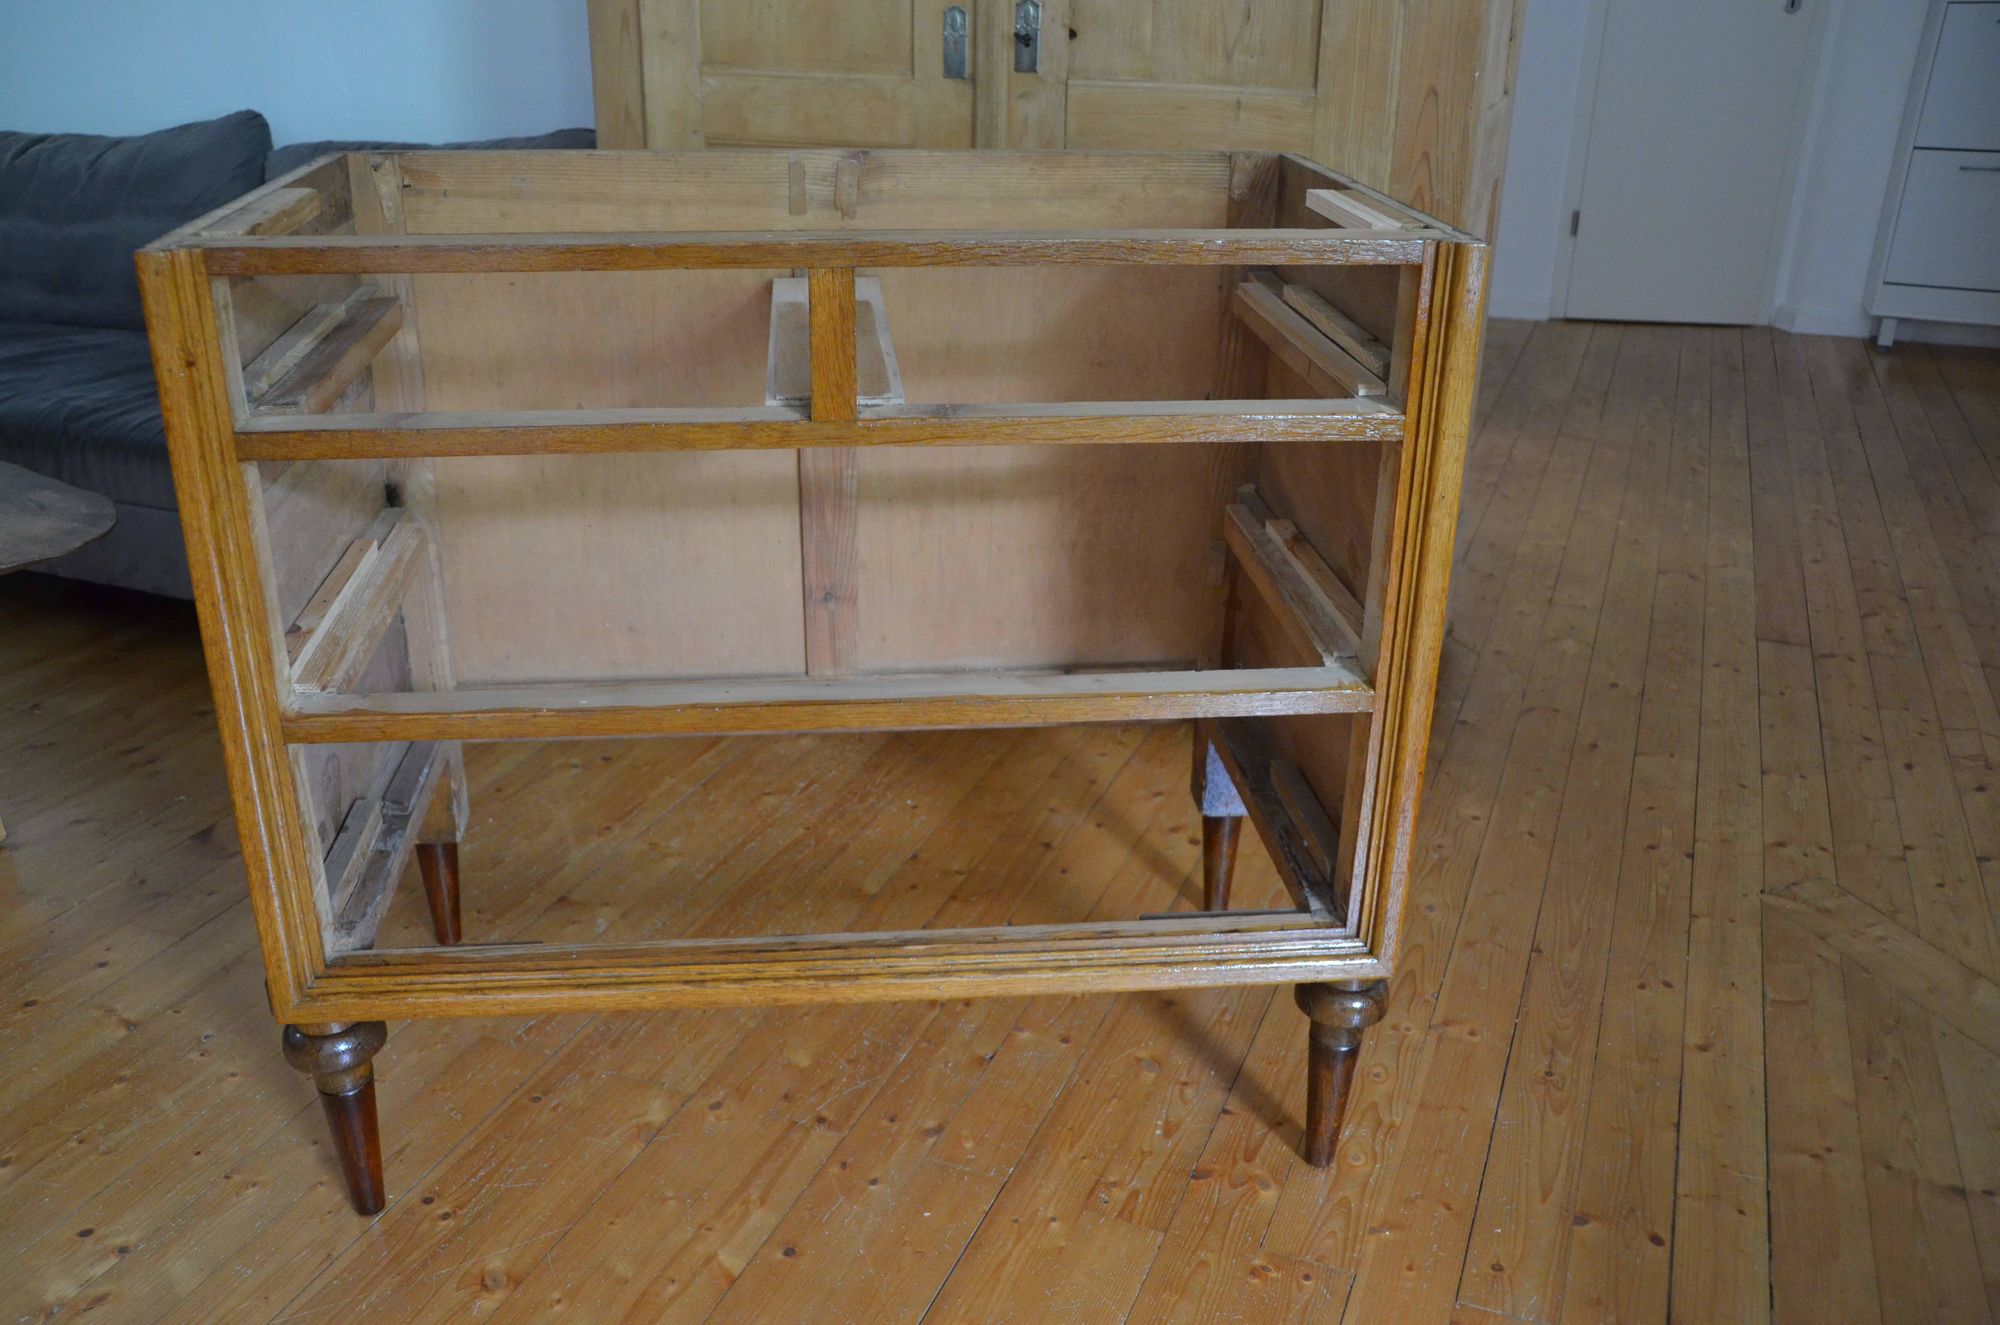
I wish I had taken a shot before cleaning it for a more dramatic before/after effect.
In any case, the troubles lay ahead on the inside. Decades of wear and some crude attempts at mending it had made opening and closing the middle drawer an interesting challenge. Swearing at it did not help.
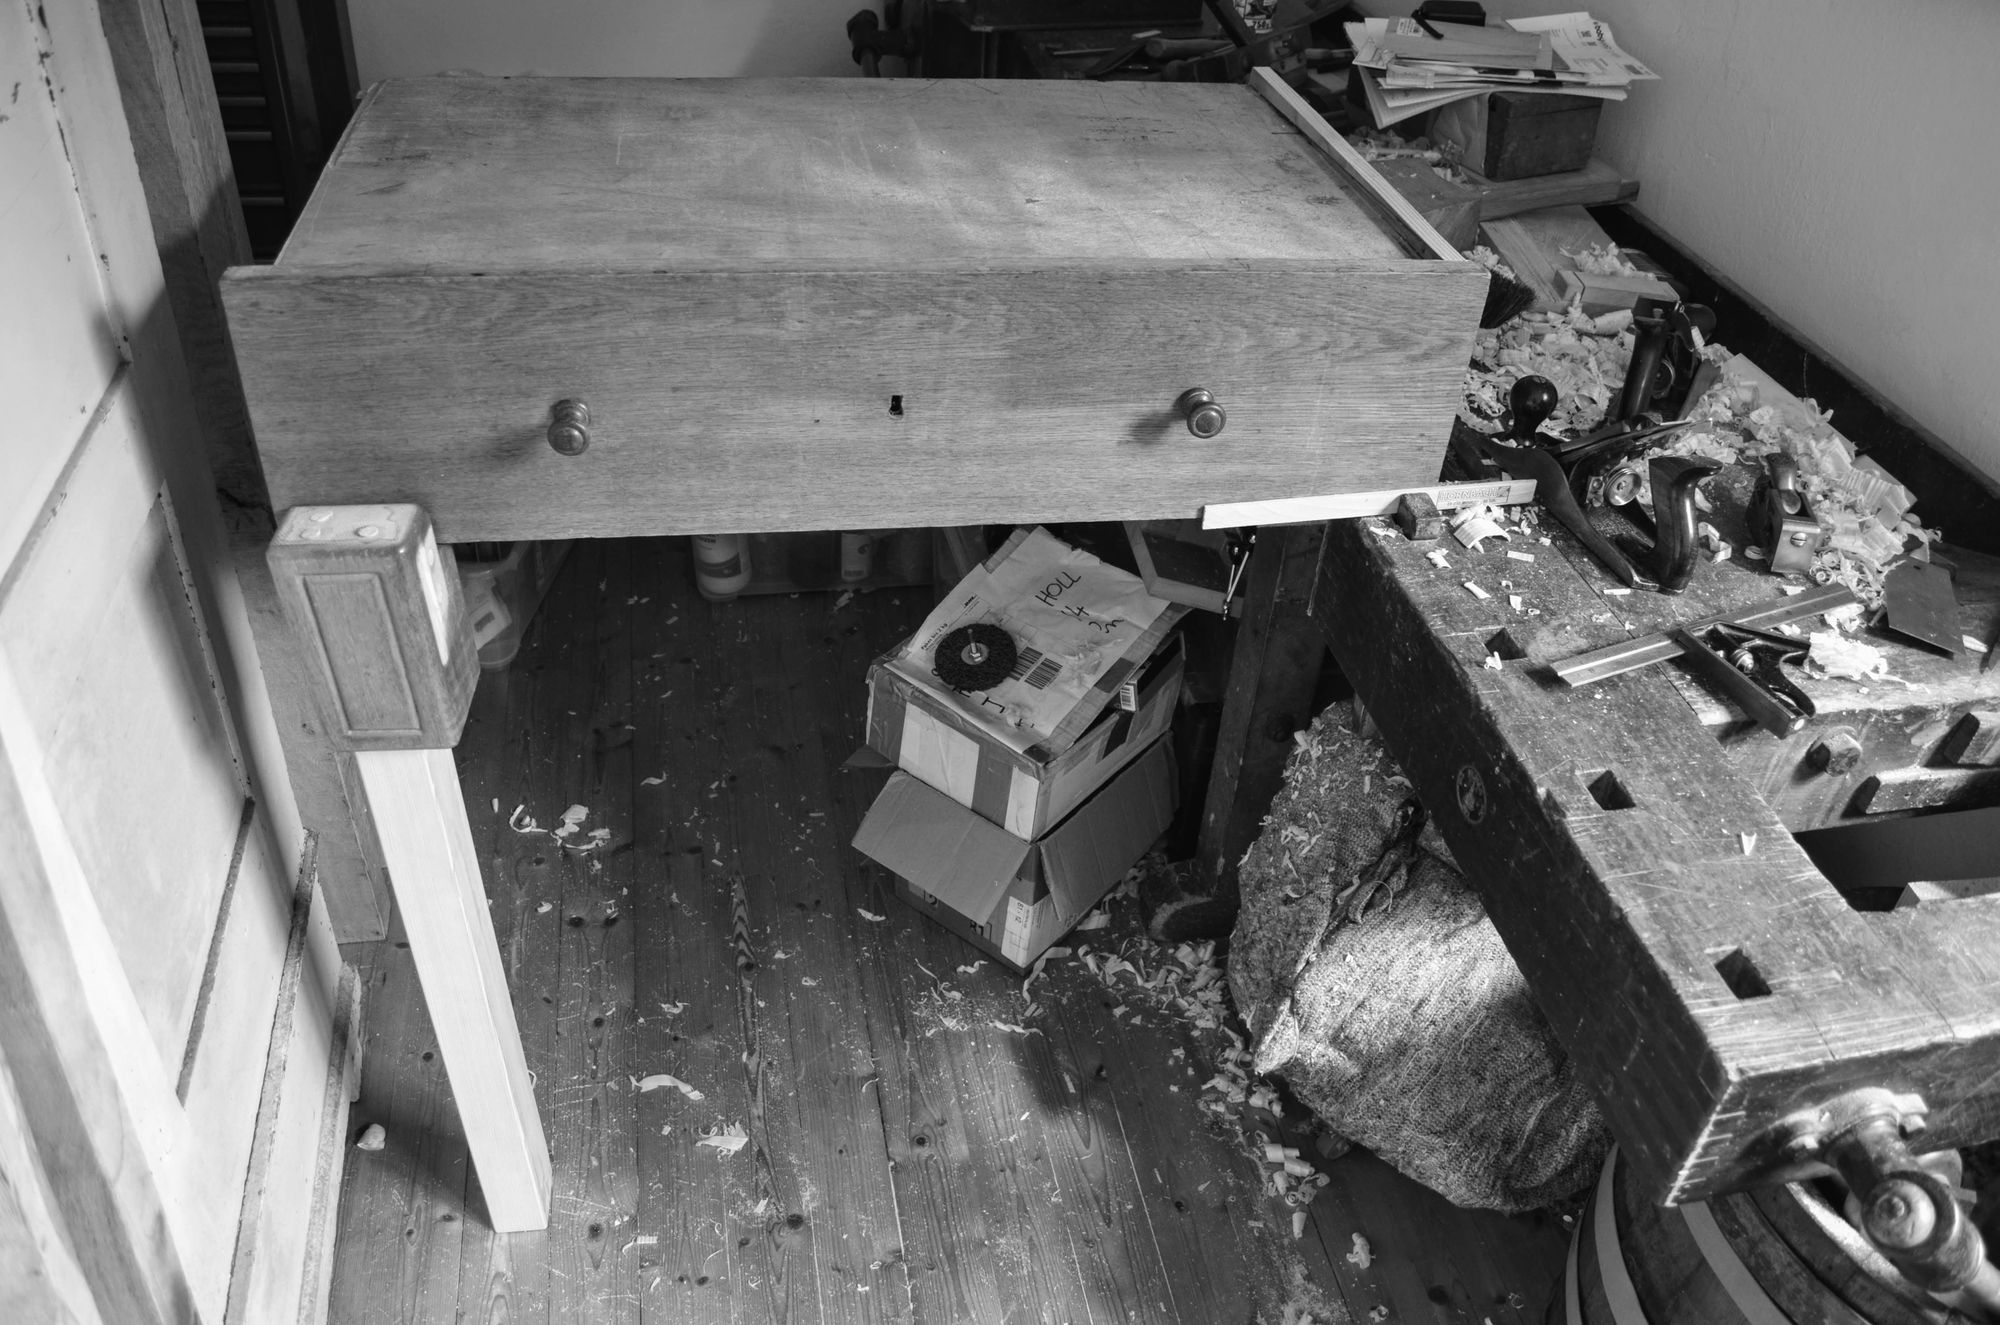
The top drawers worked okay-ish, although one of them had started to eat into the divider frame, generally not a good thing.
Also, at 75 cm high (29 ½") it was too low for either of us to use, so I thought there was potential for improvement there too.
And so the story of this project begins.
Fixing the runners
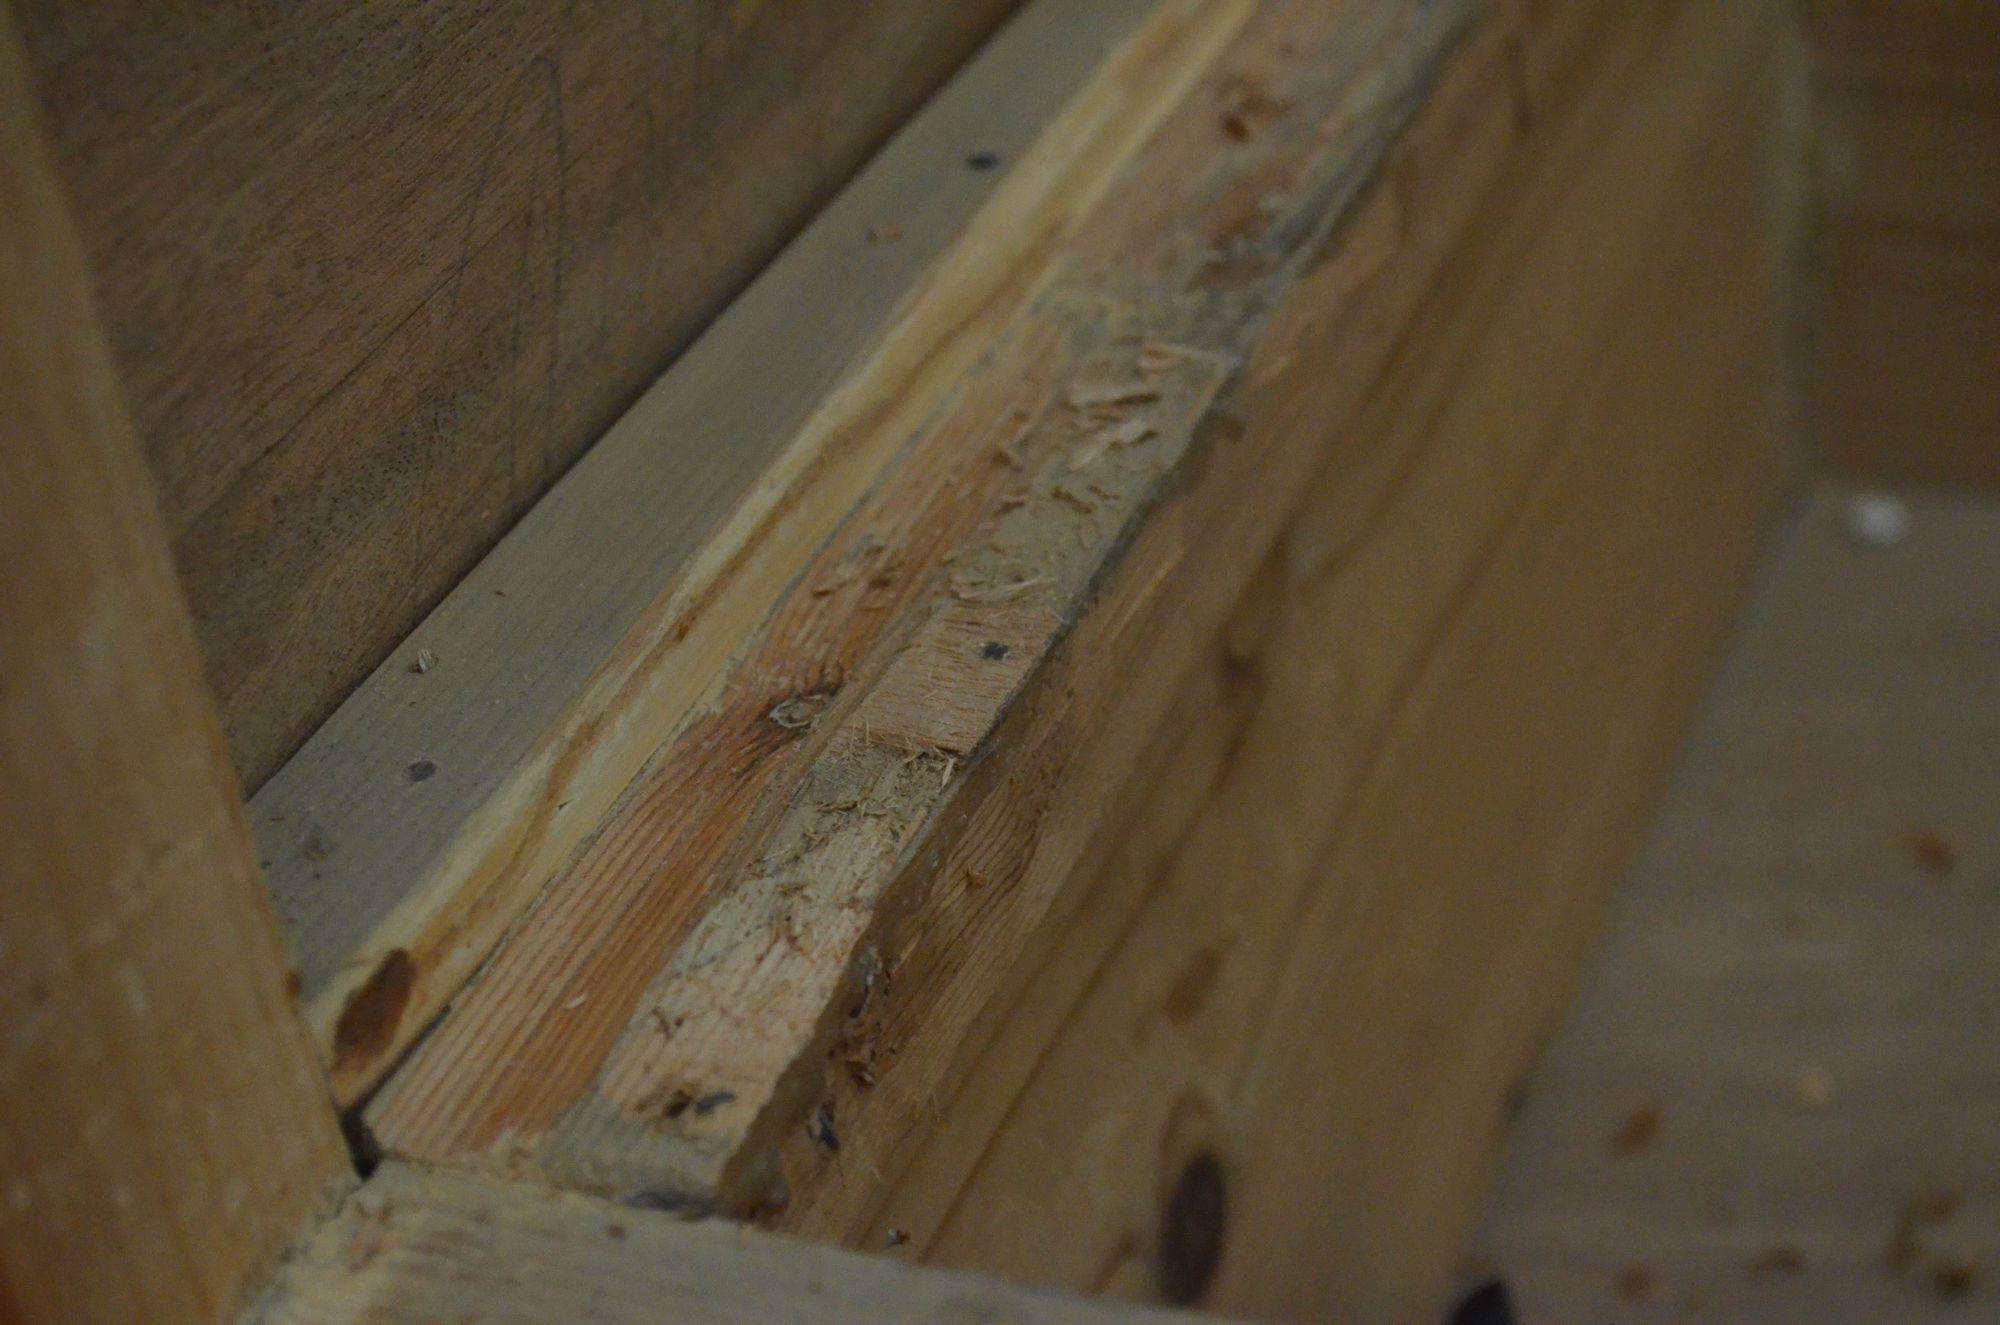
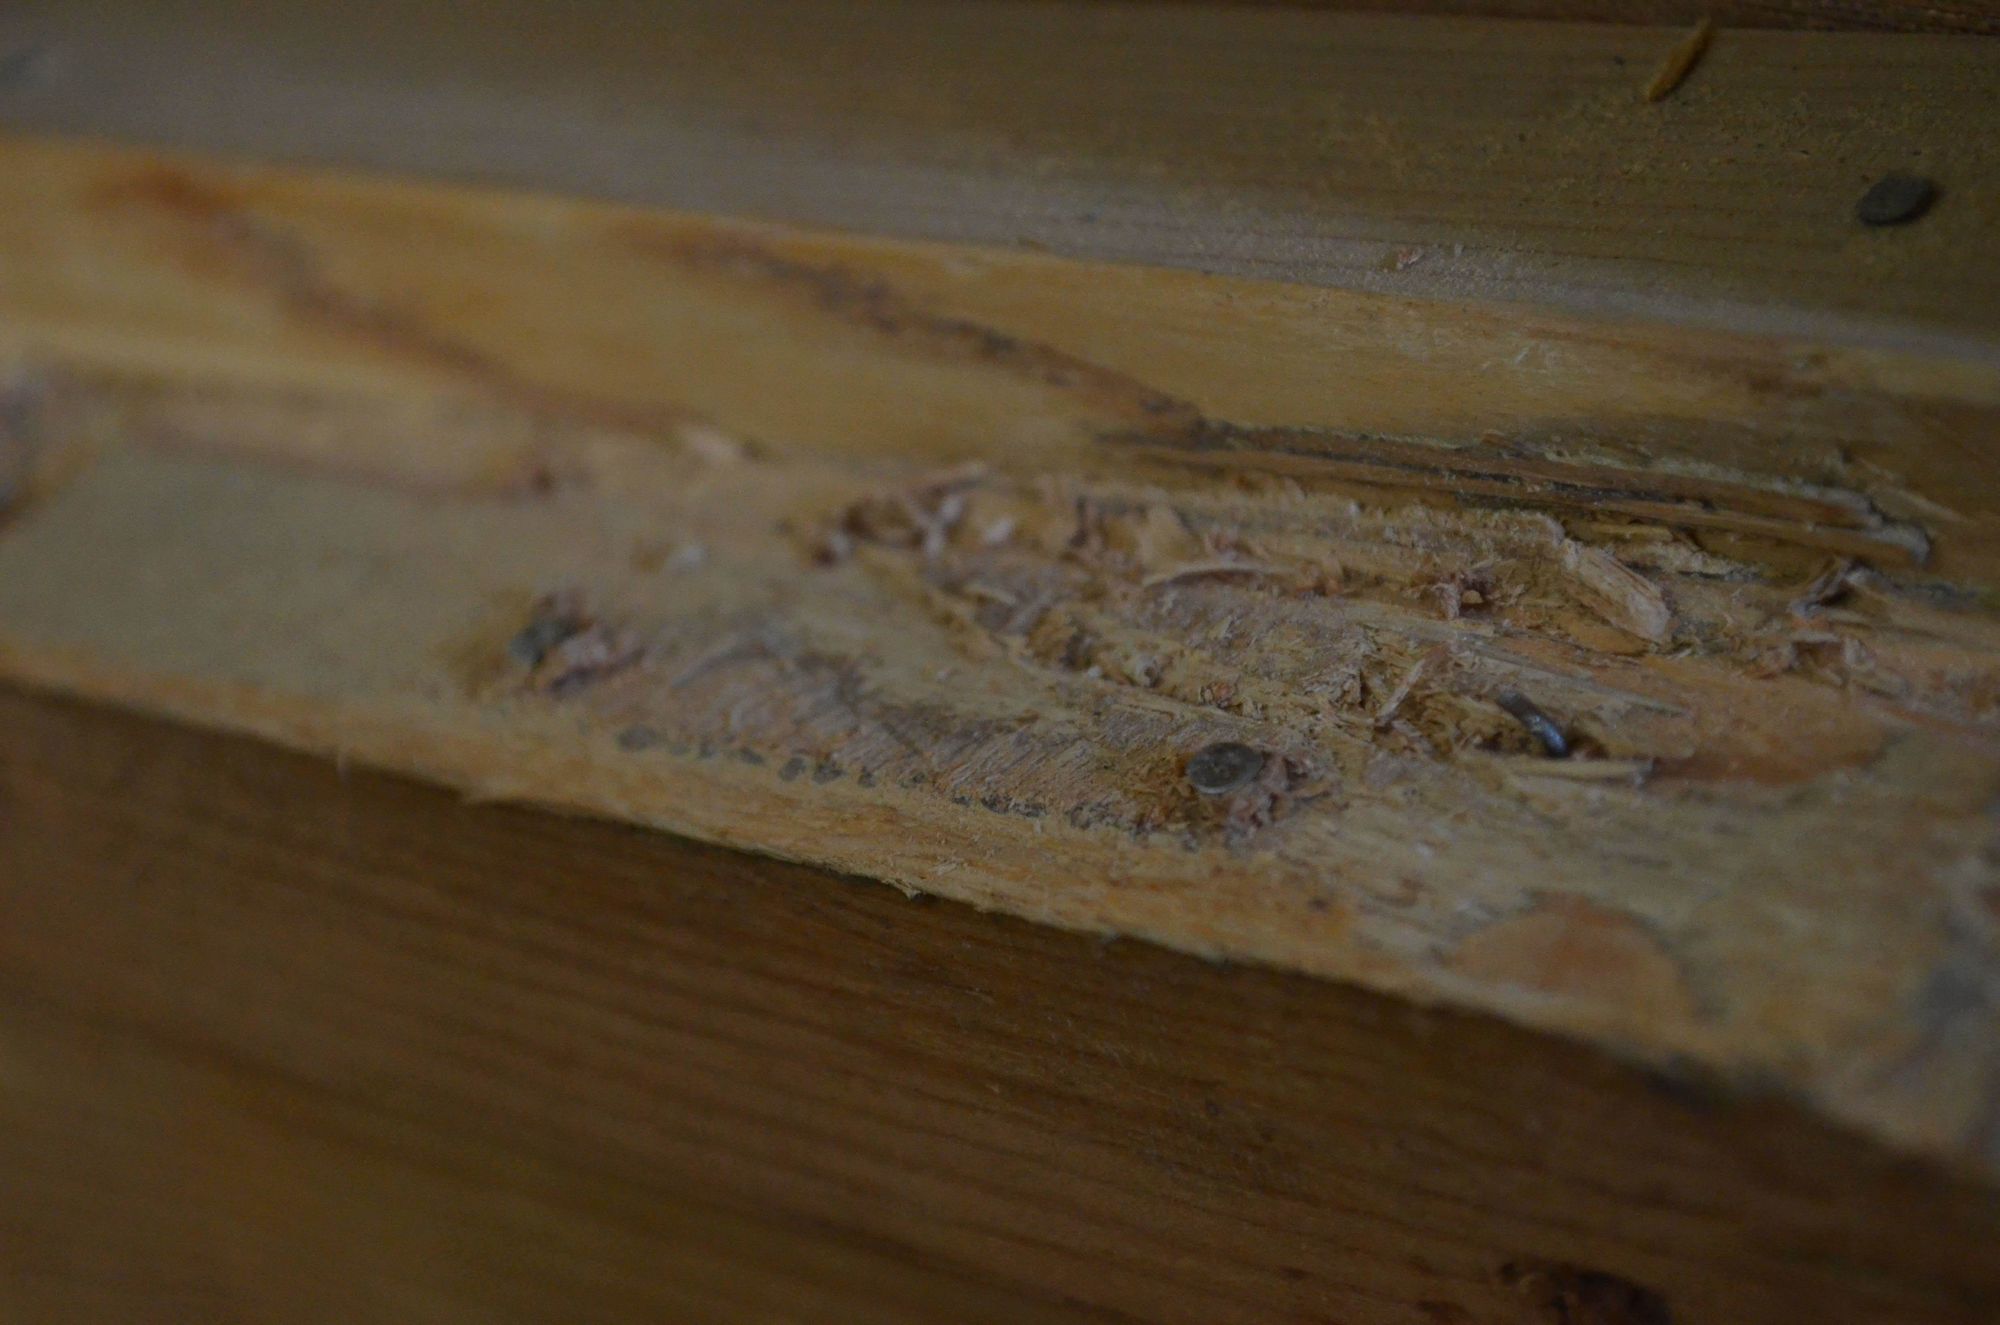
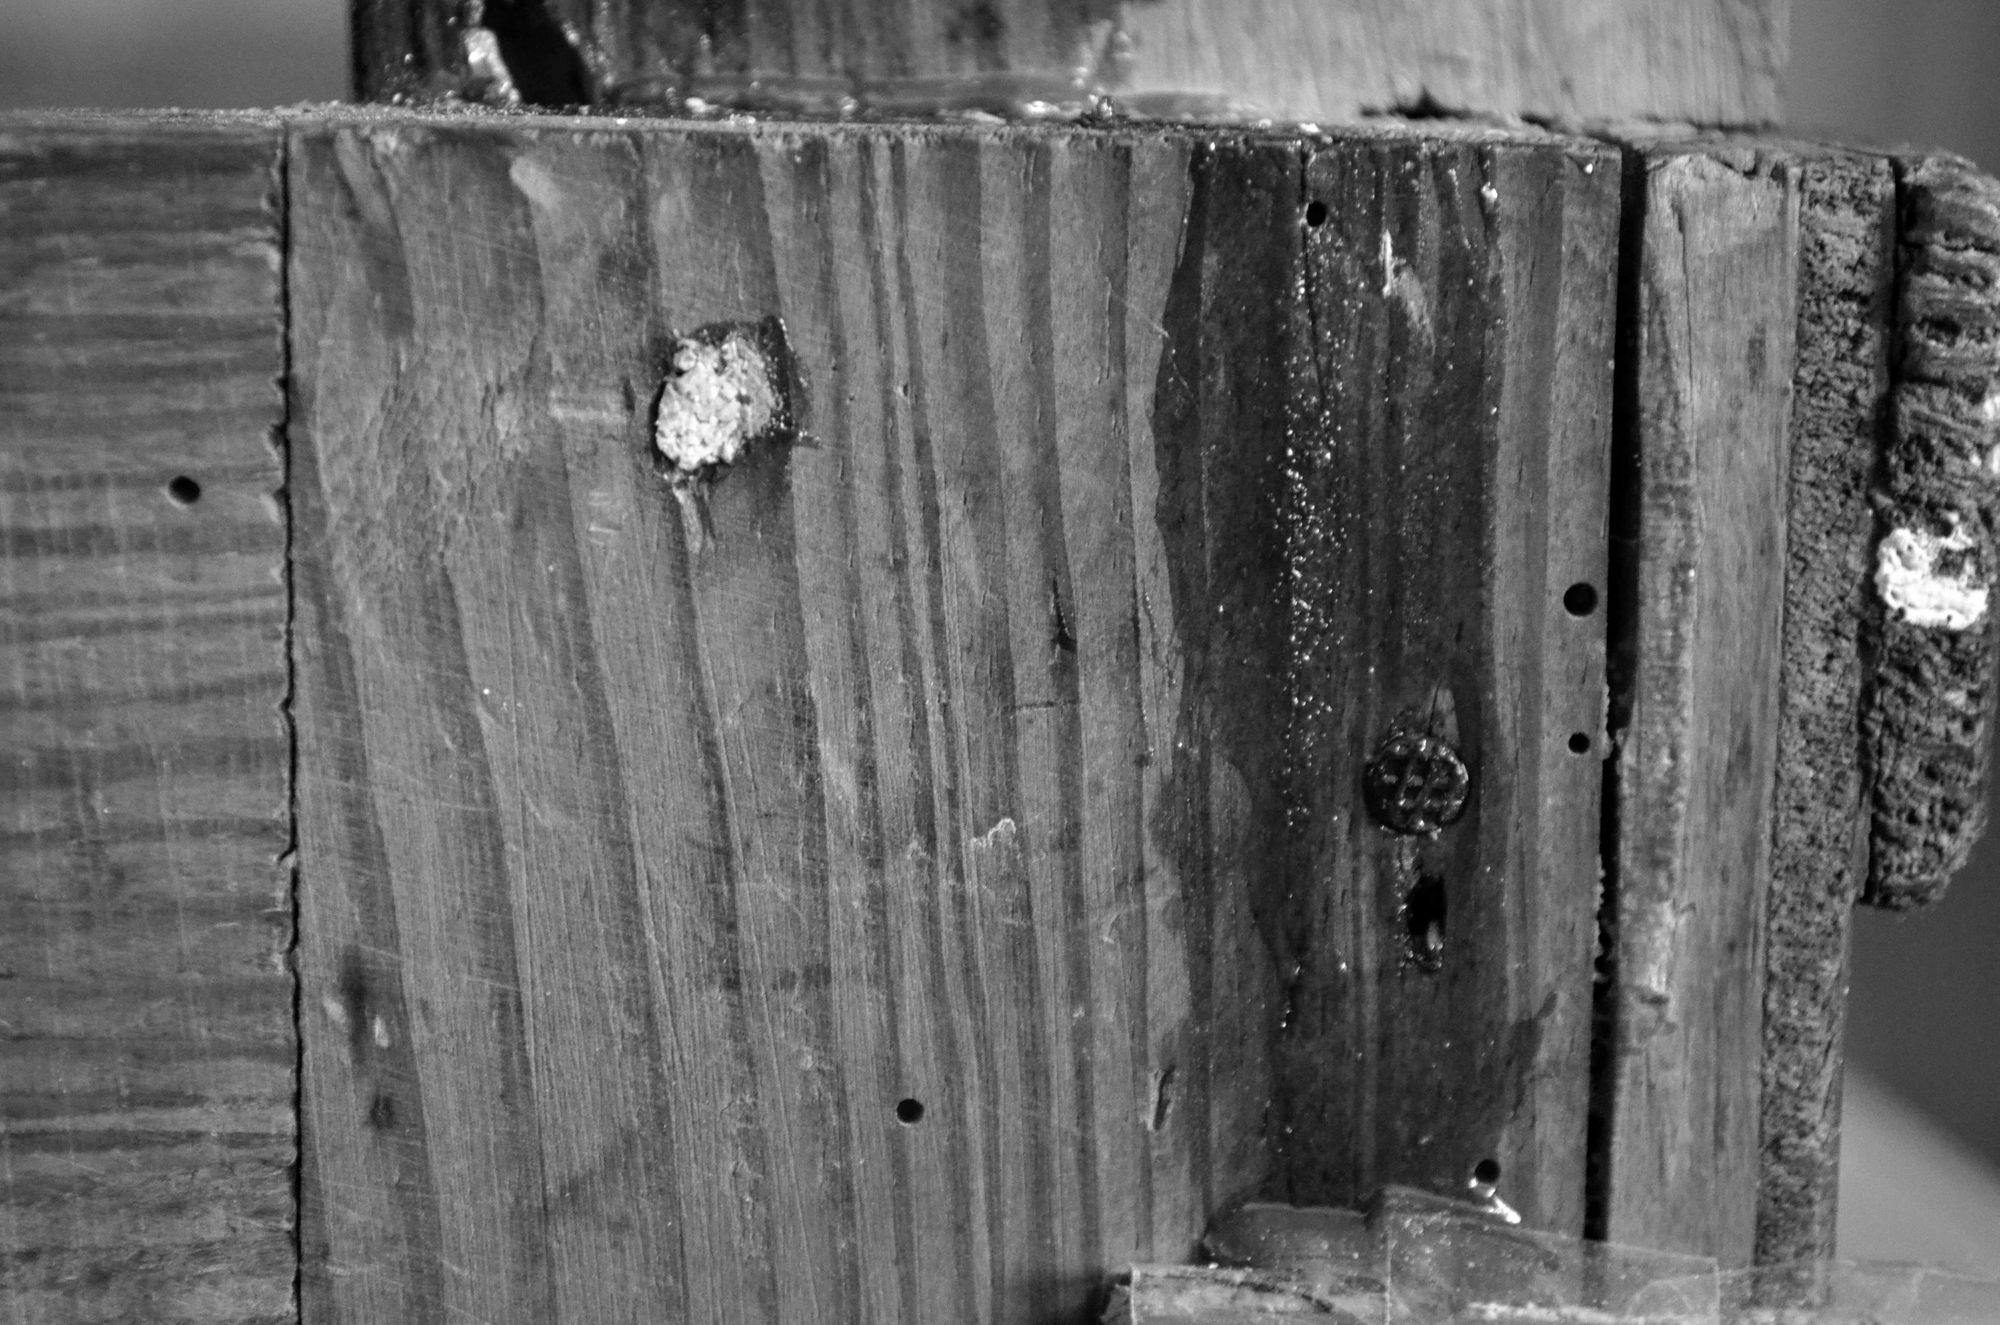
During the first inspection, it was clear that the runners, the pieces where the drawers slide on, would have to be repaired. The abrasion wear had caused two effects: it carved a track on the runners themselves, and removed part of the drawers' base.
Most of the work here was to remove enough material from the runners to make them flat, so that new runners could be glued on top. Similarly for the drawer bases.
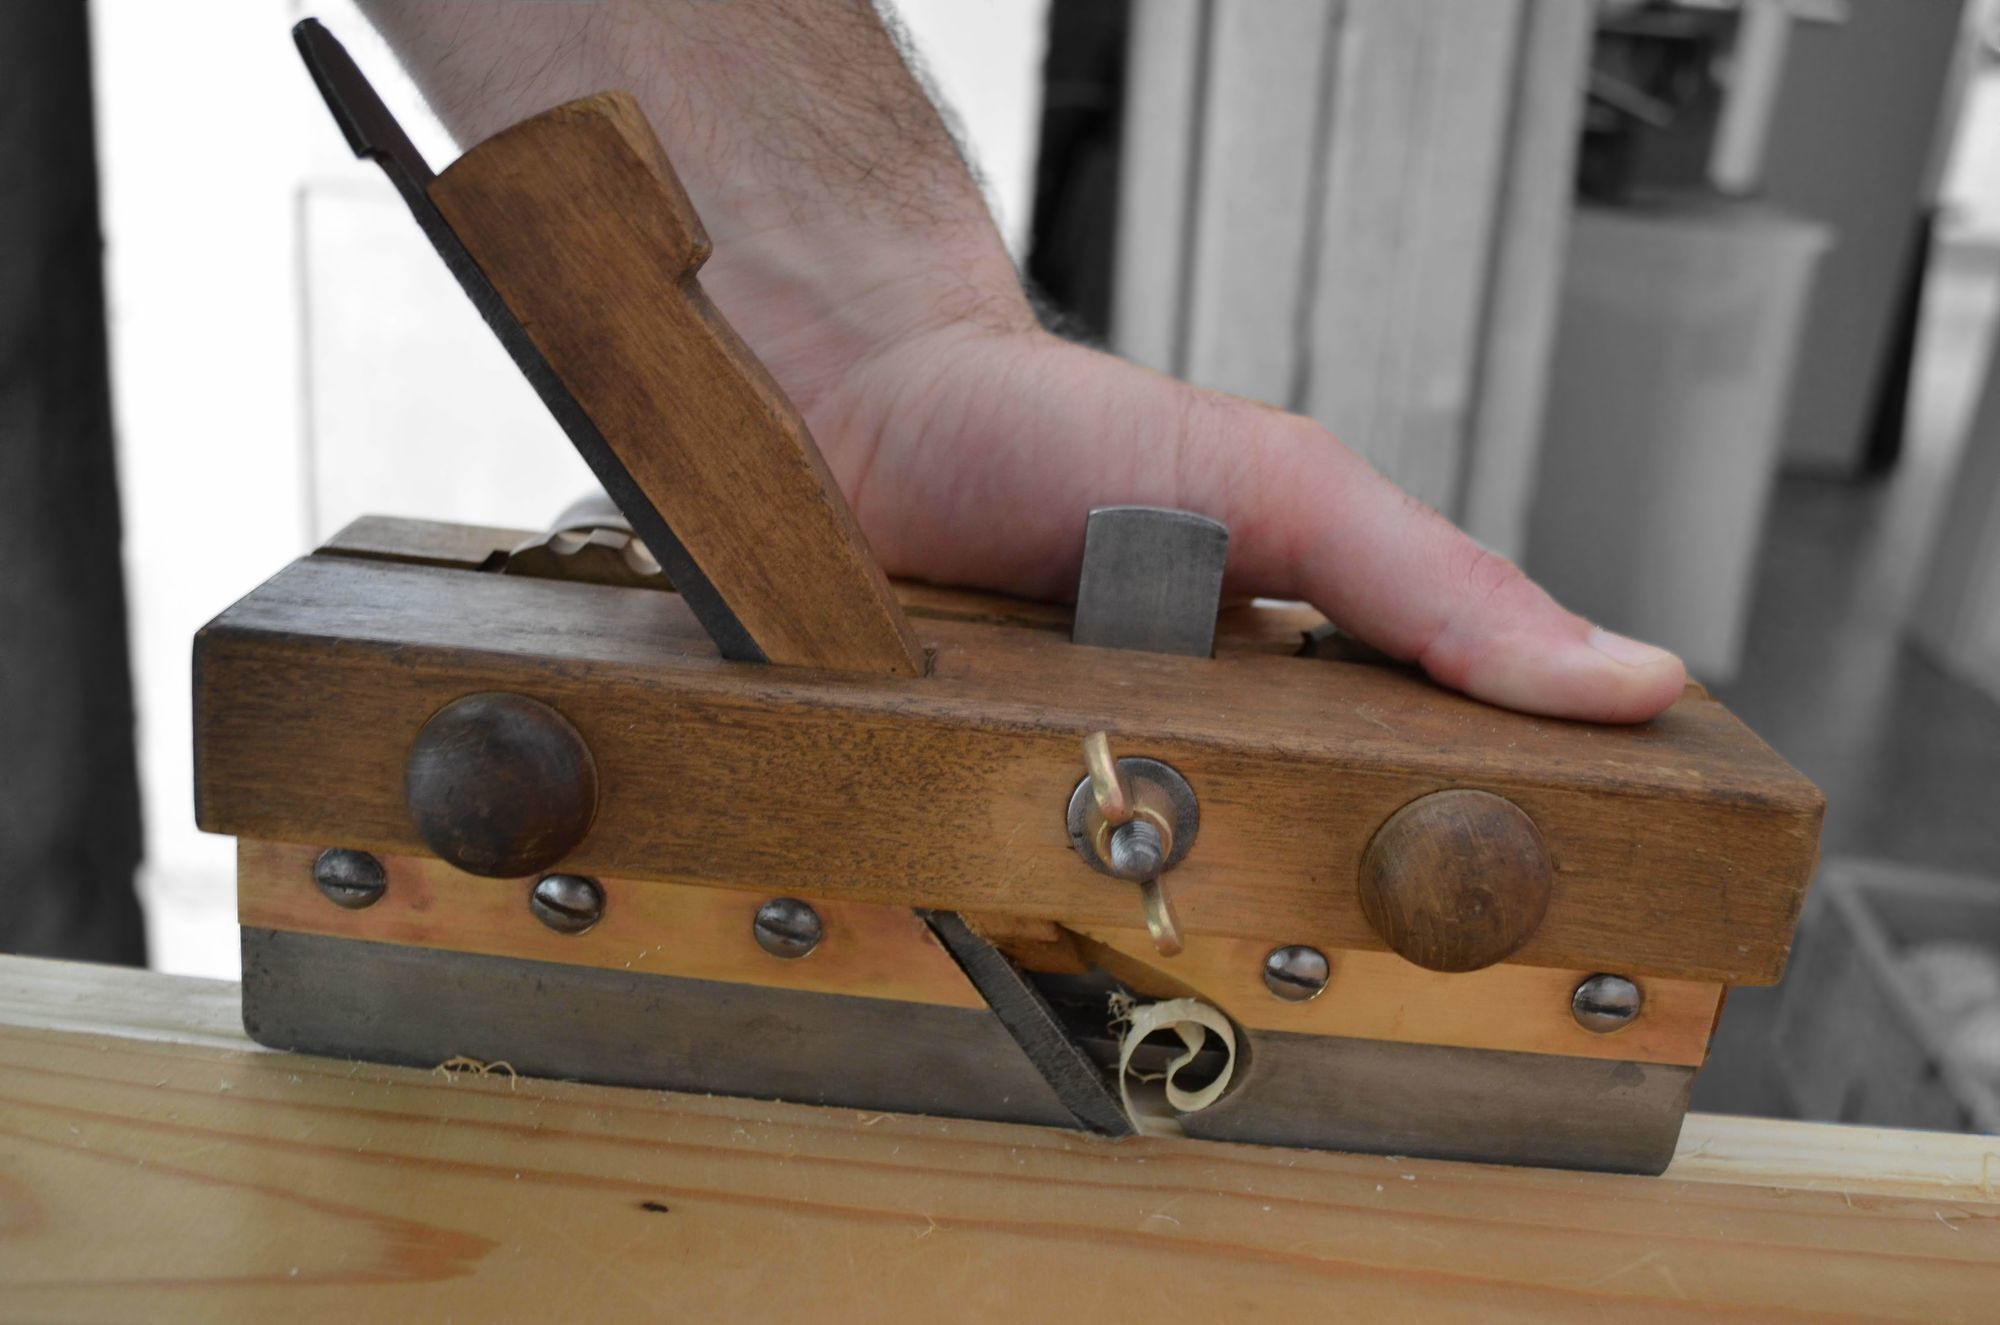
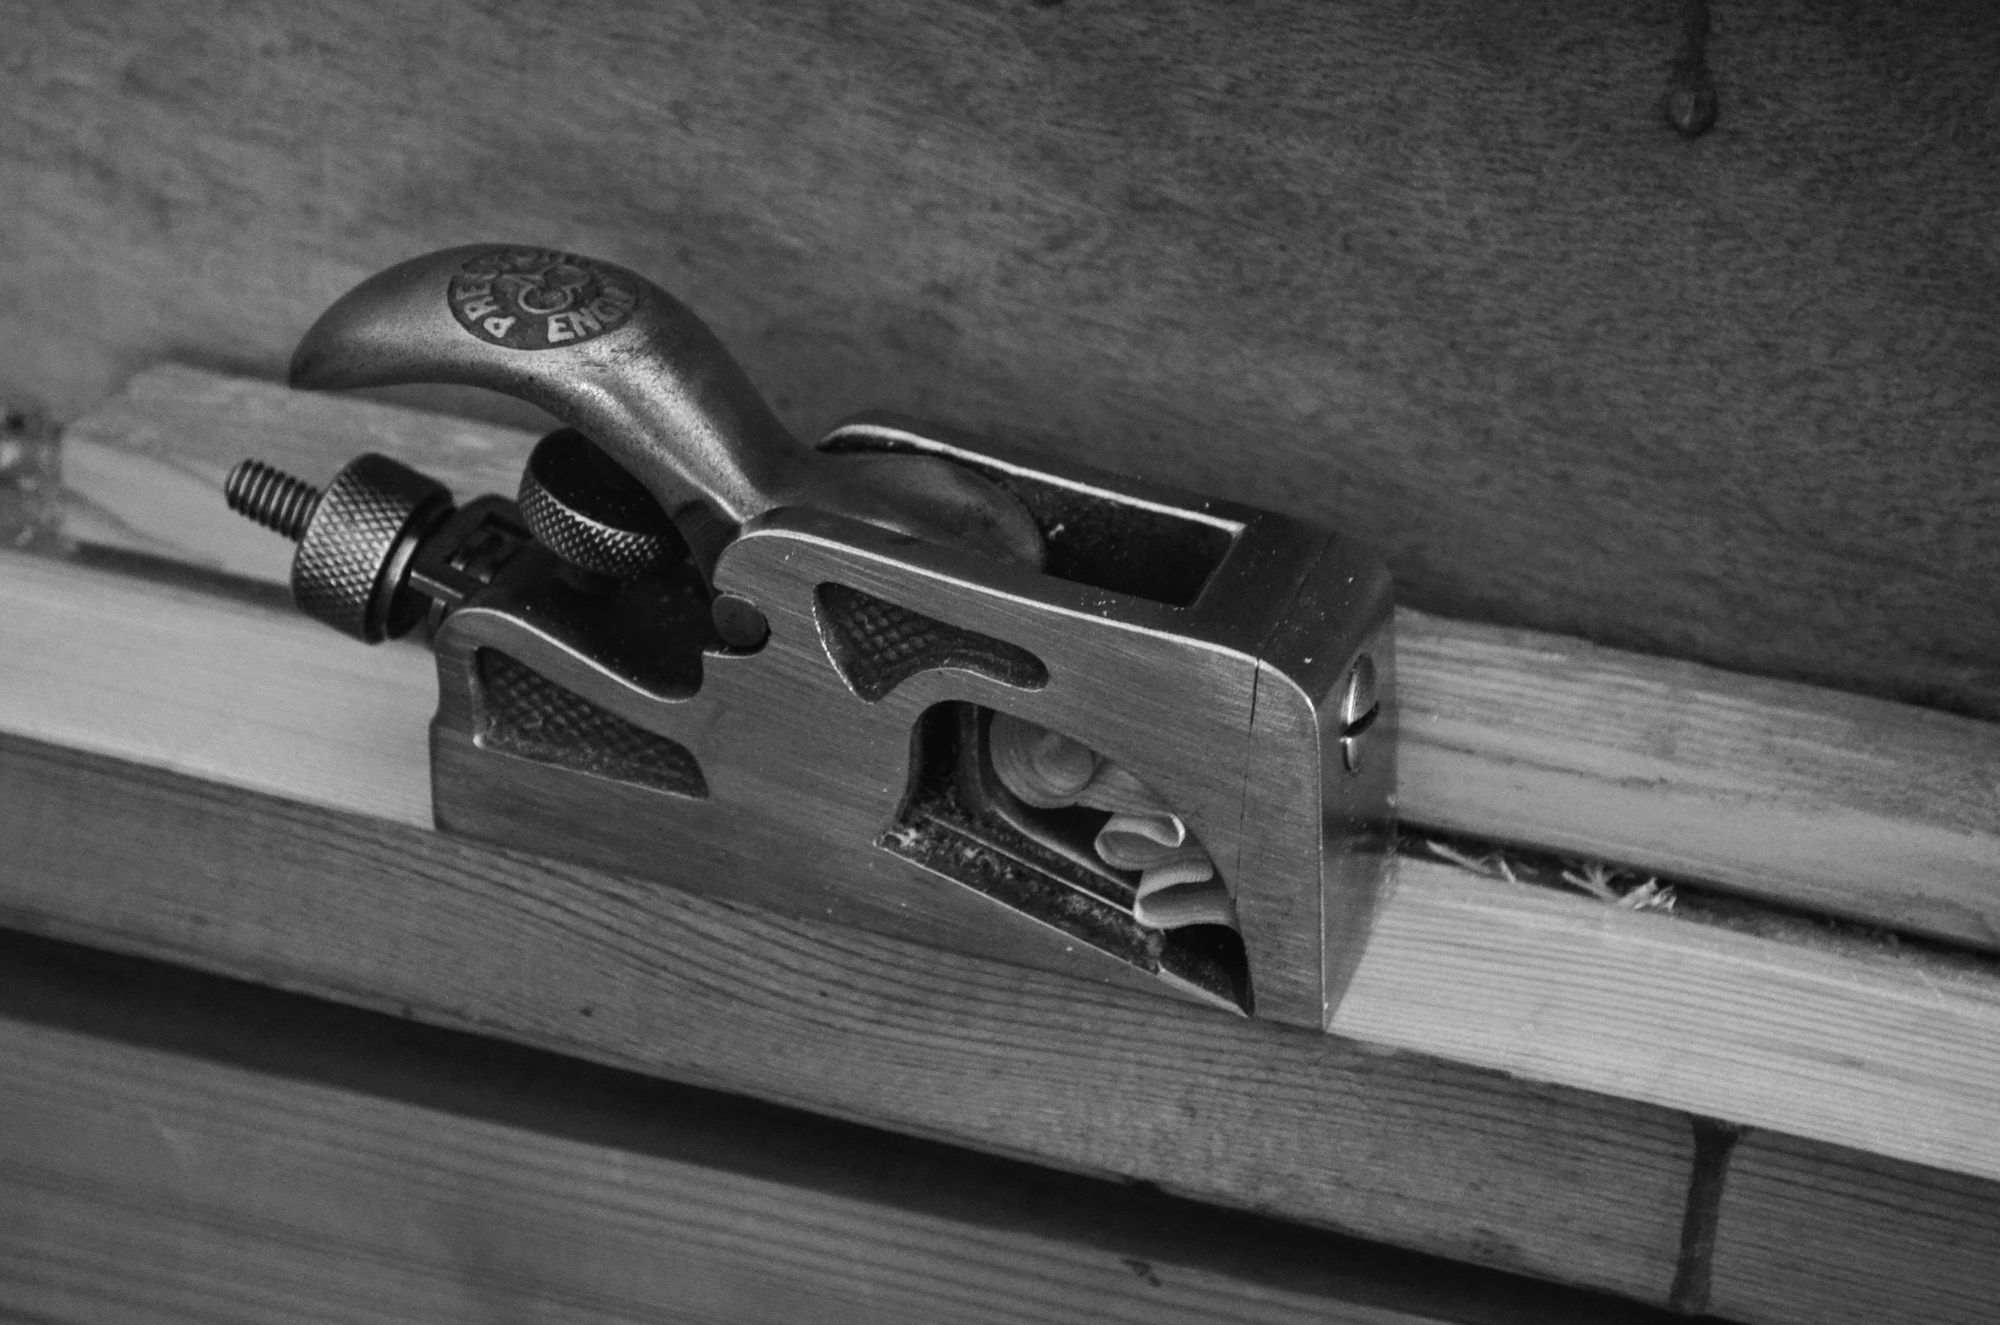
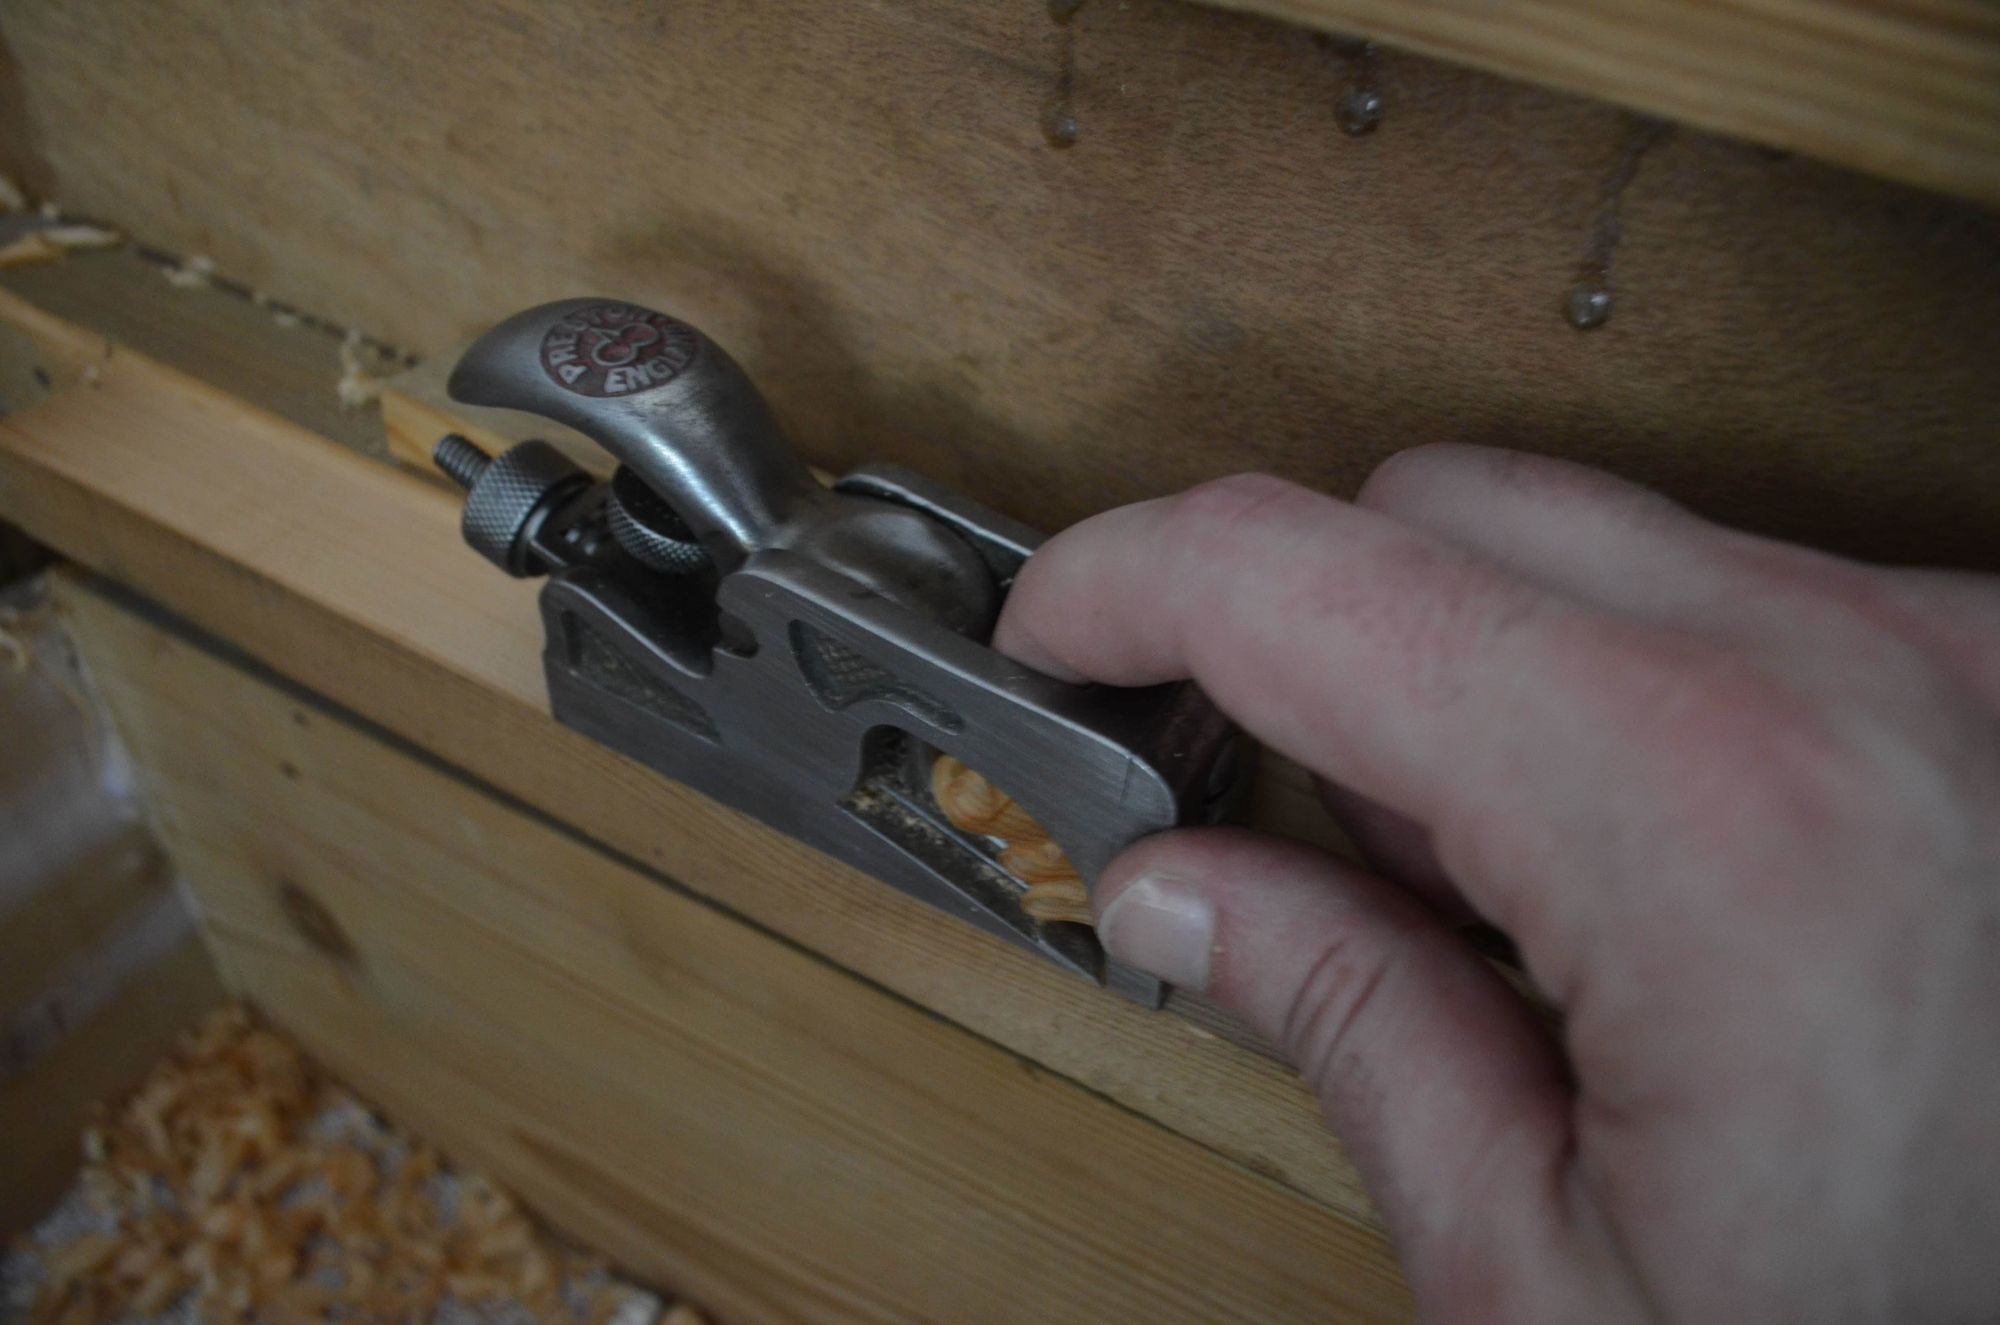
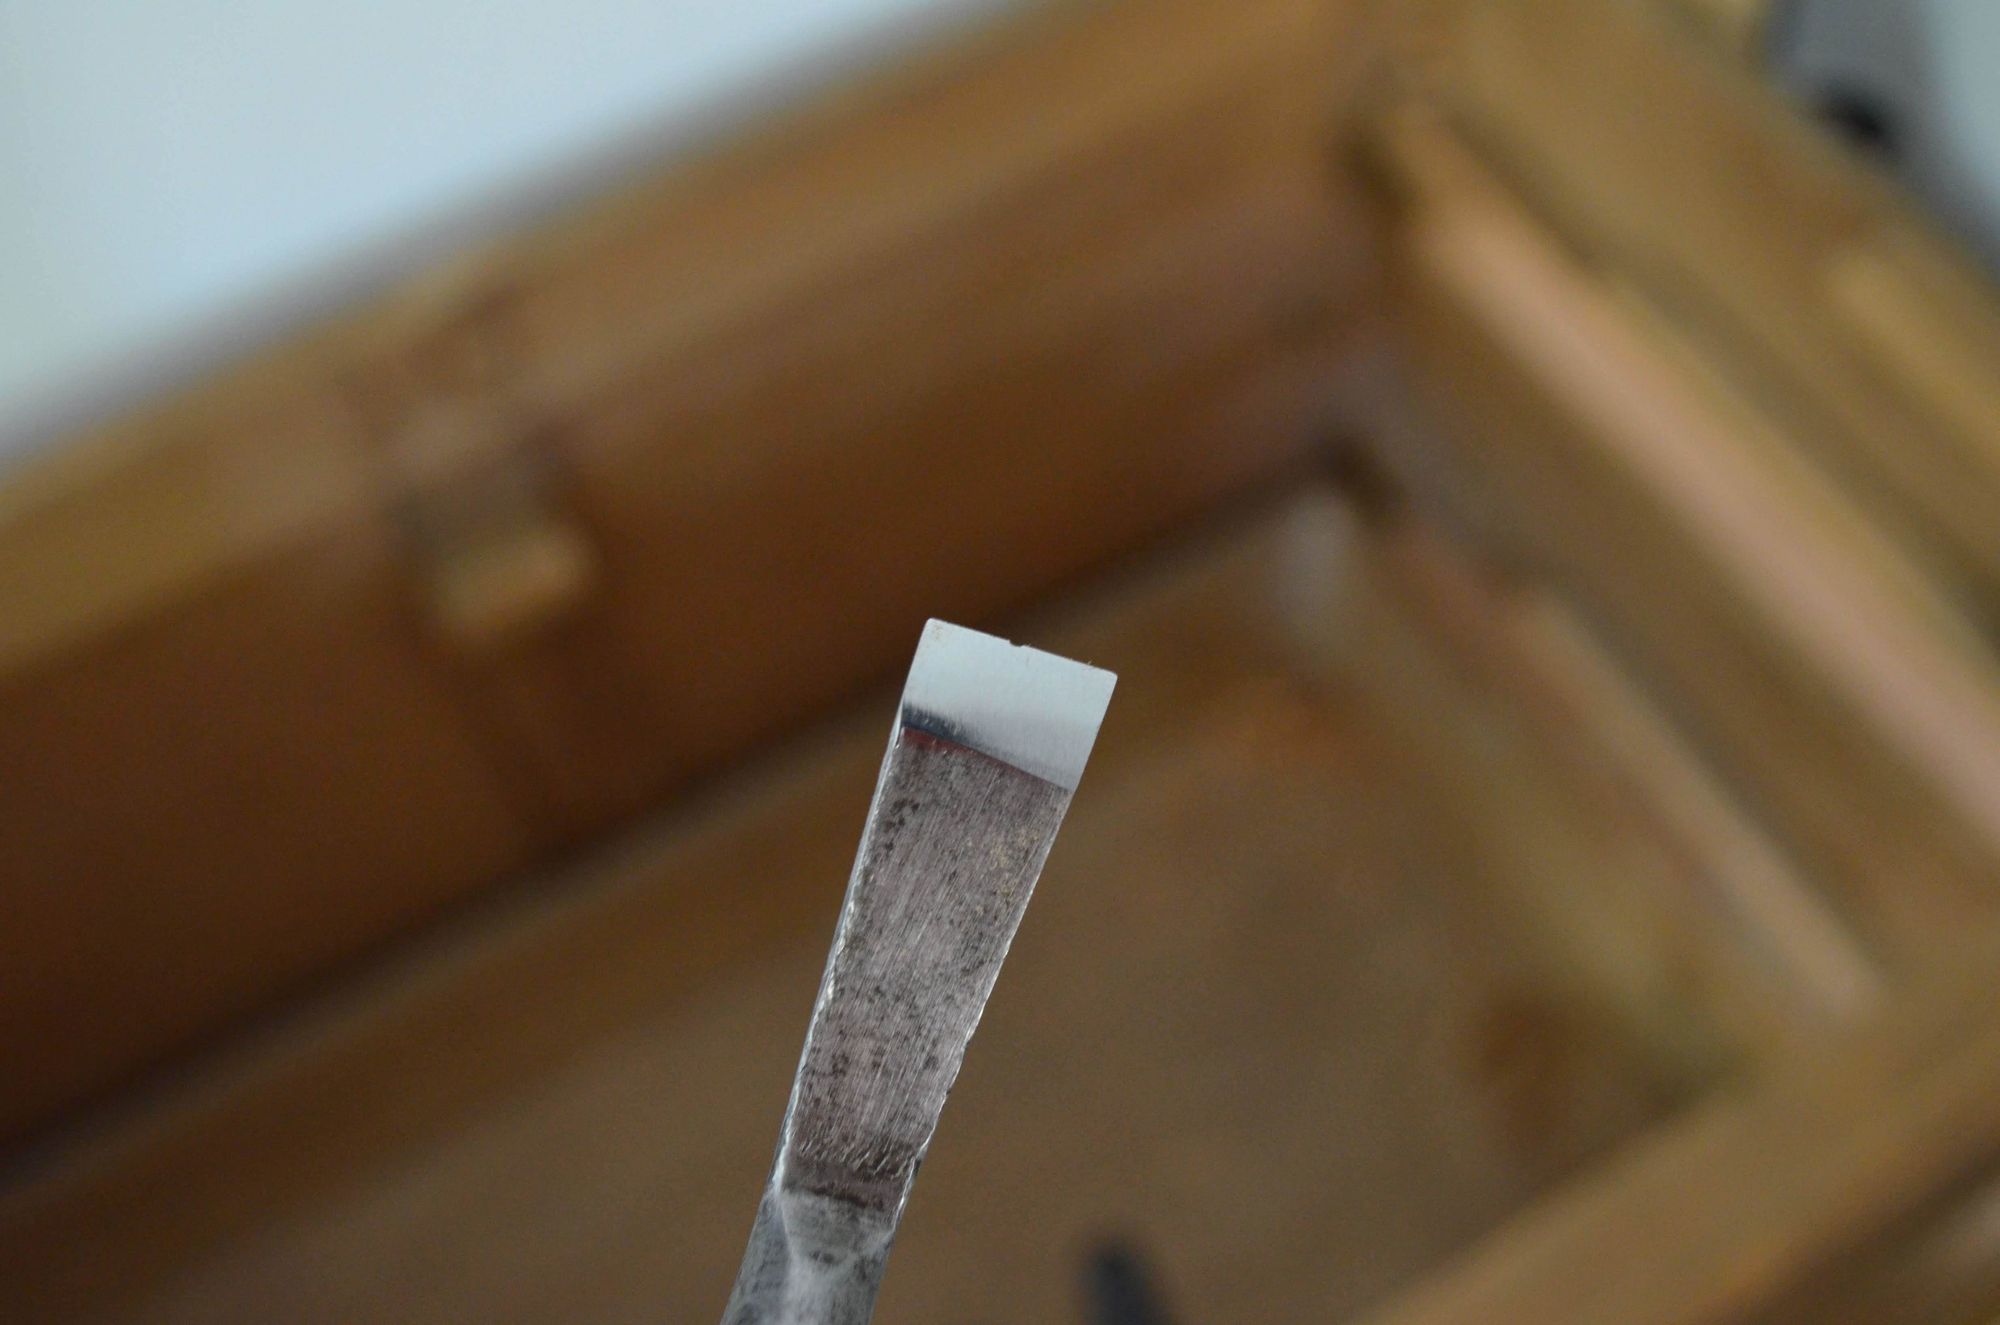
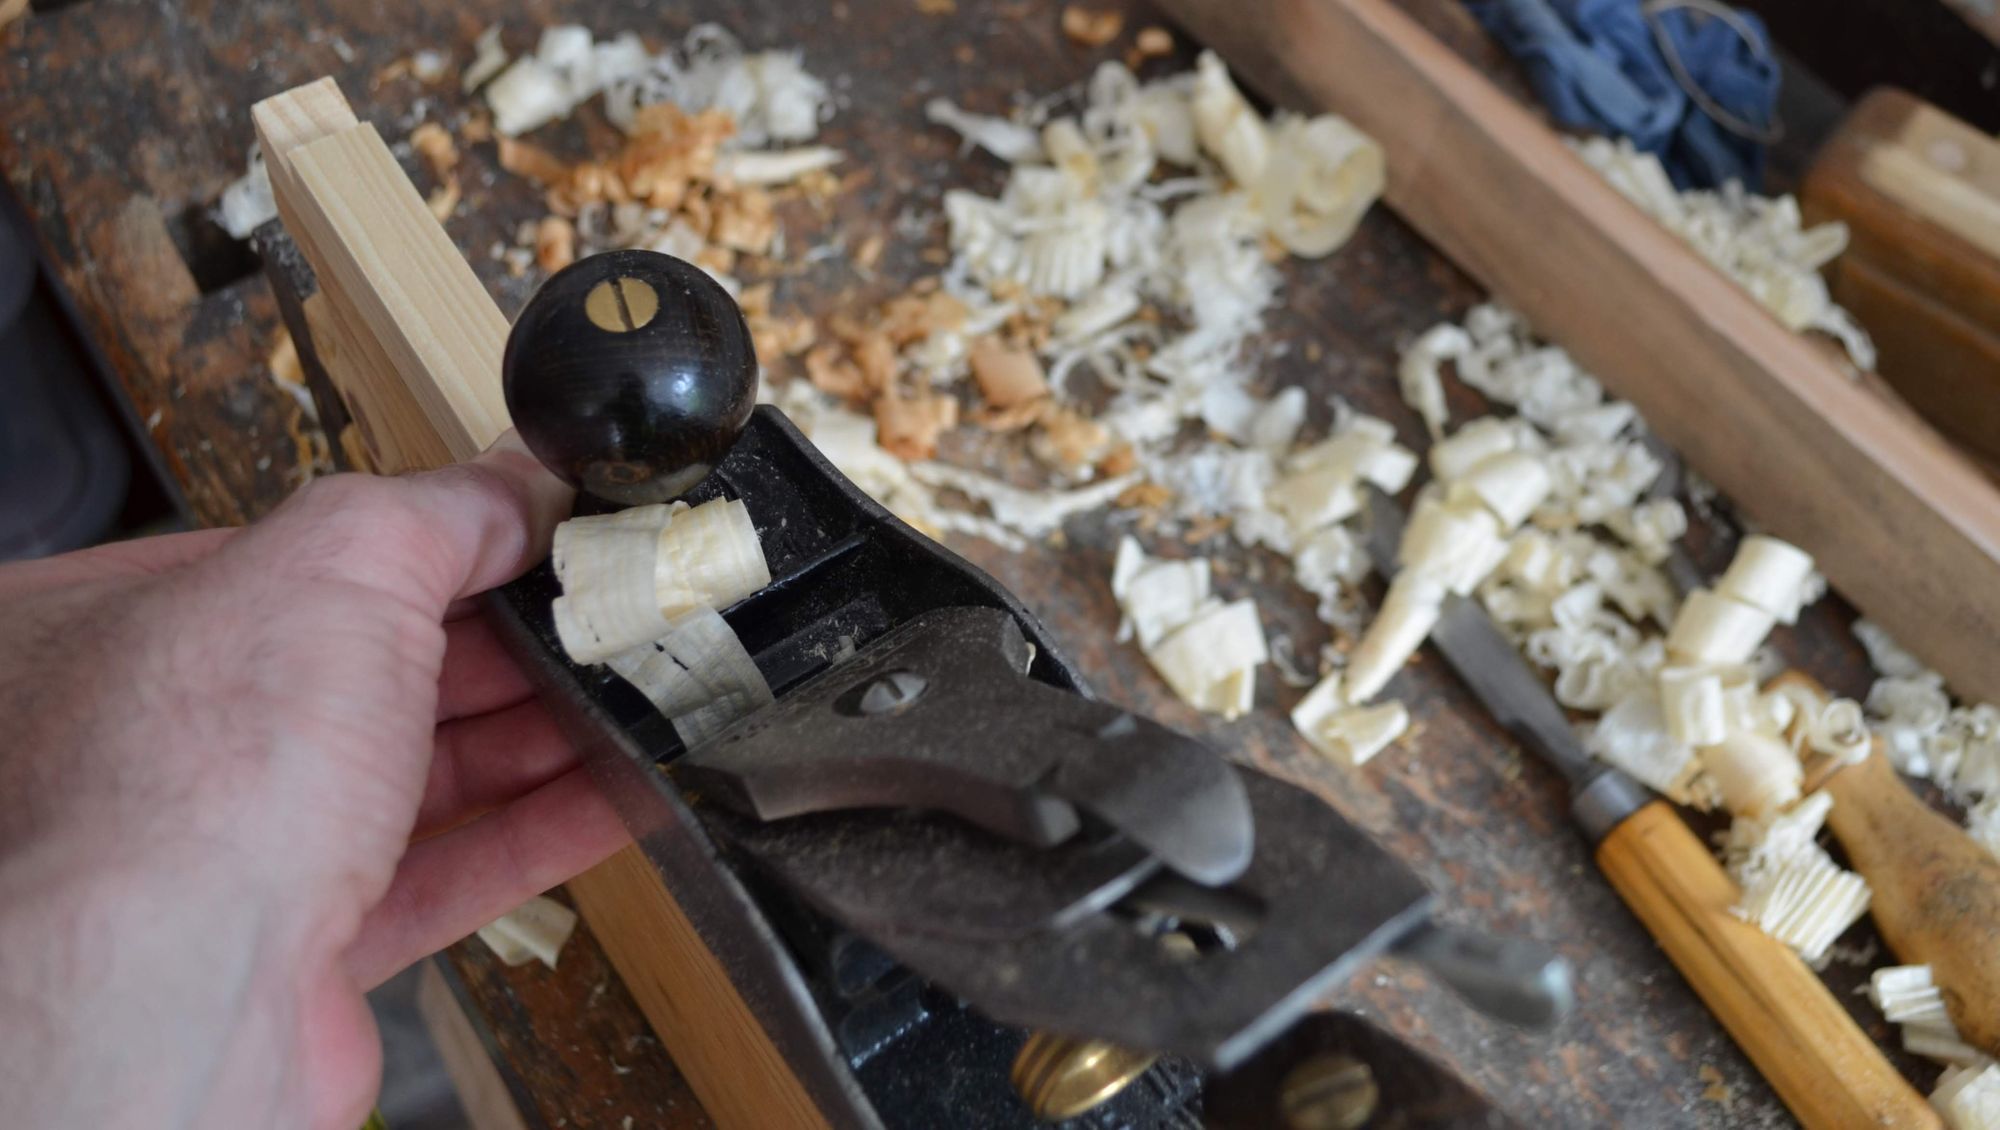
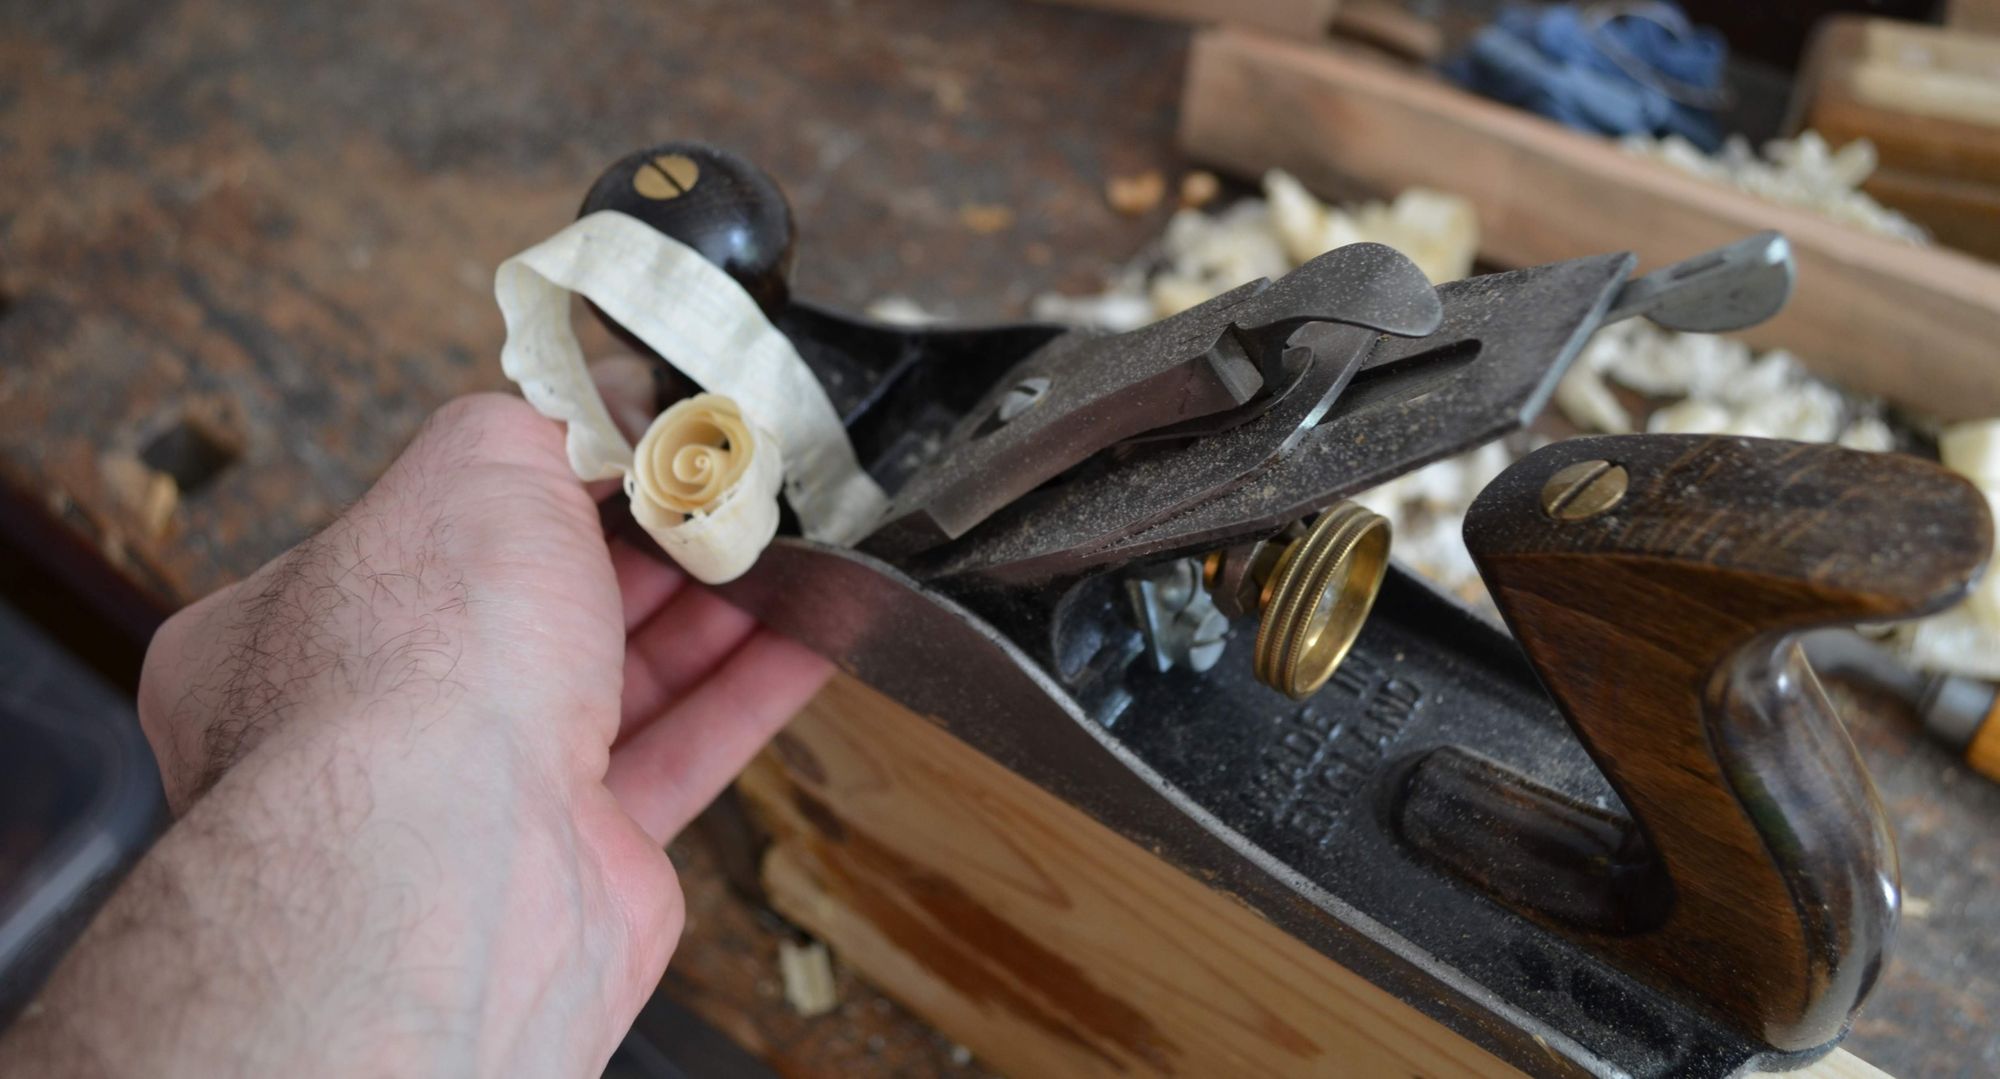
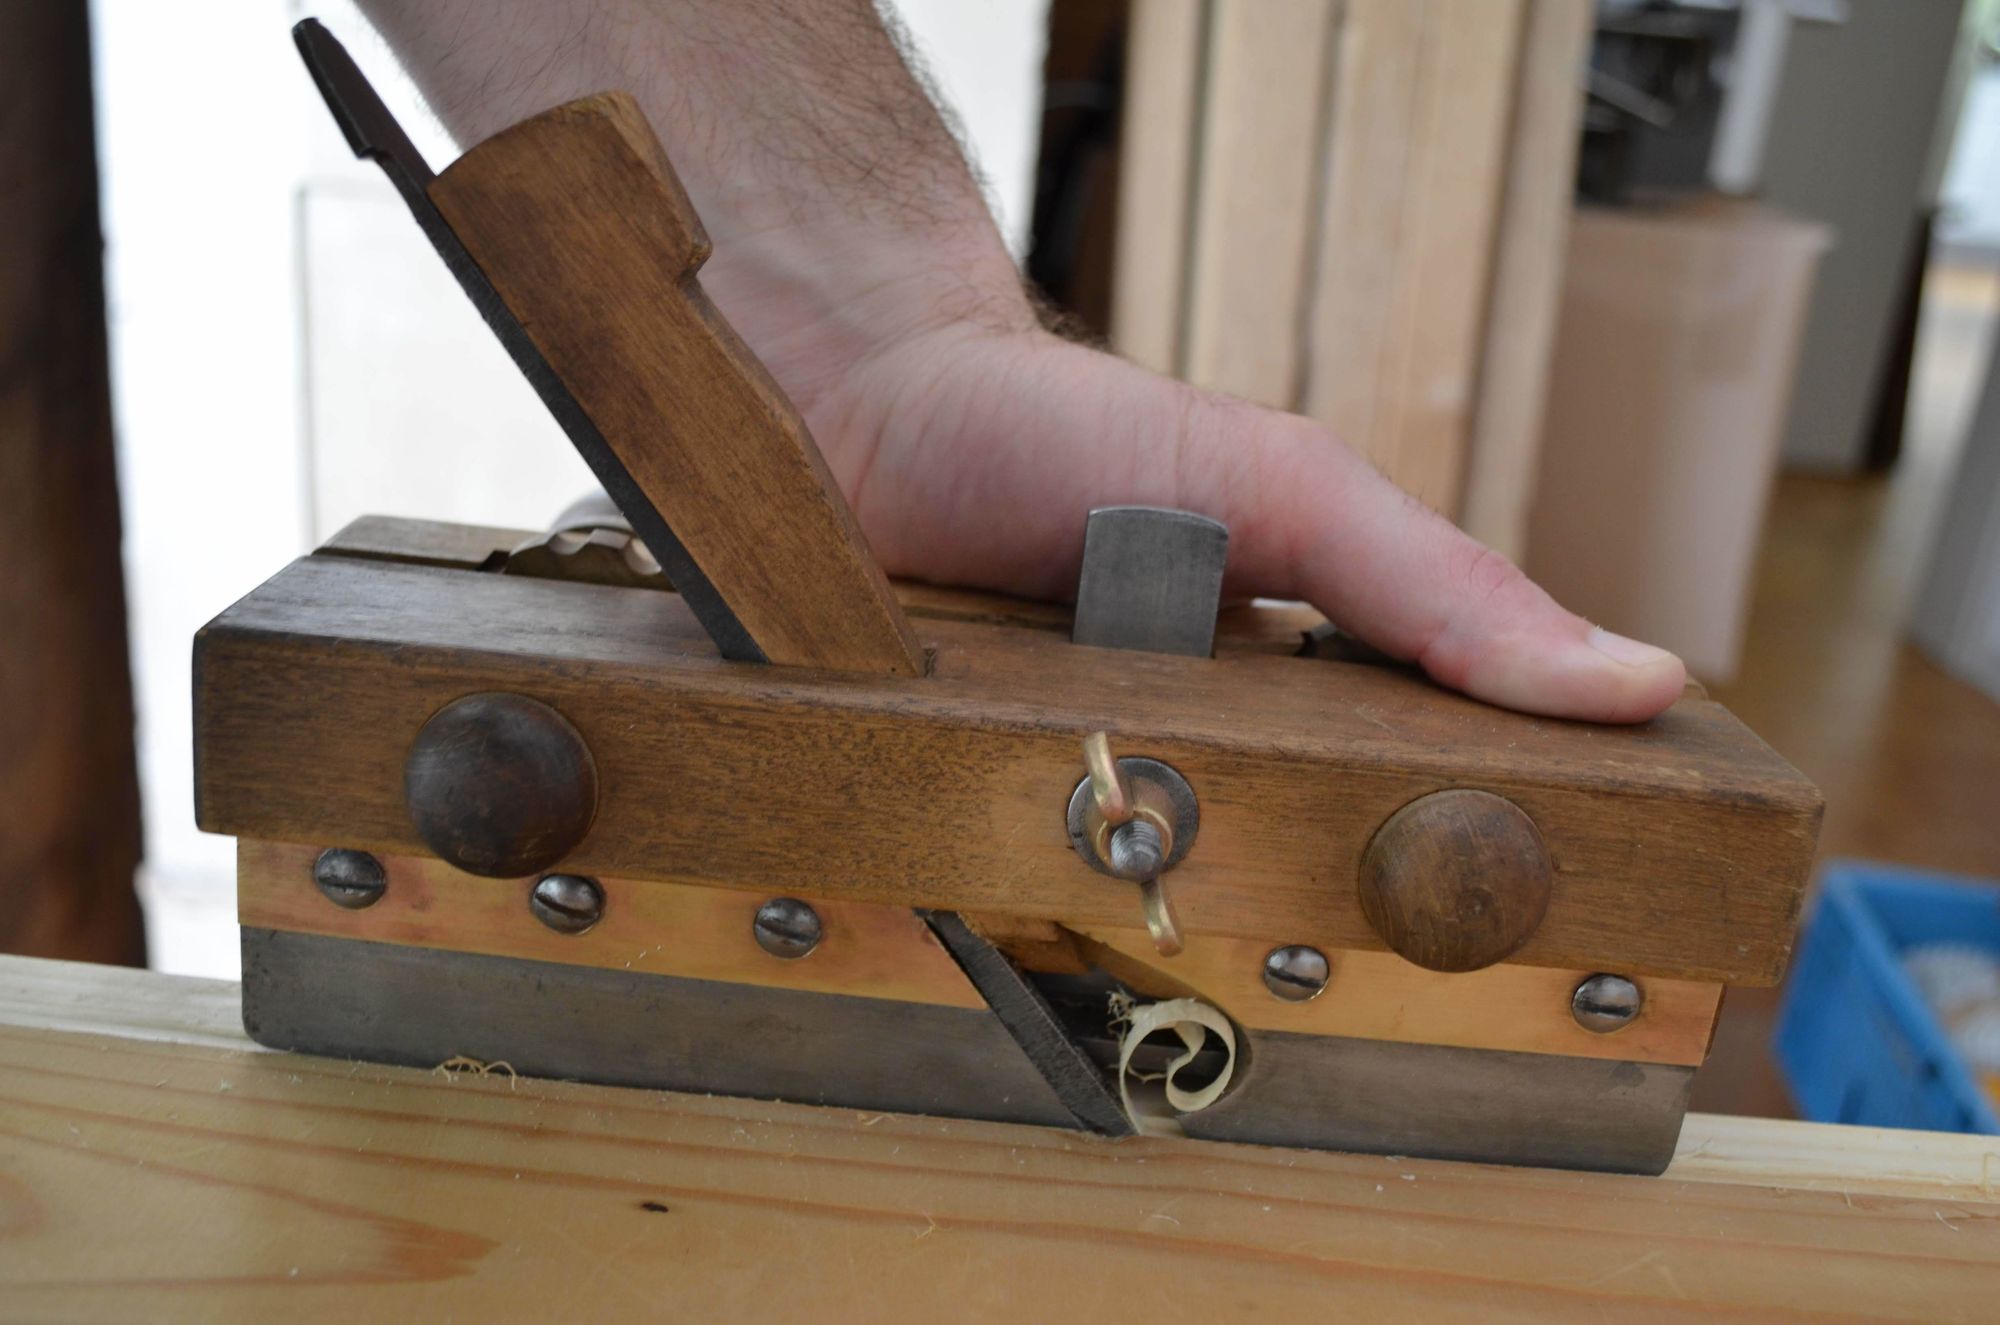
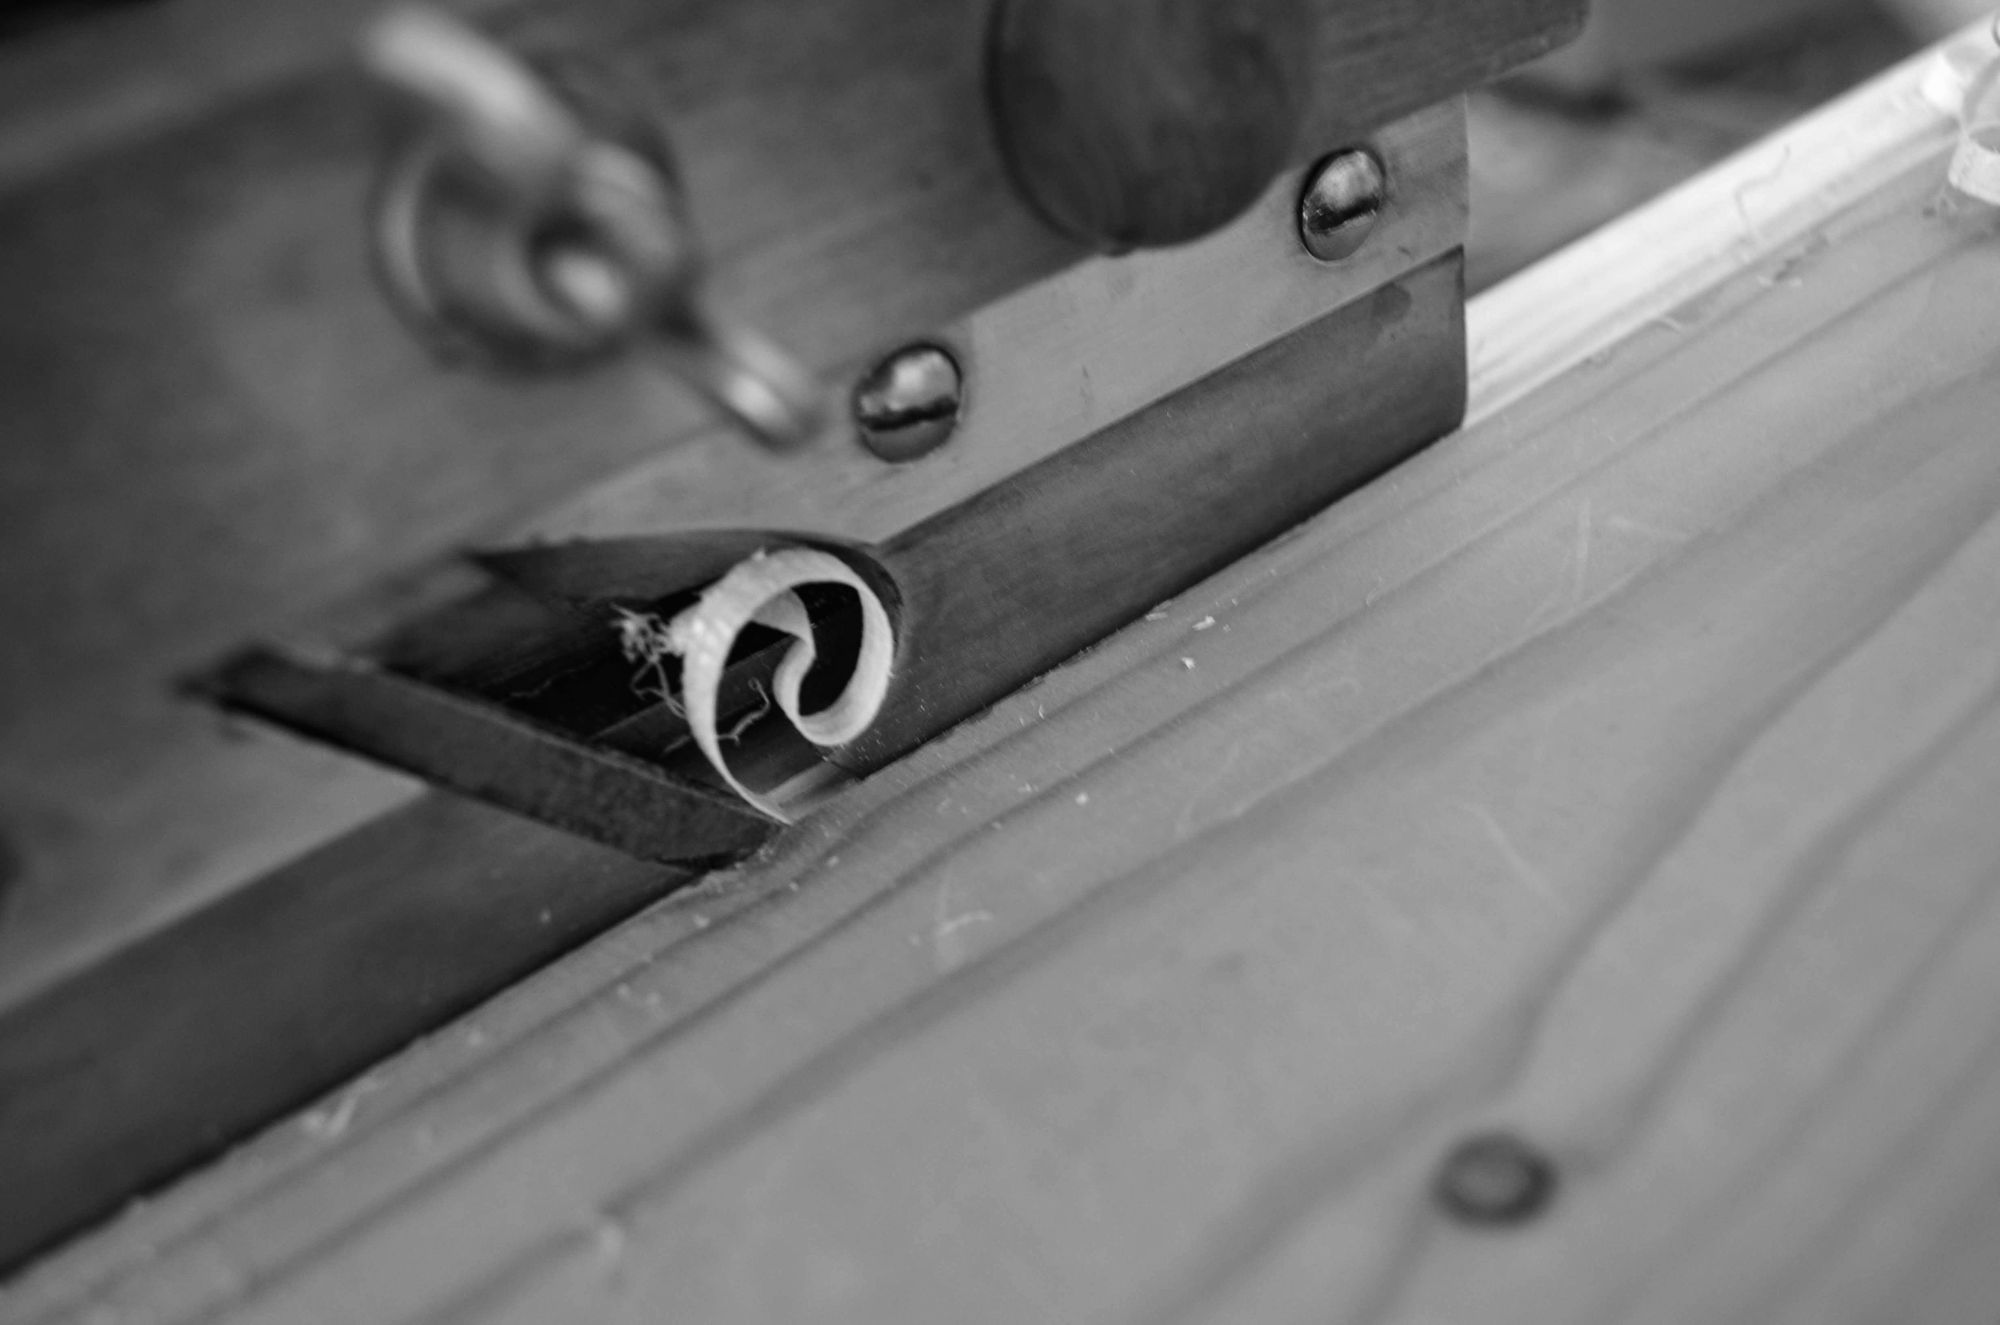
This gave me the opportunity to use one of my favourite planes: the Preston No. 2579, a bullnose plane that can double up as a chisel plane. Ideal for awkward-to-get-to places such as the interior of the chest of drawers. I also learn that you can plane on the reverse with it, by pulling grip instead of pushing.
One does not...
Use nails on the runners.
When at some point the wood surrounding nails erodes and disappears, only the iron is left, scratching and carving into the drawers. Which ruins them in no time.
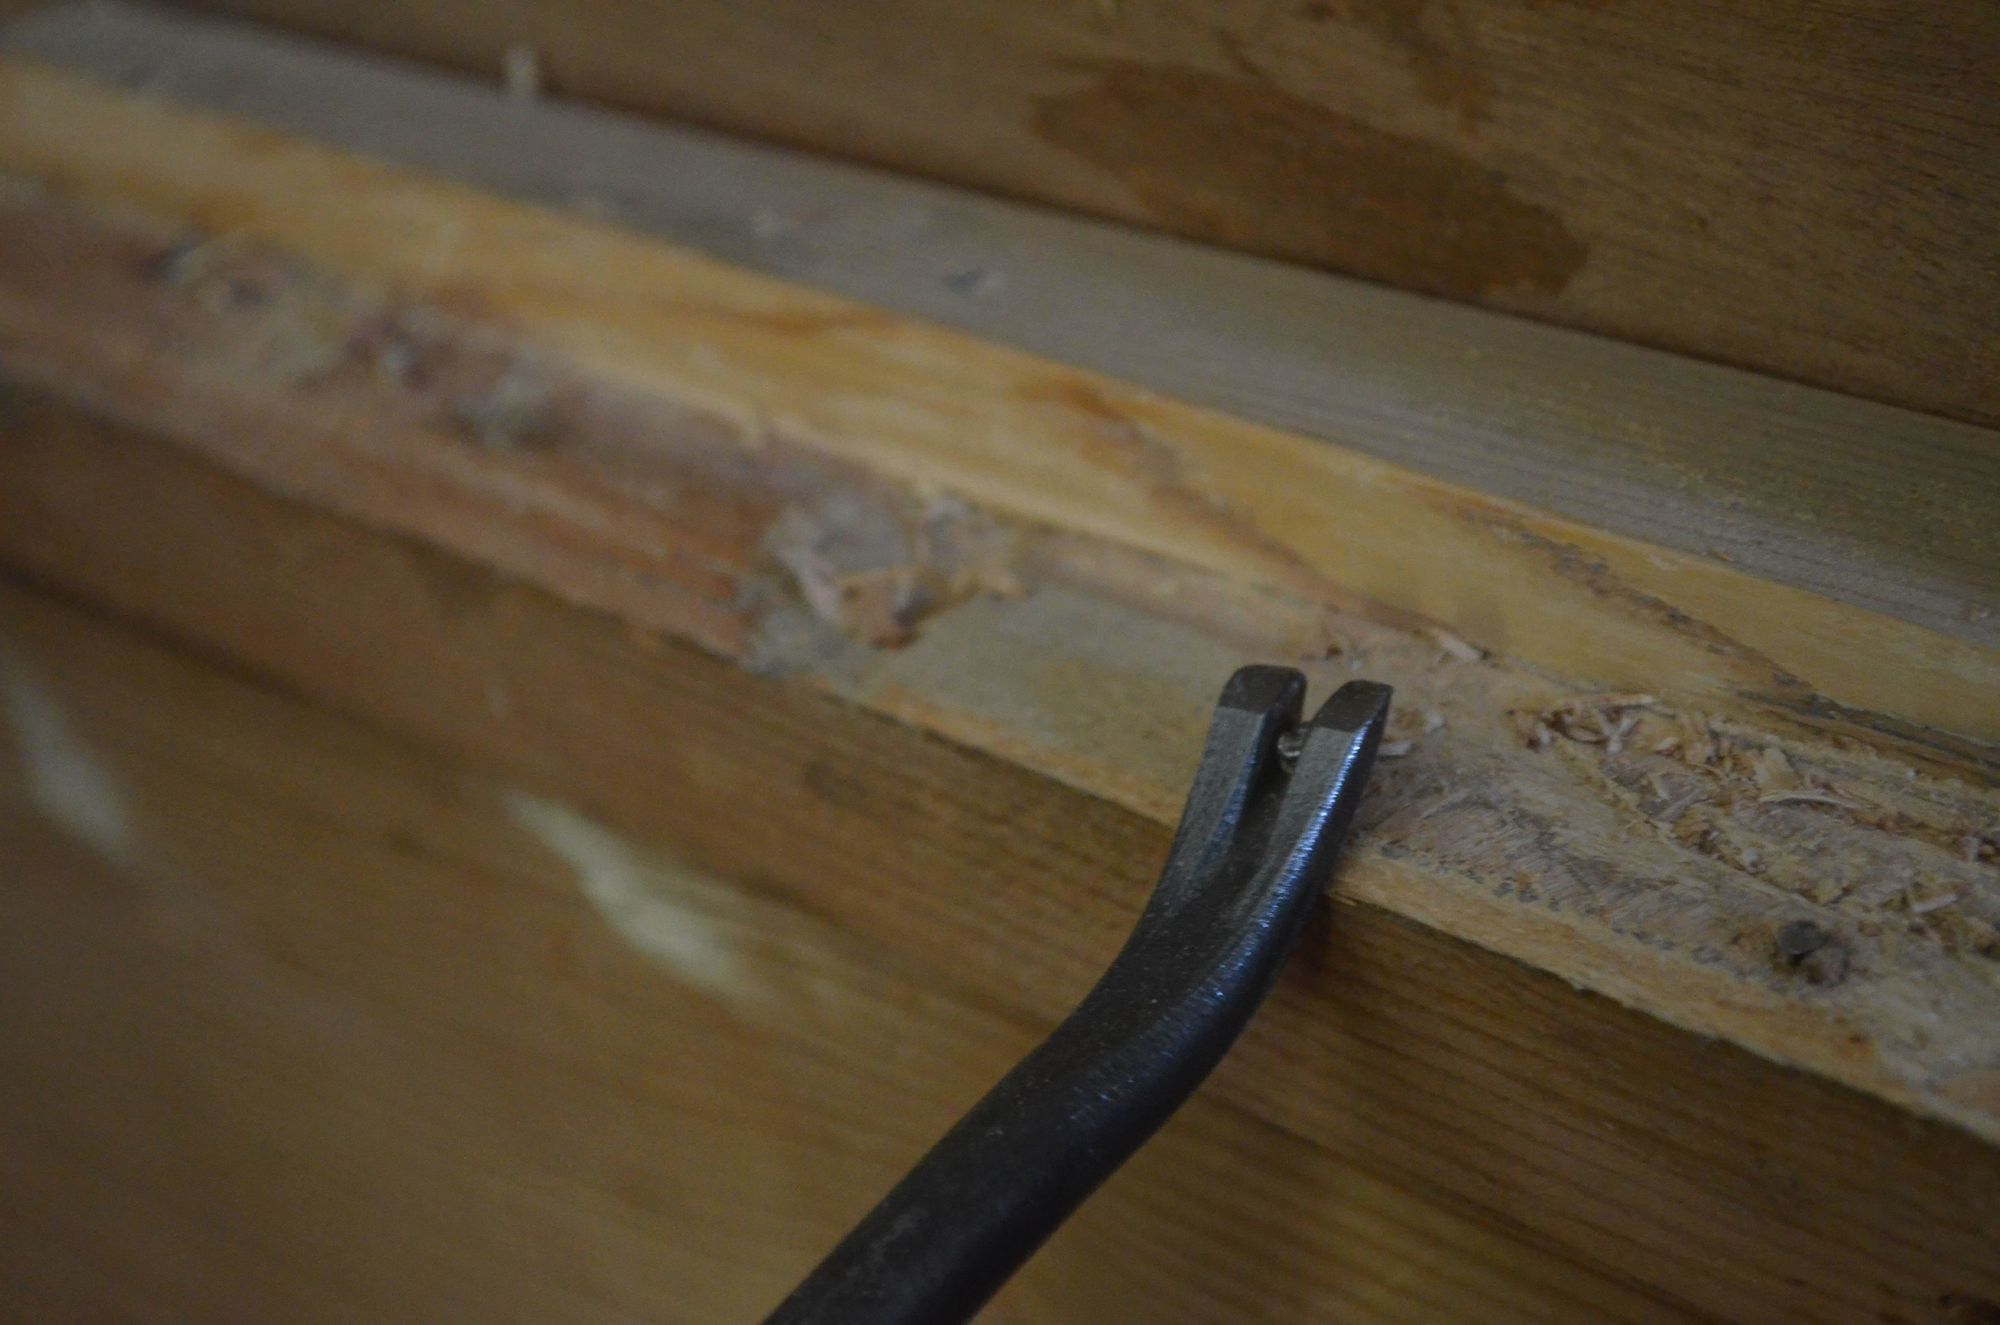
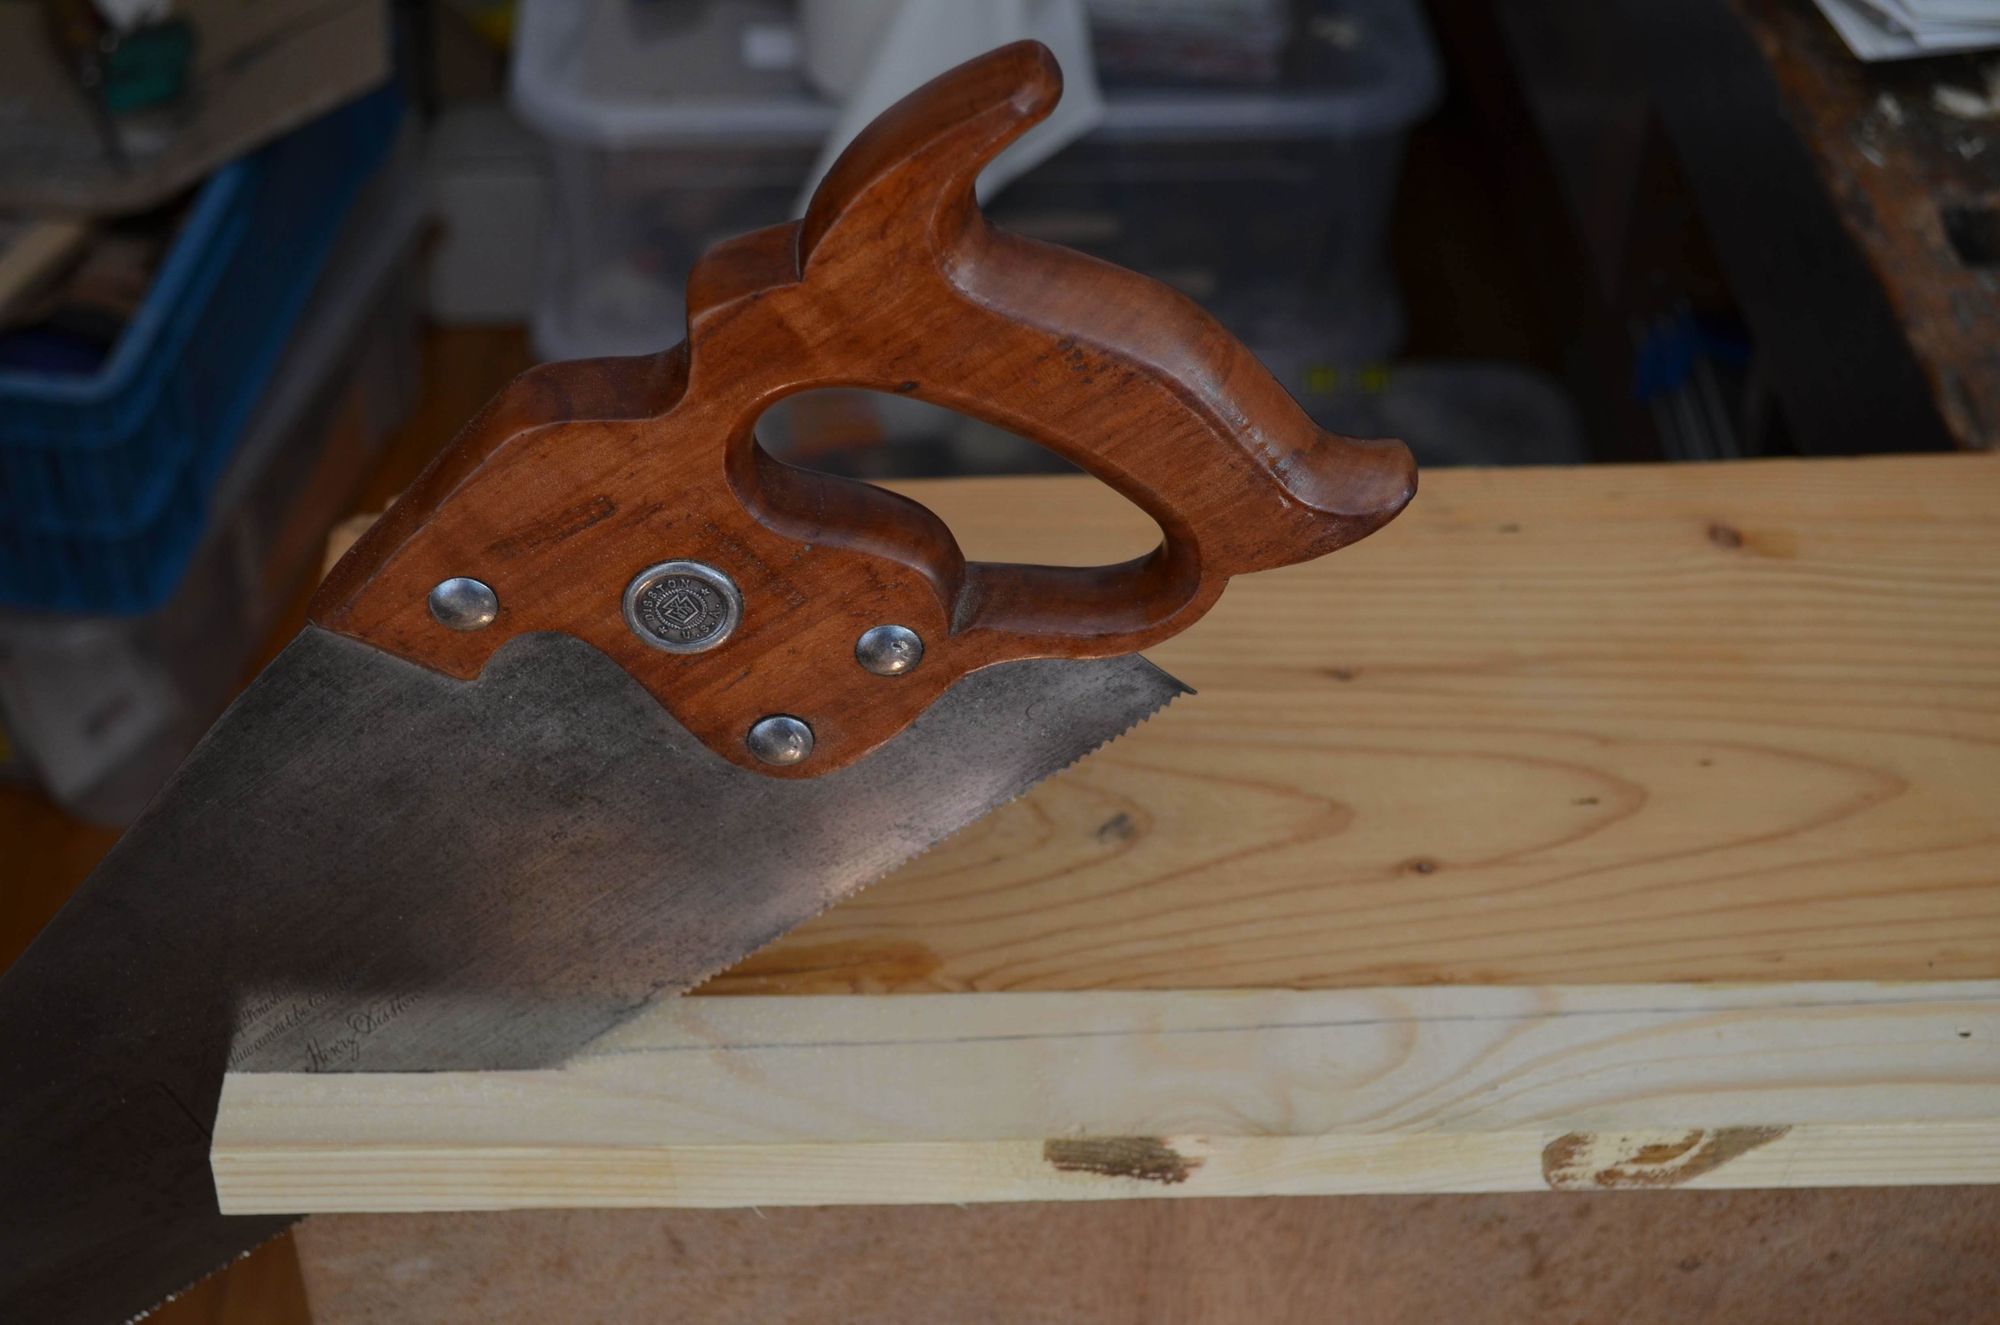
This very unexciting step was all about removing the nails before planing. I was not happy about missing the last one and thus getting a freshly sharpened chisel nicked.
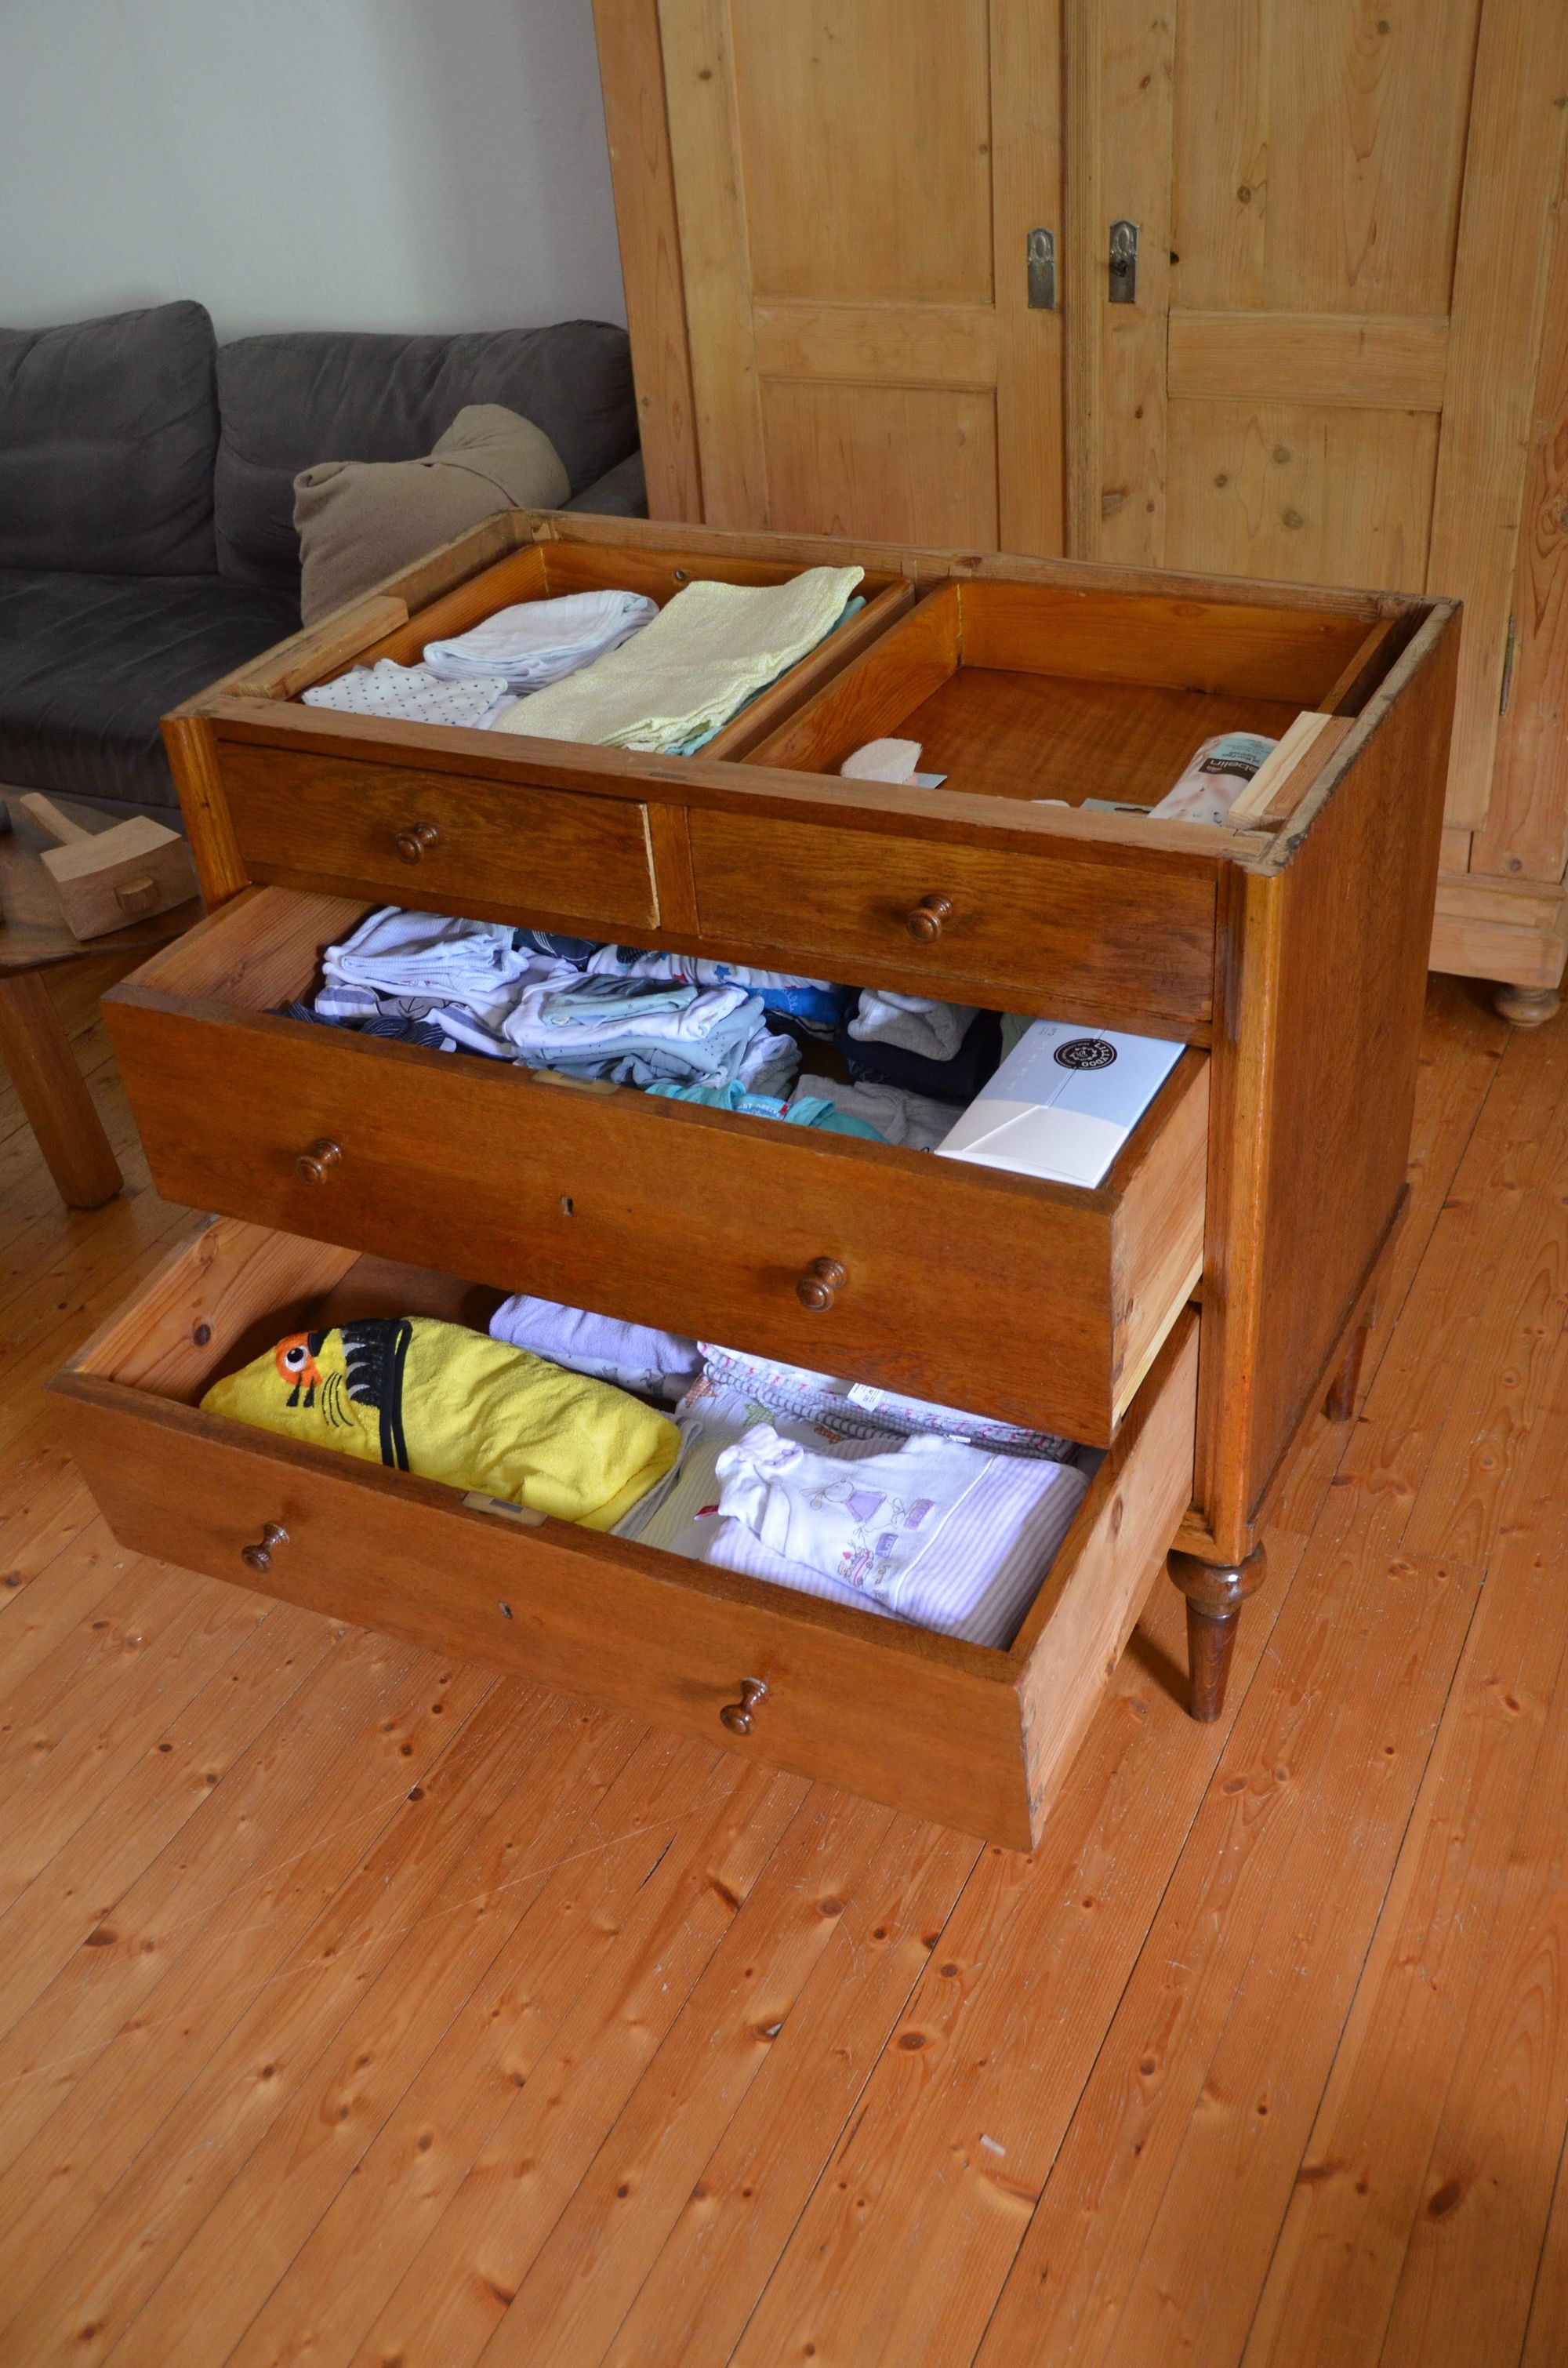
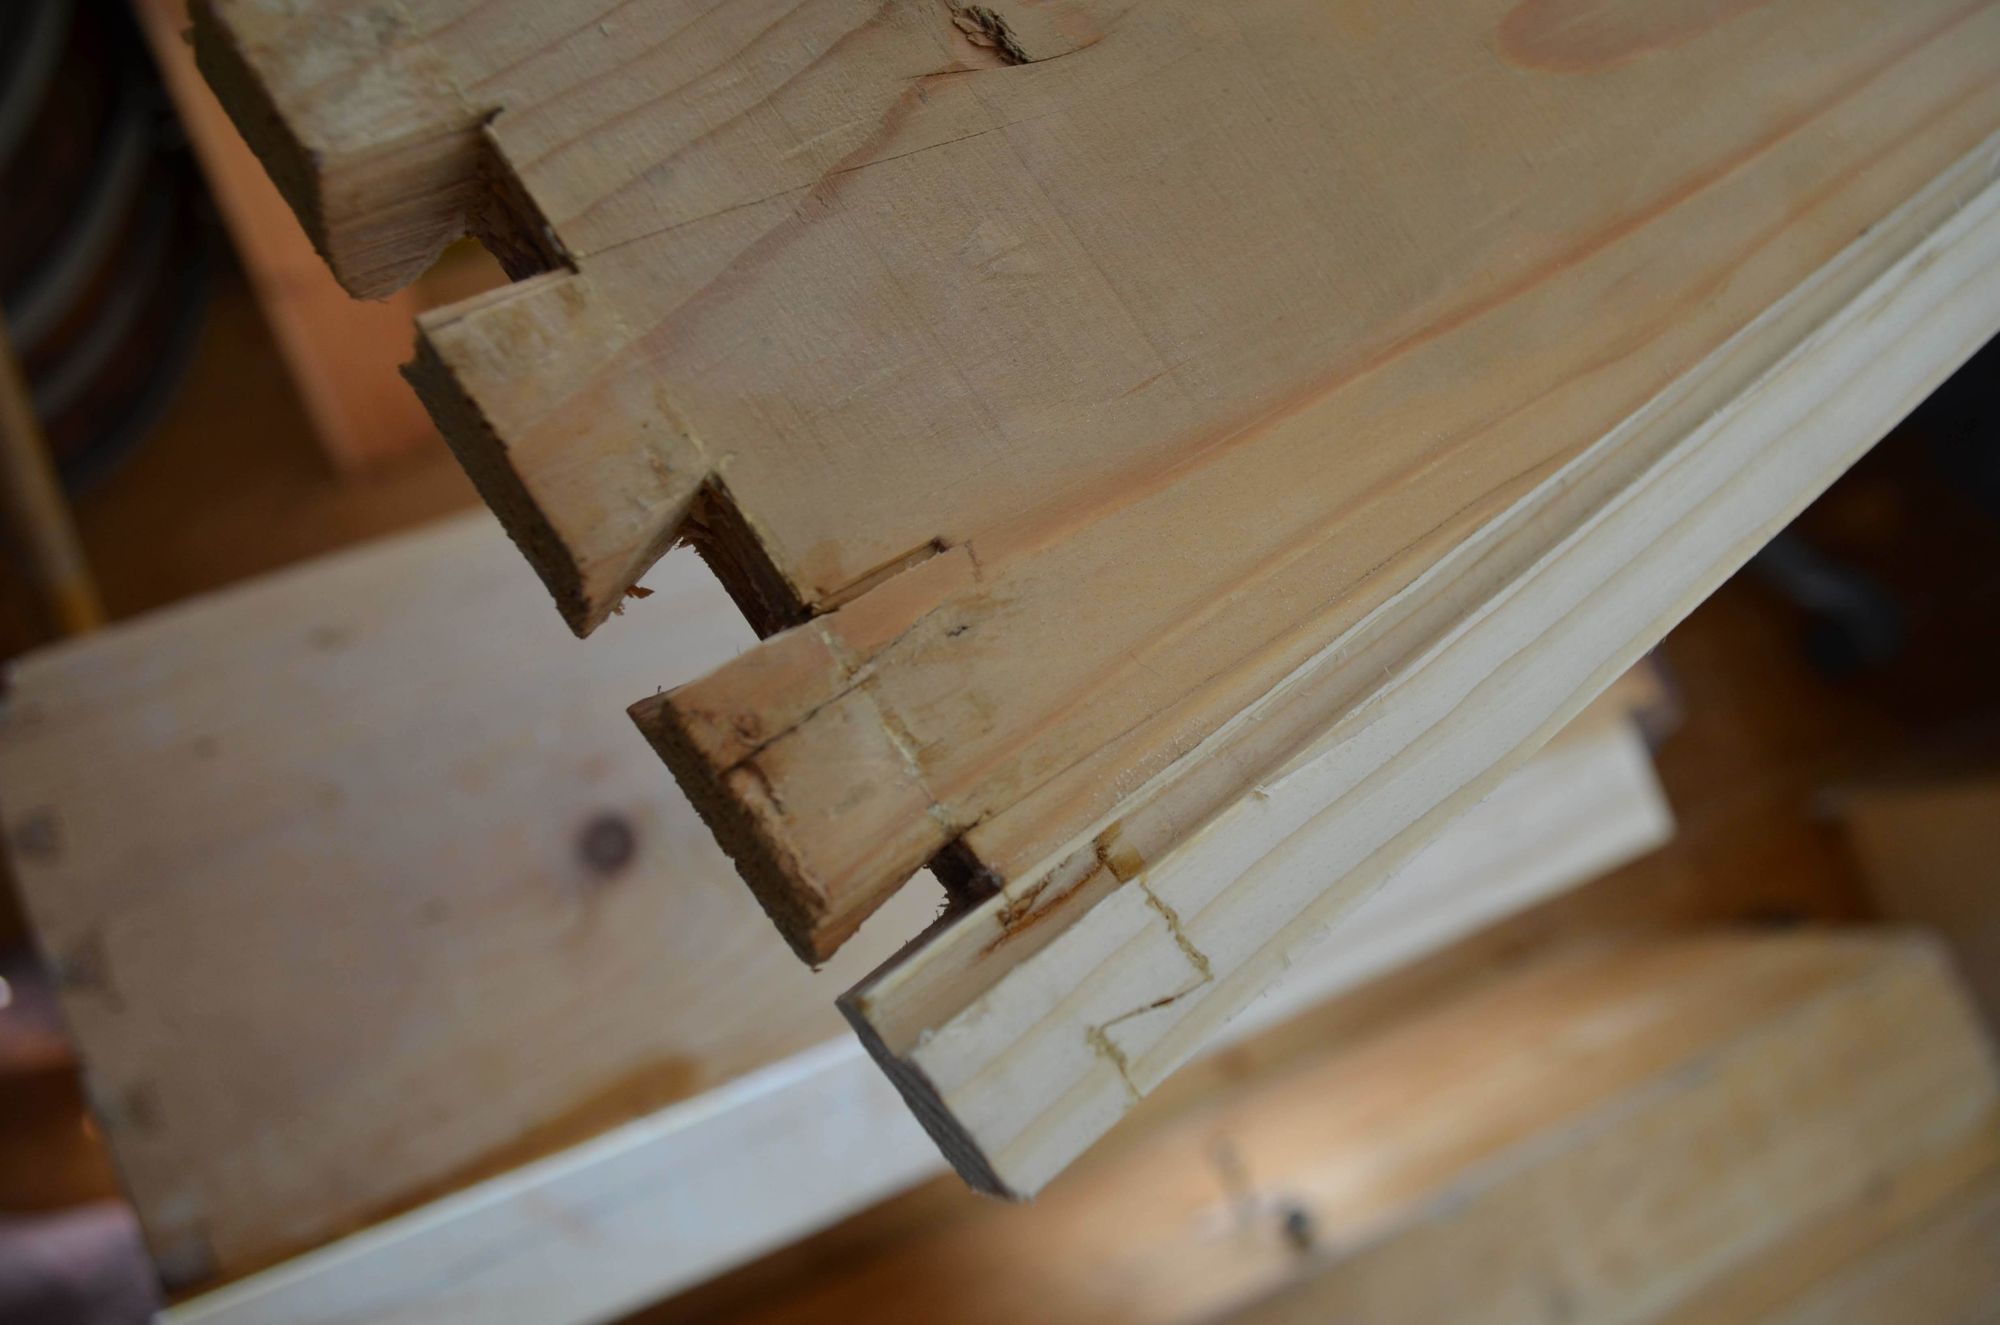
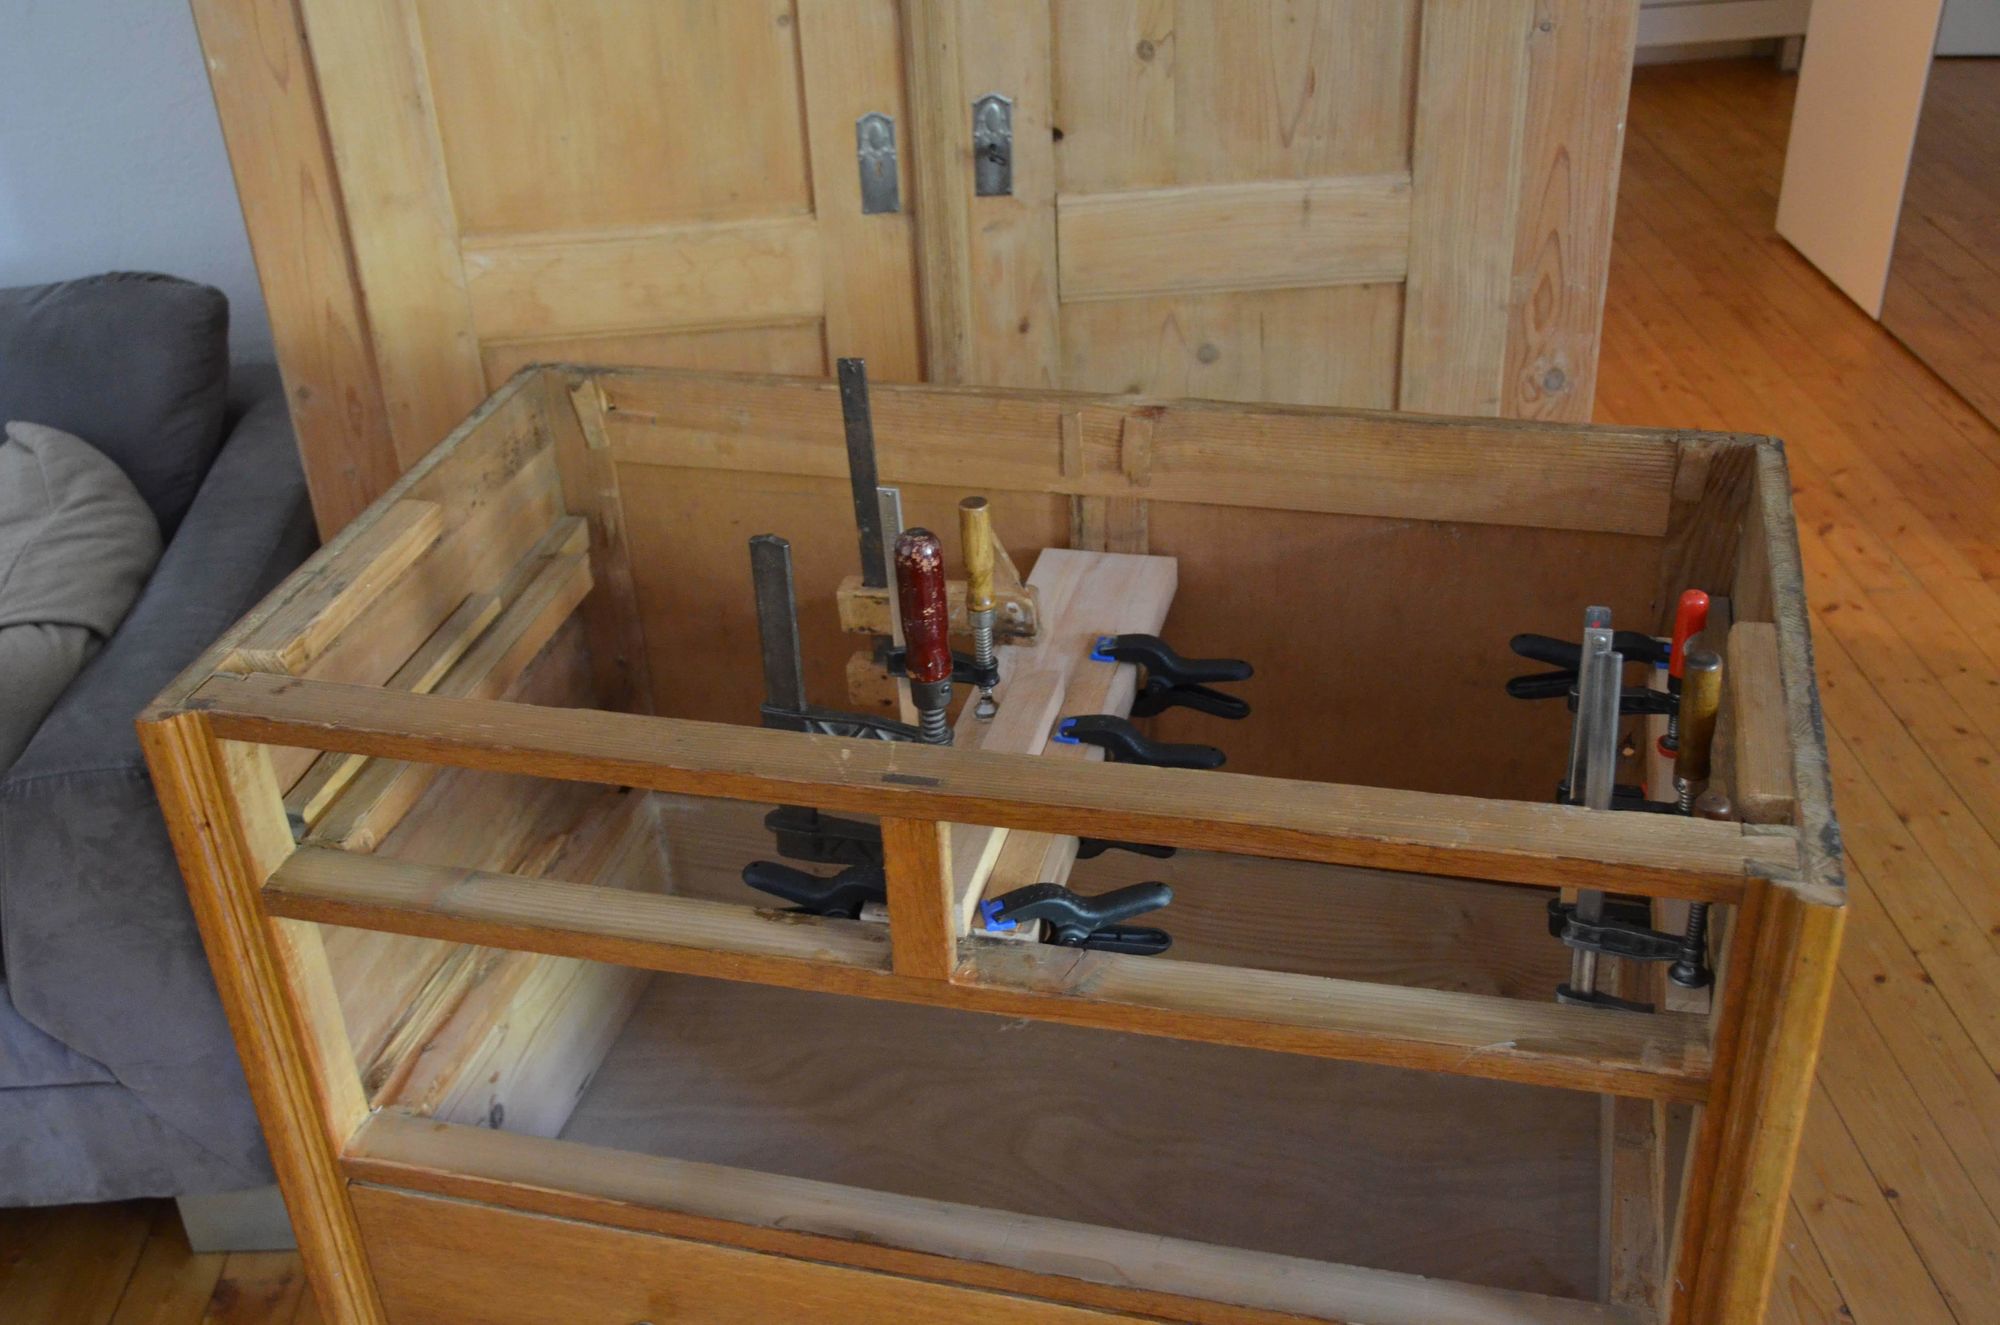
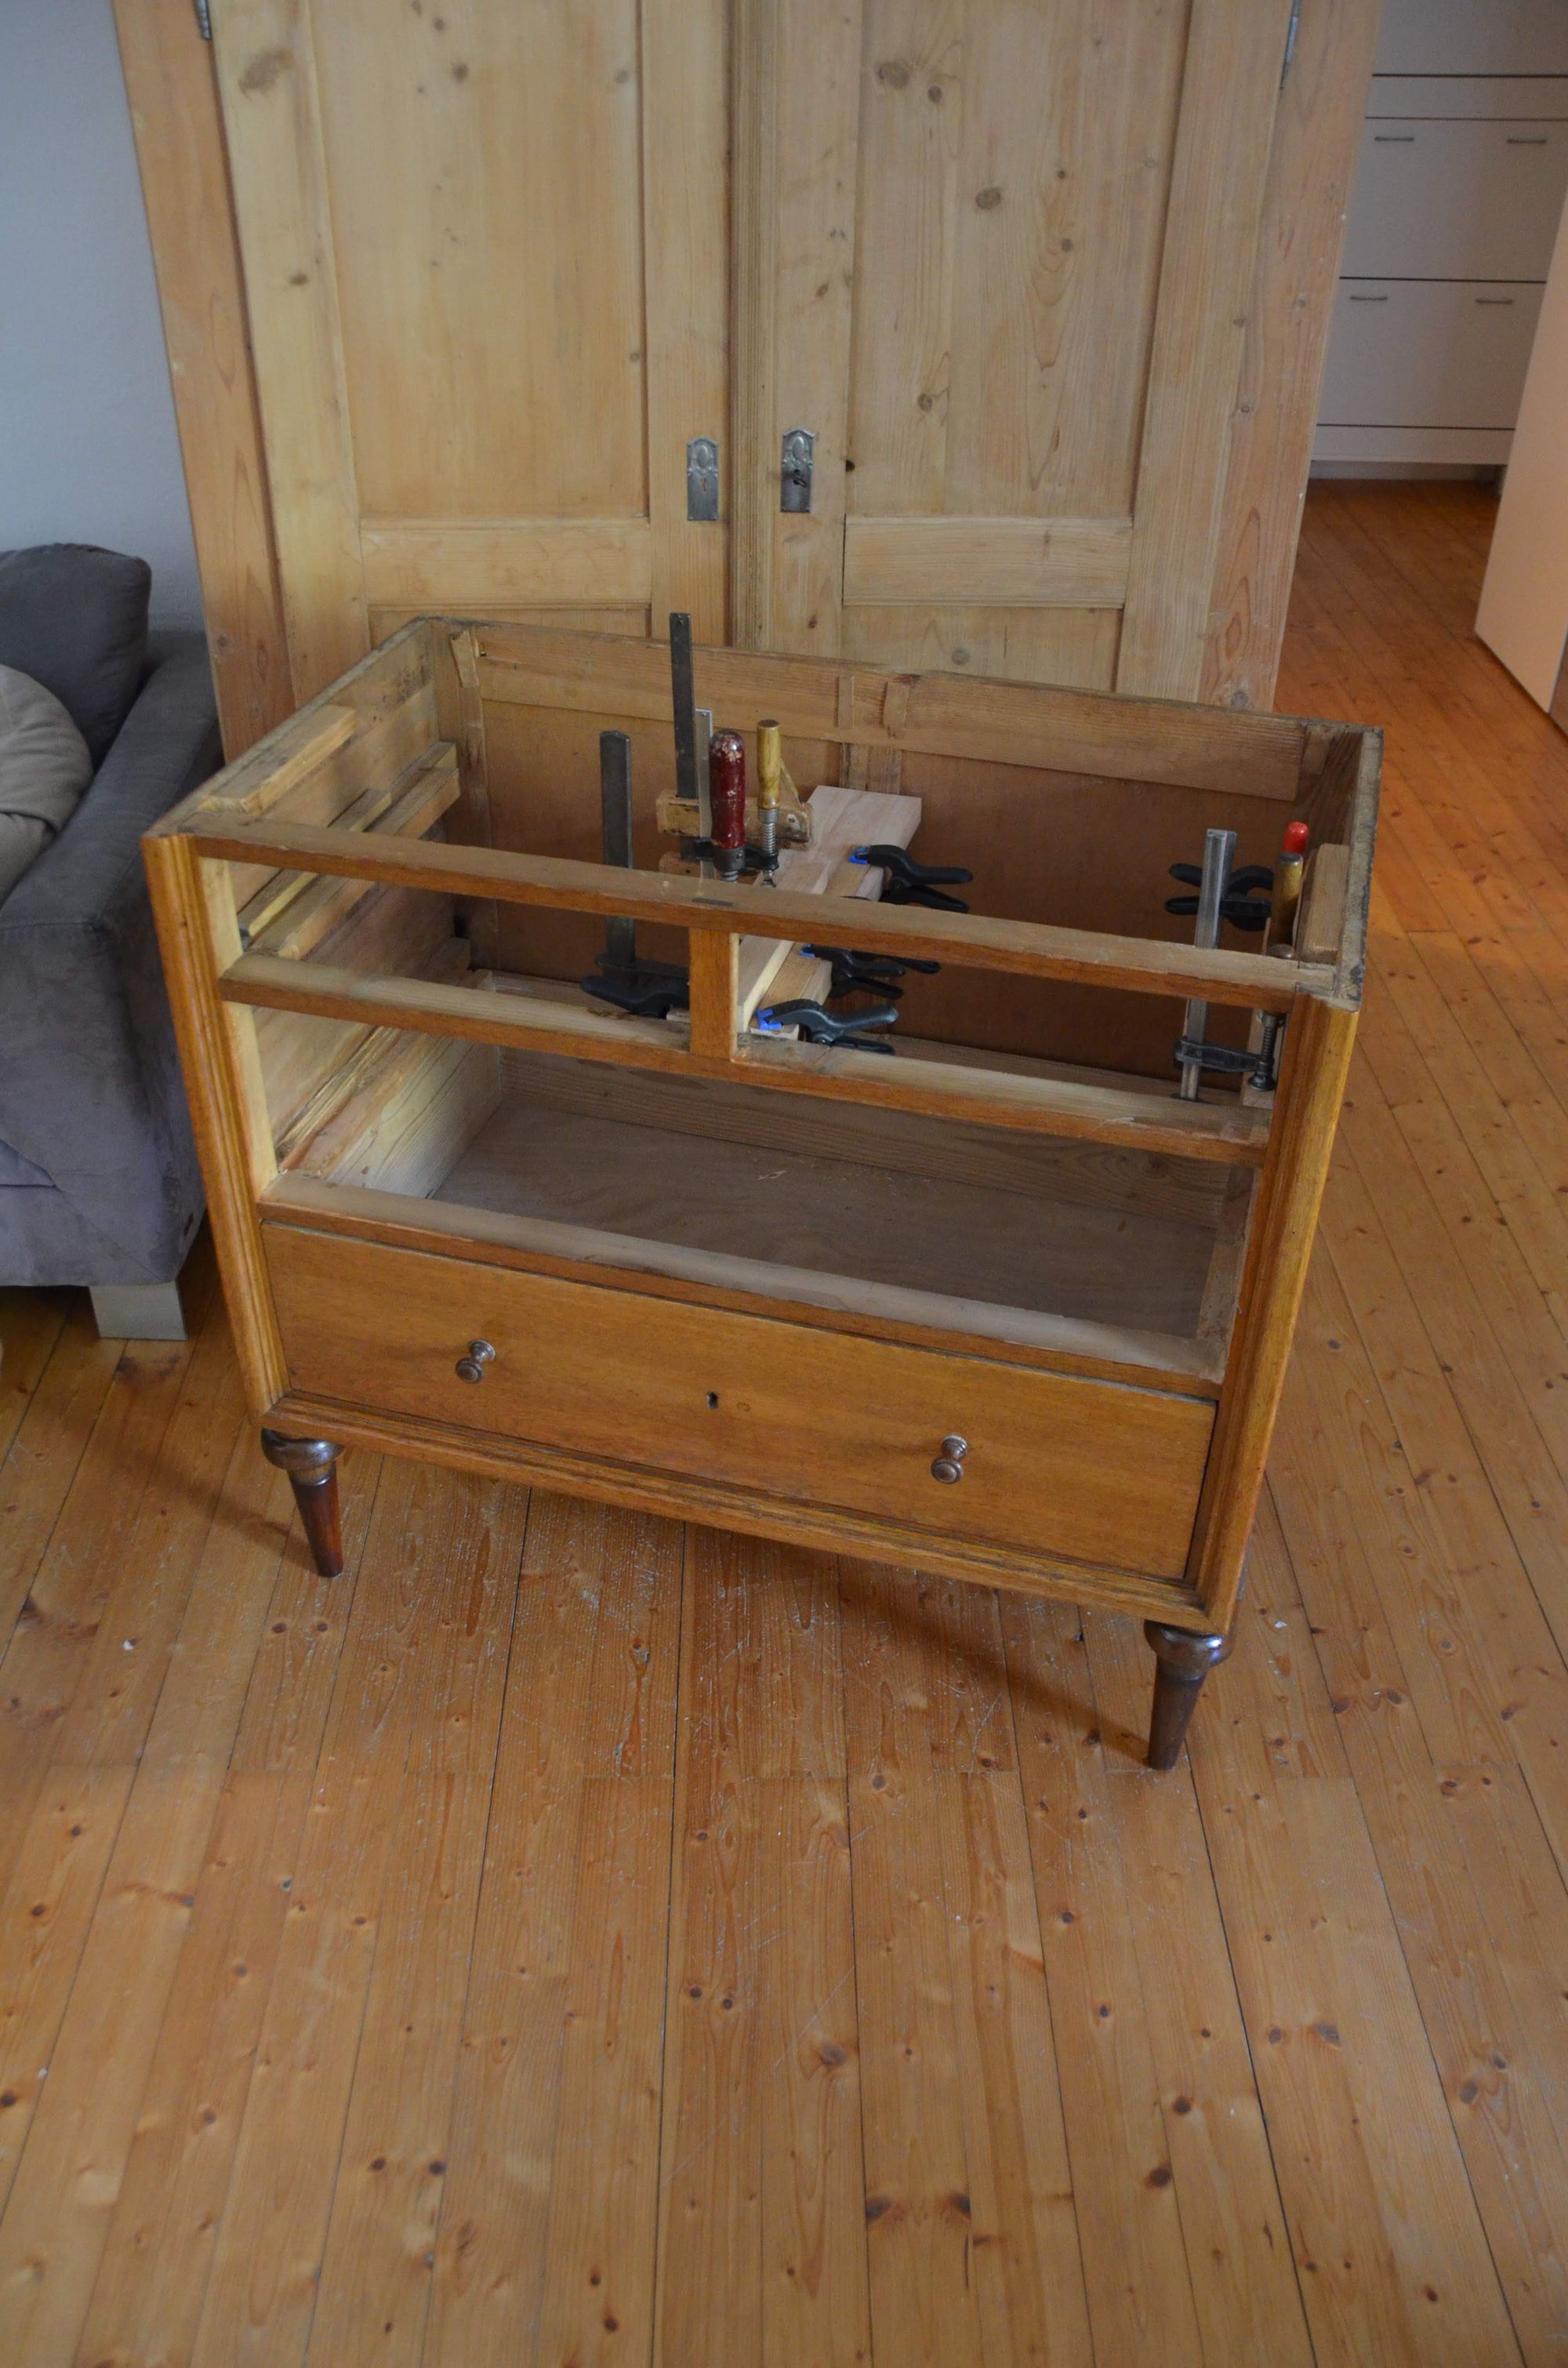
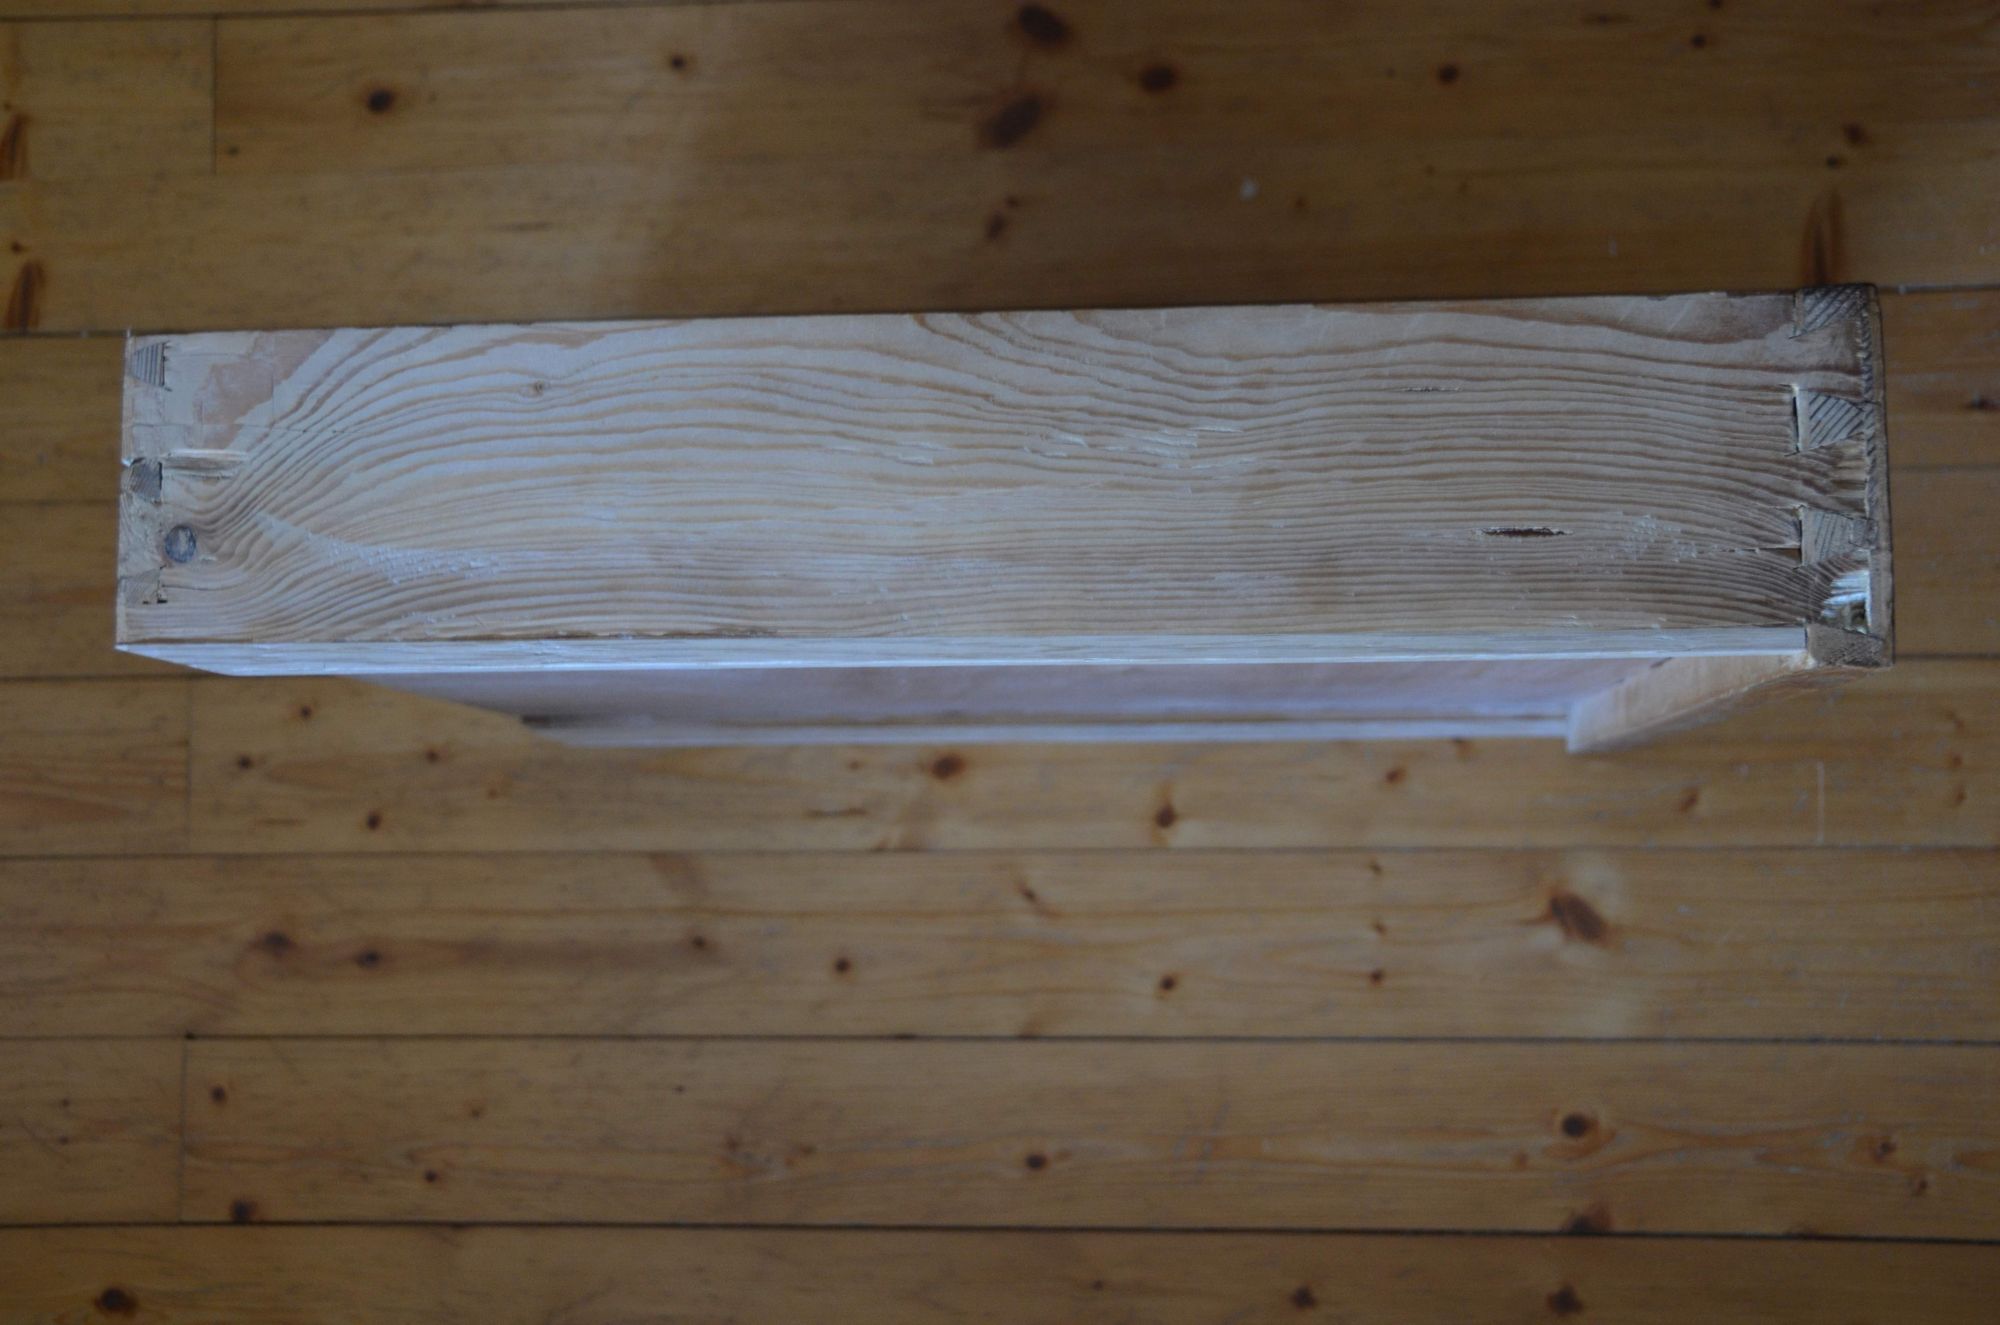
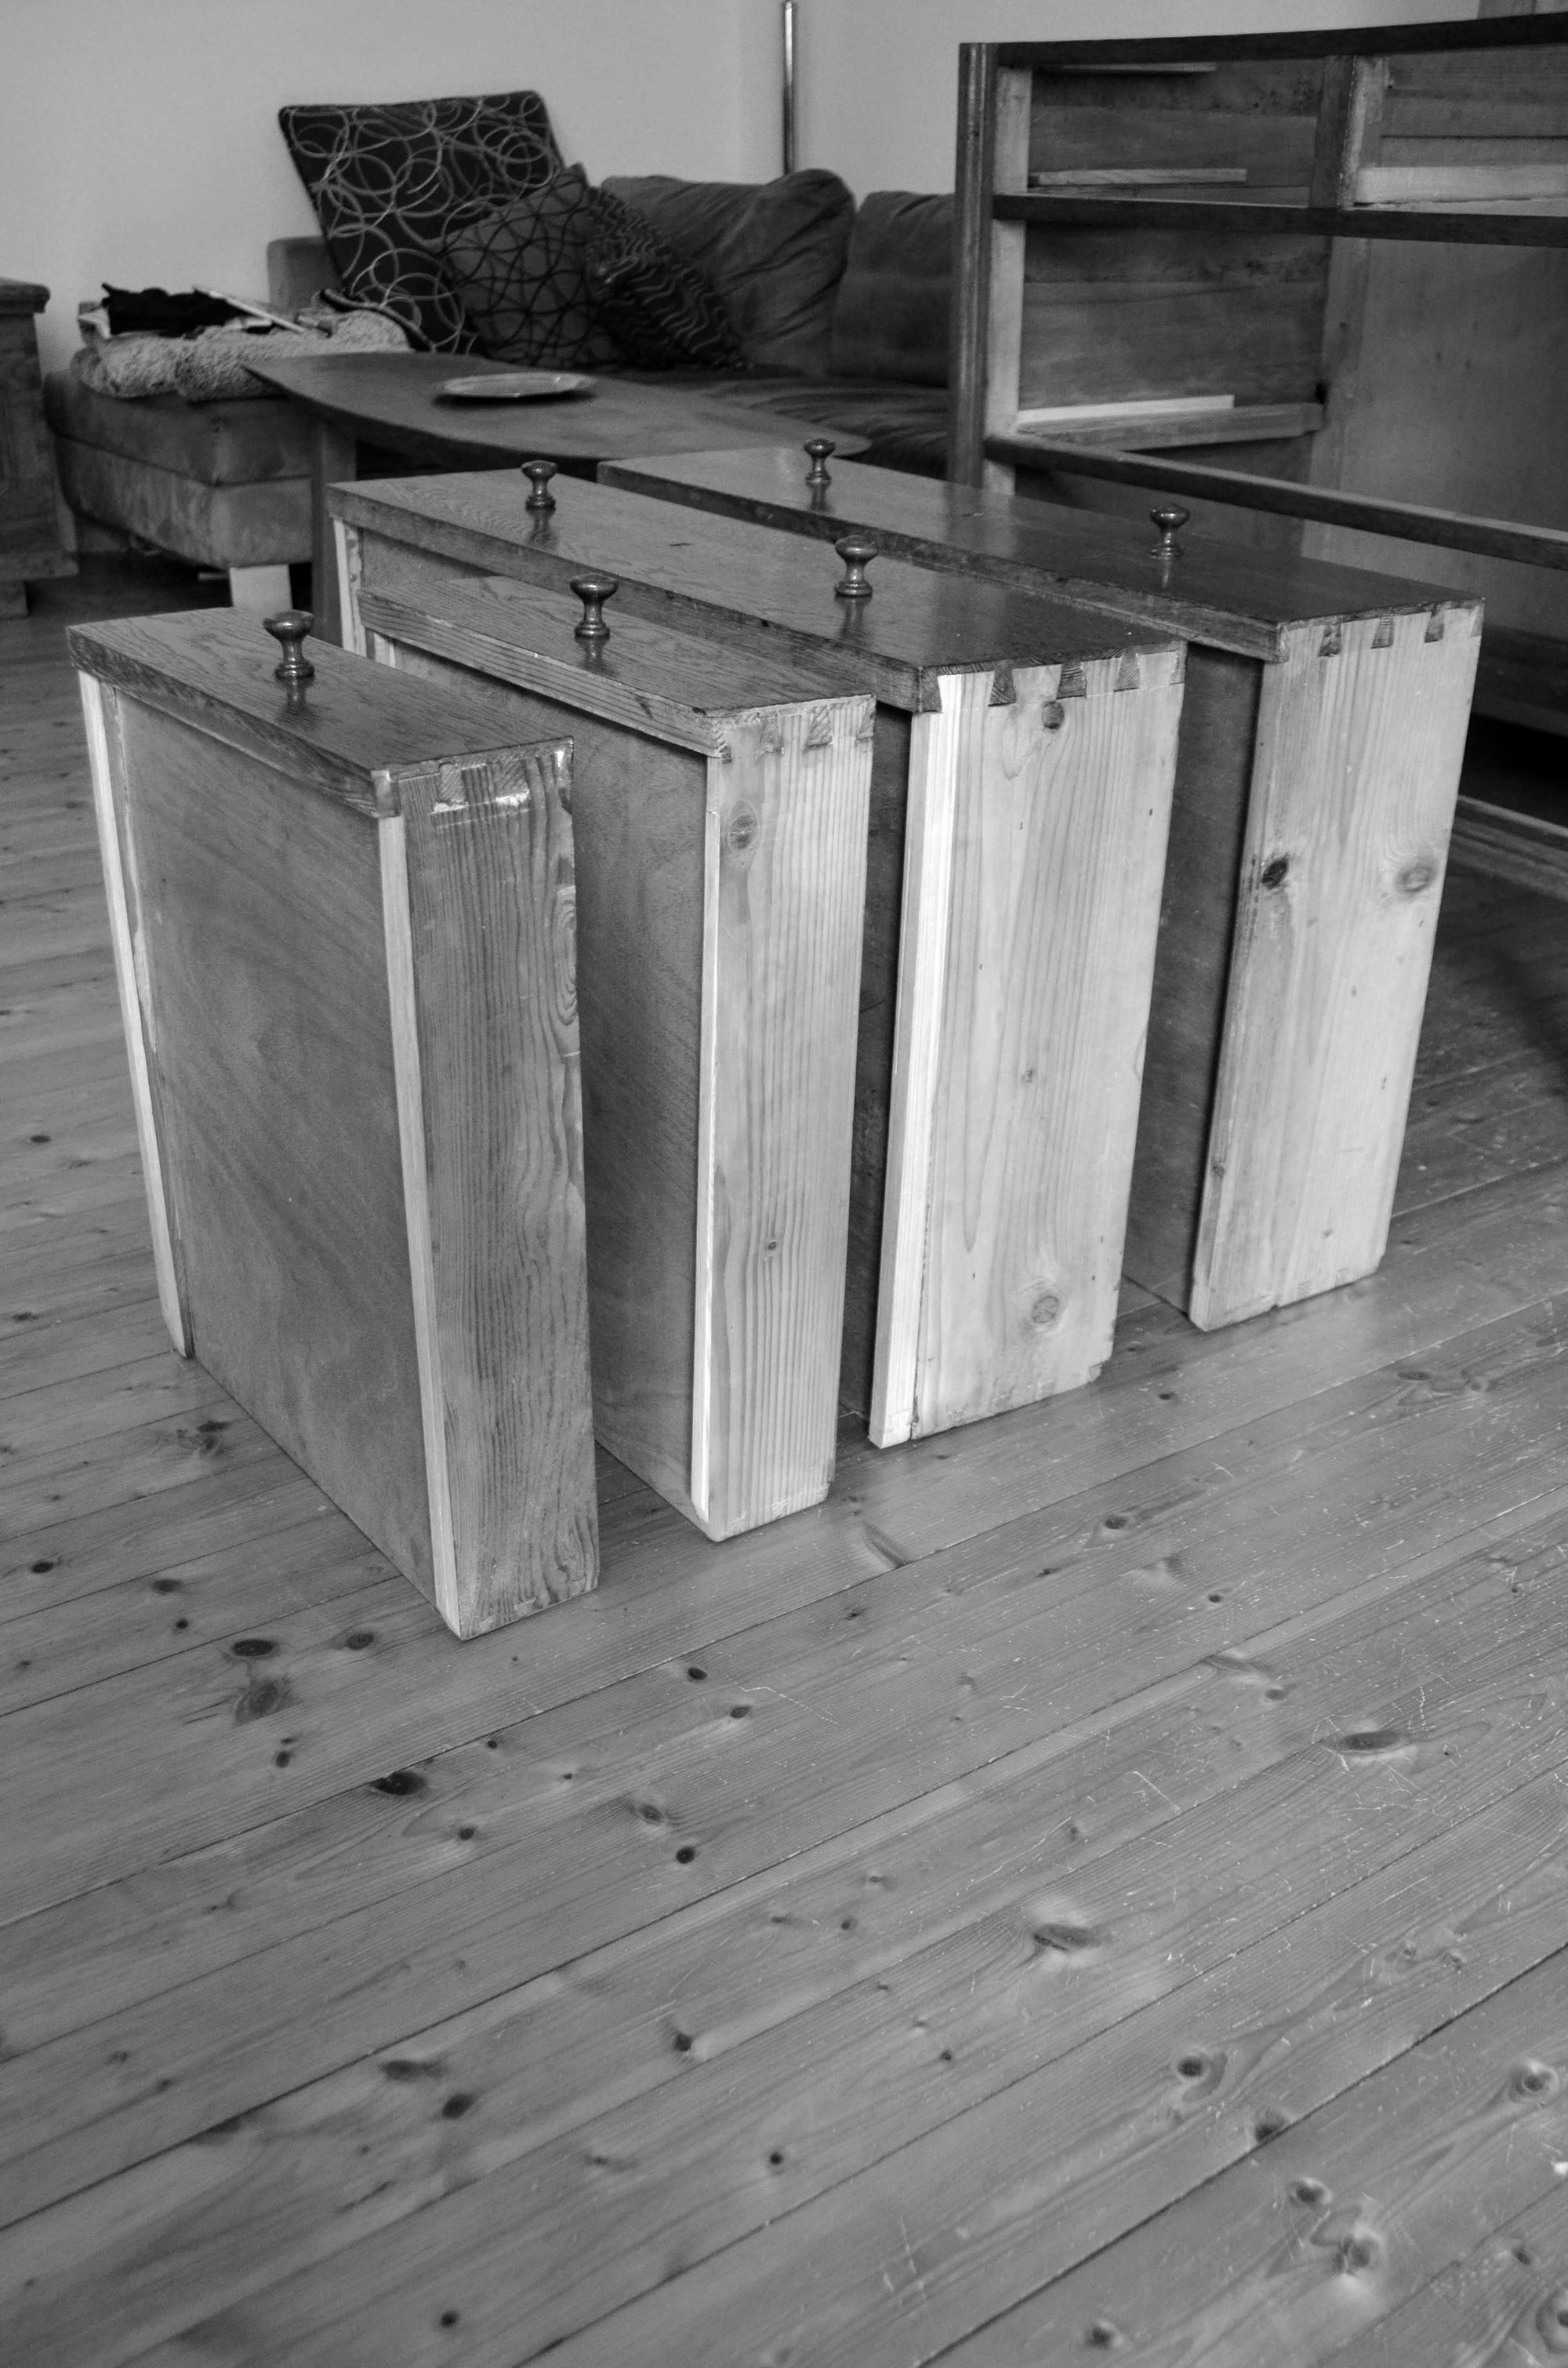
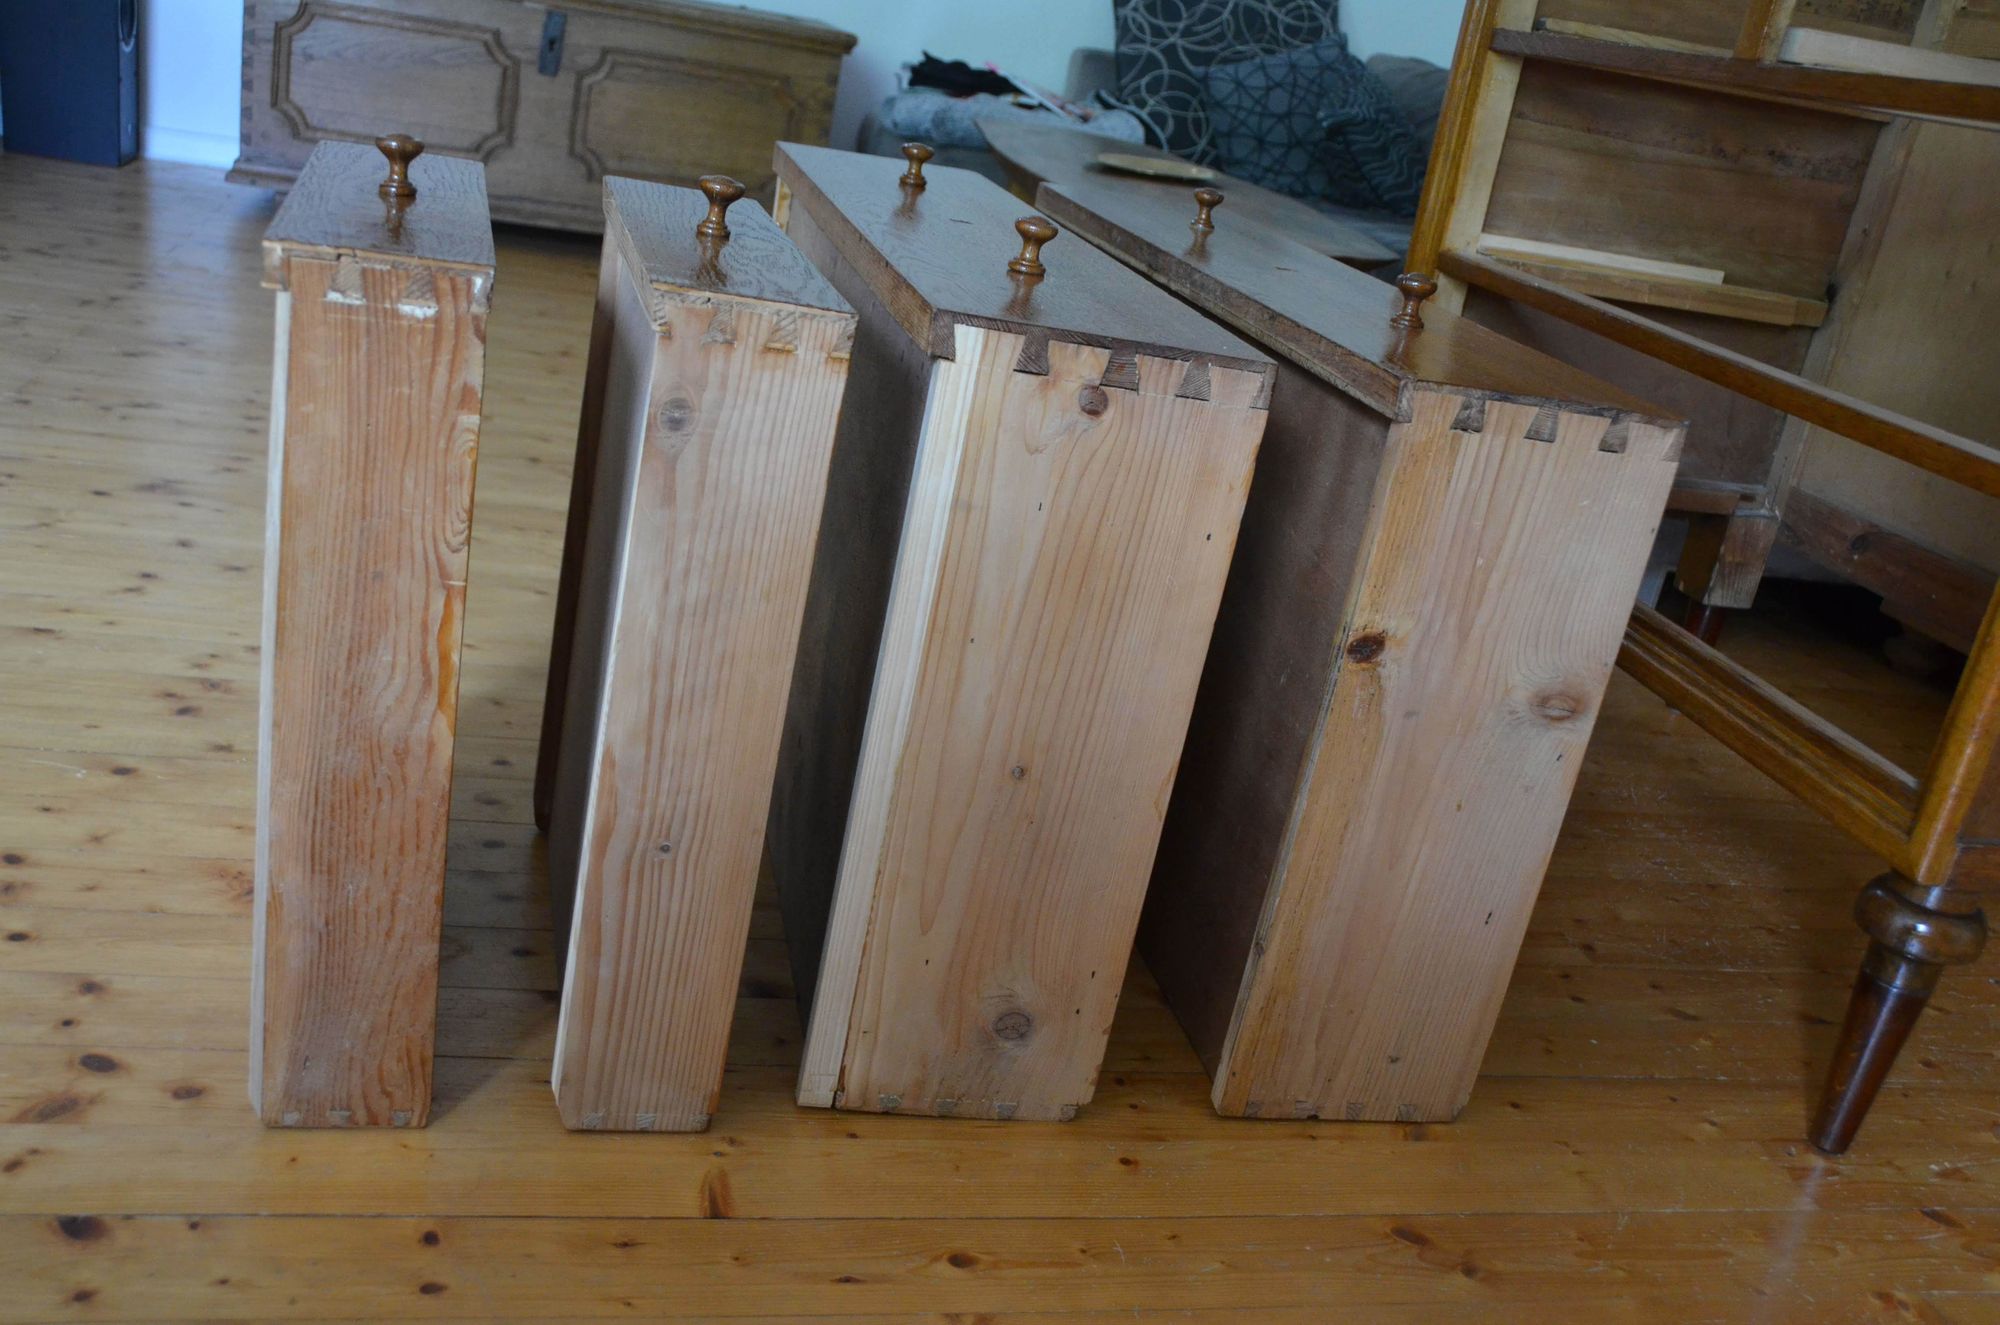
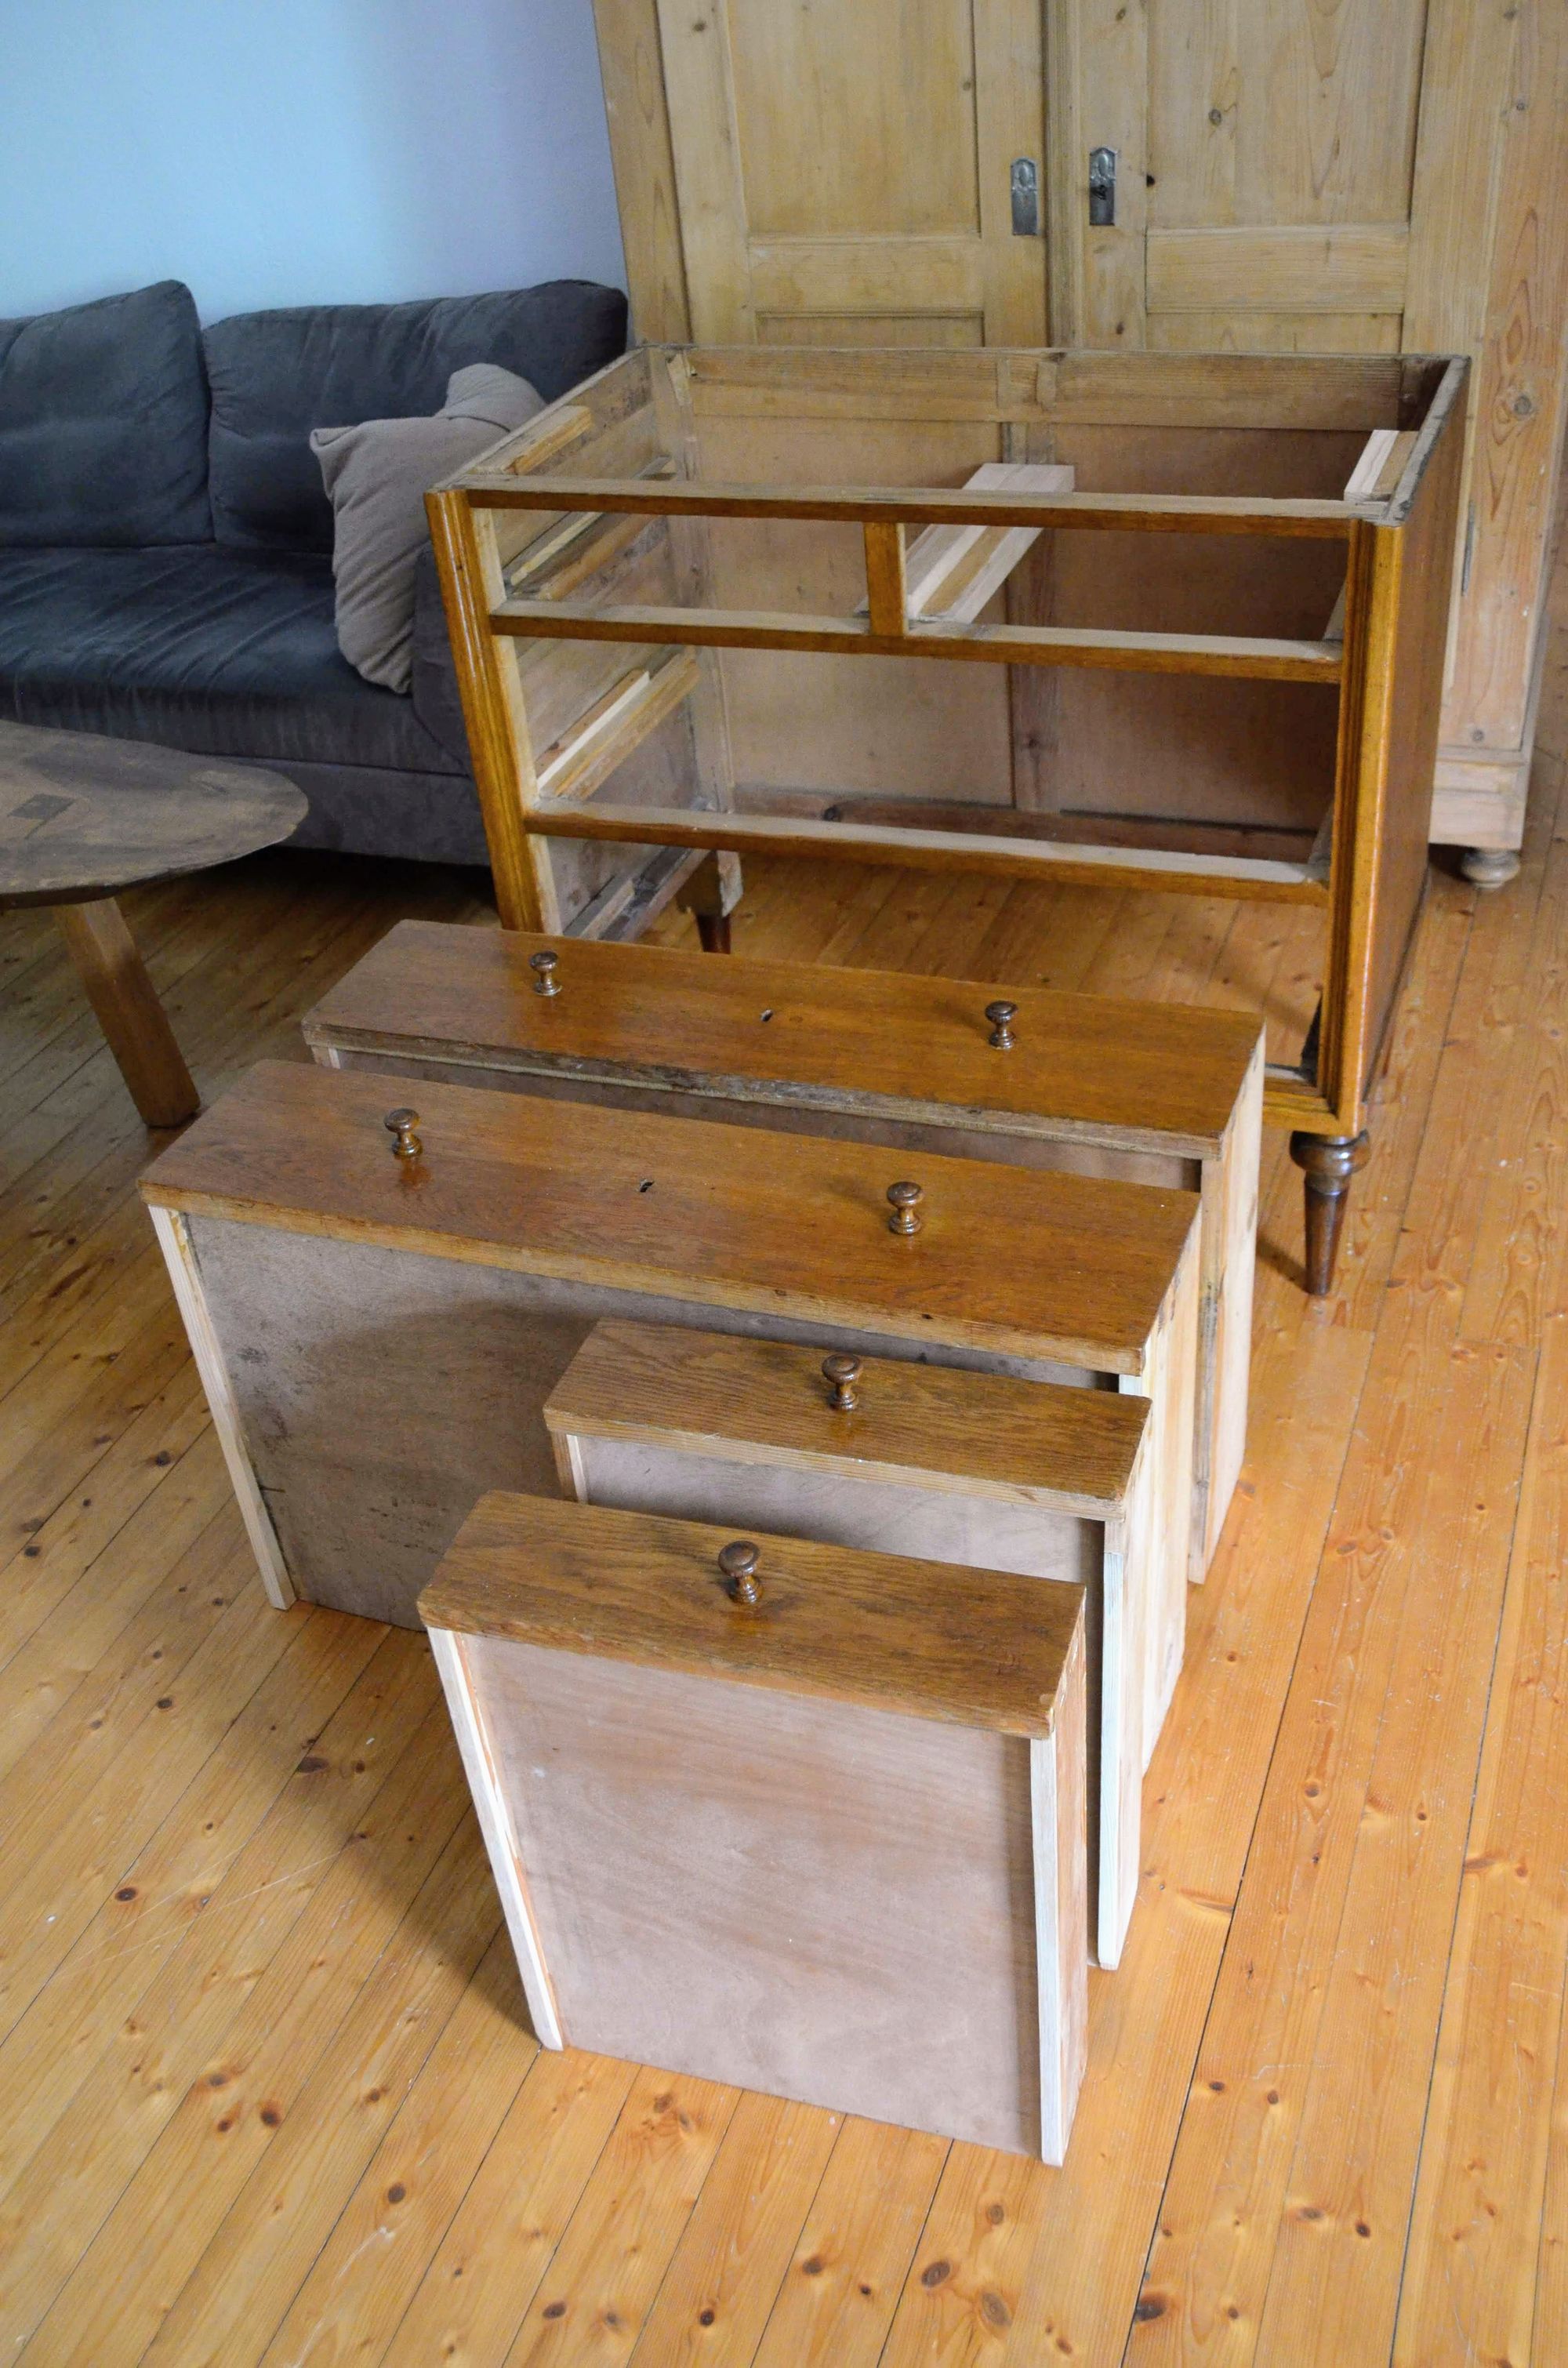
Middle drawer reconstruction
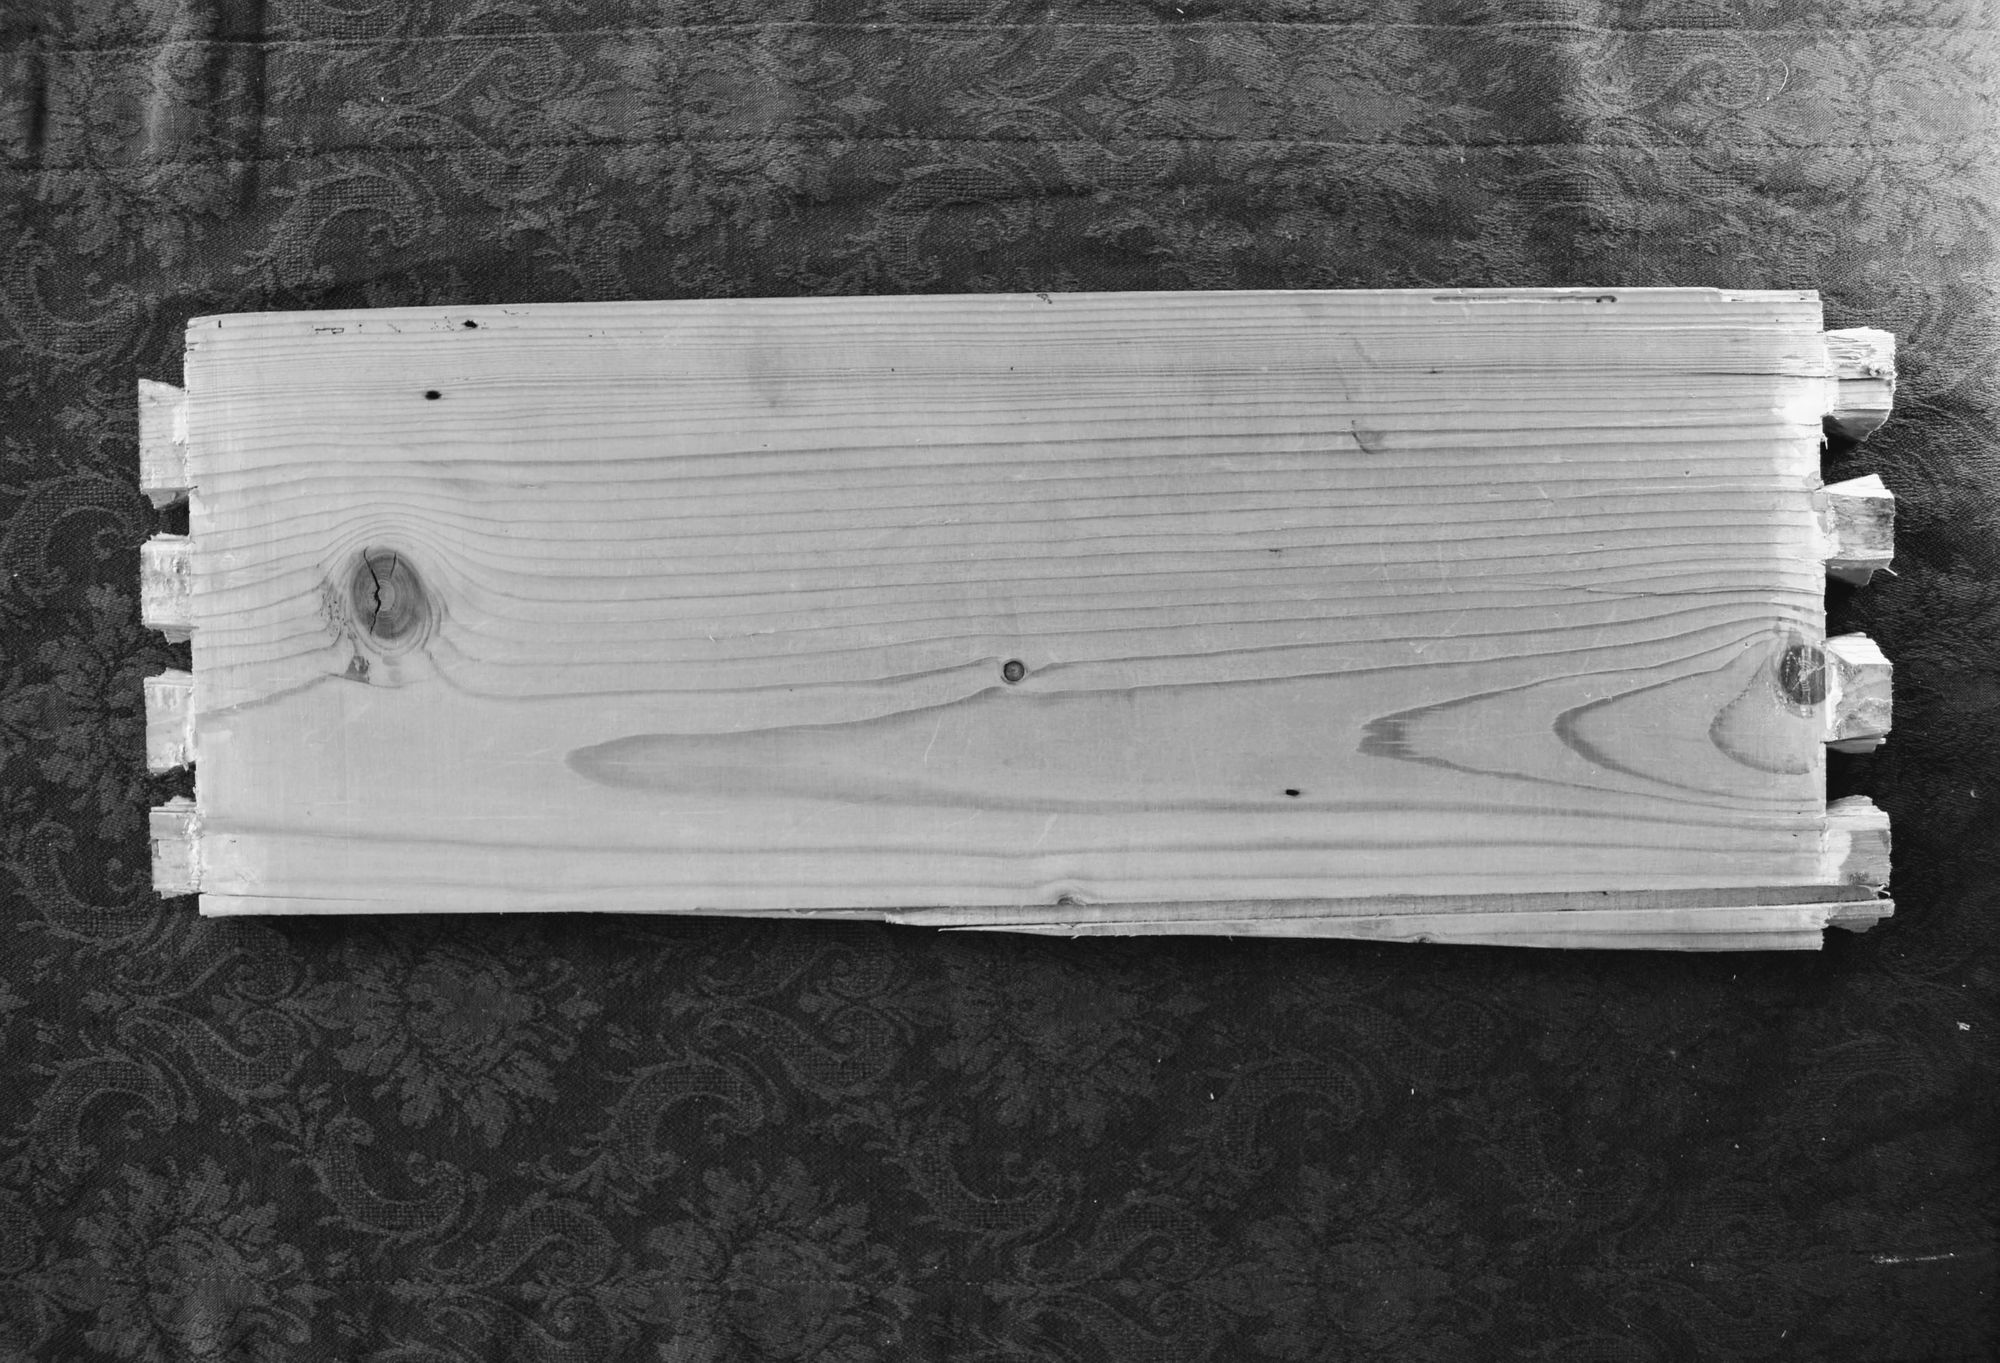
Due to the massive amount of wood missing from the middle drawer's base, I realized I would not be able to repair it in place. So I decided to take it apart.
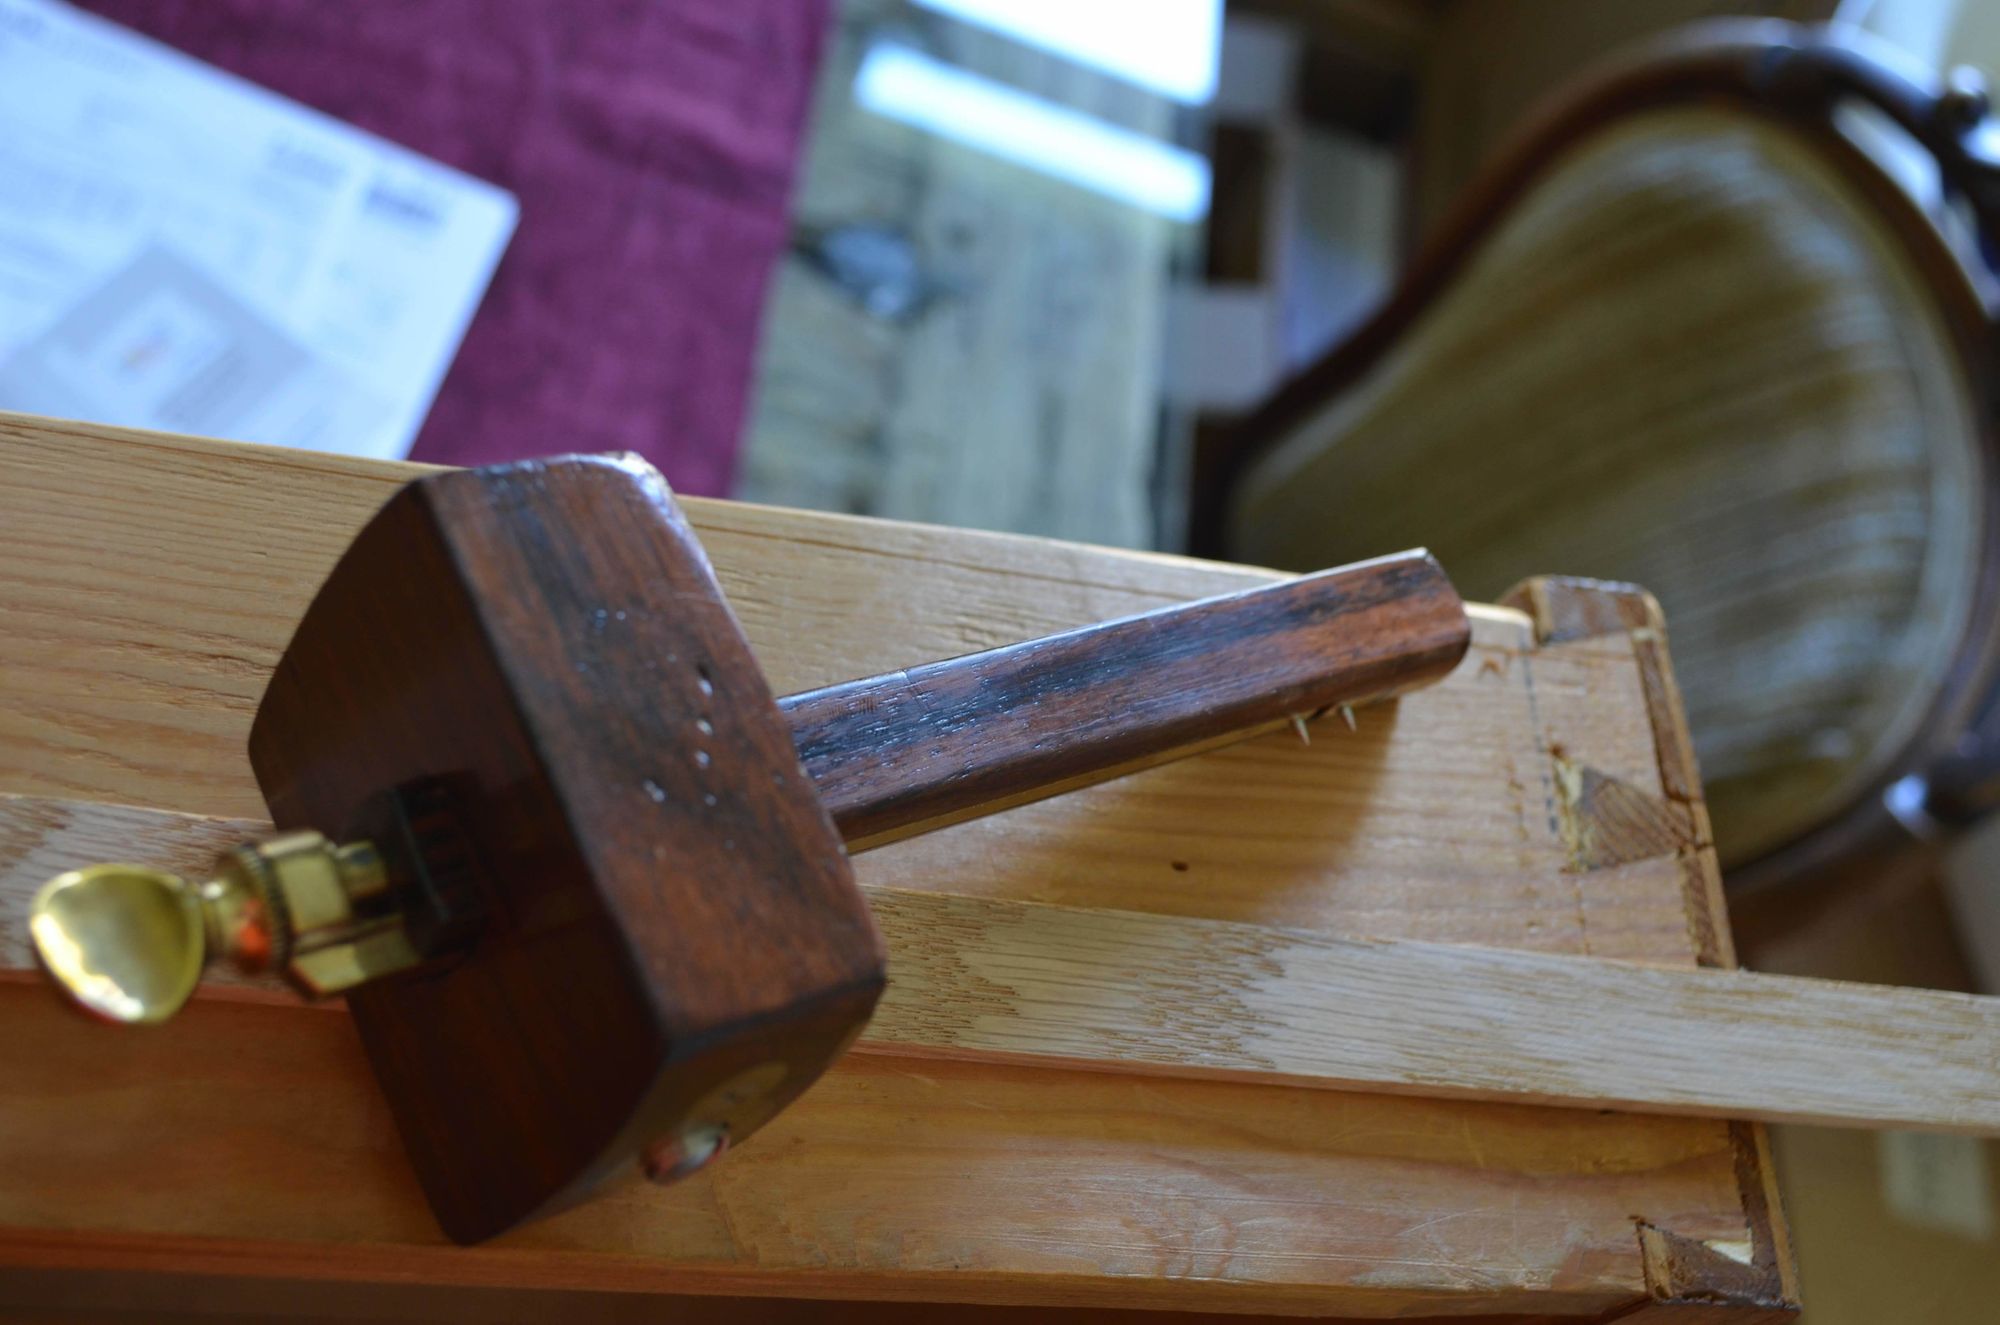
It made it easier that it was built at a time when hide glue was still common. I used hot water applied with a syringe to soften the glue at the joints. With some persuasion and a nylon hammer, the side came off much easier than anticipated.

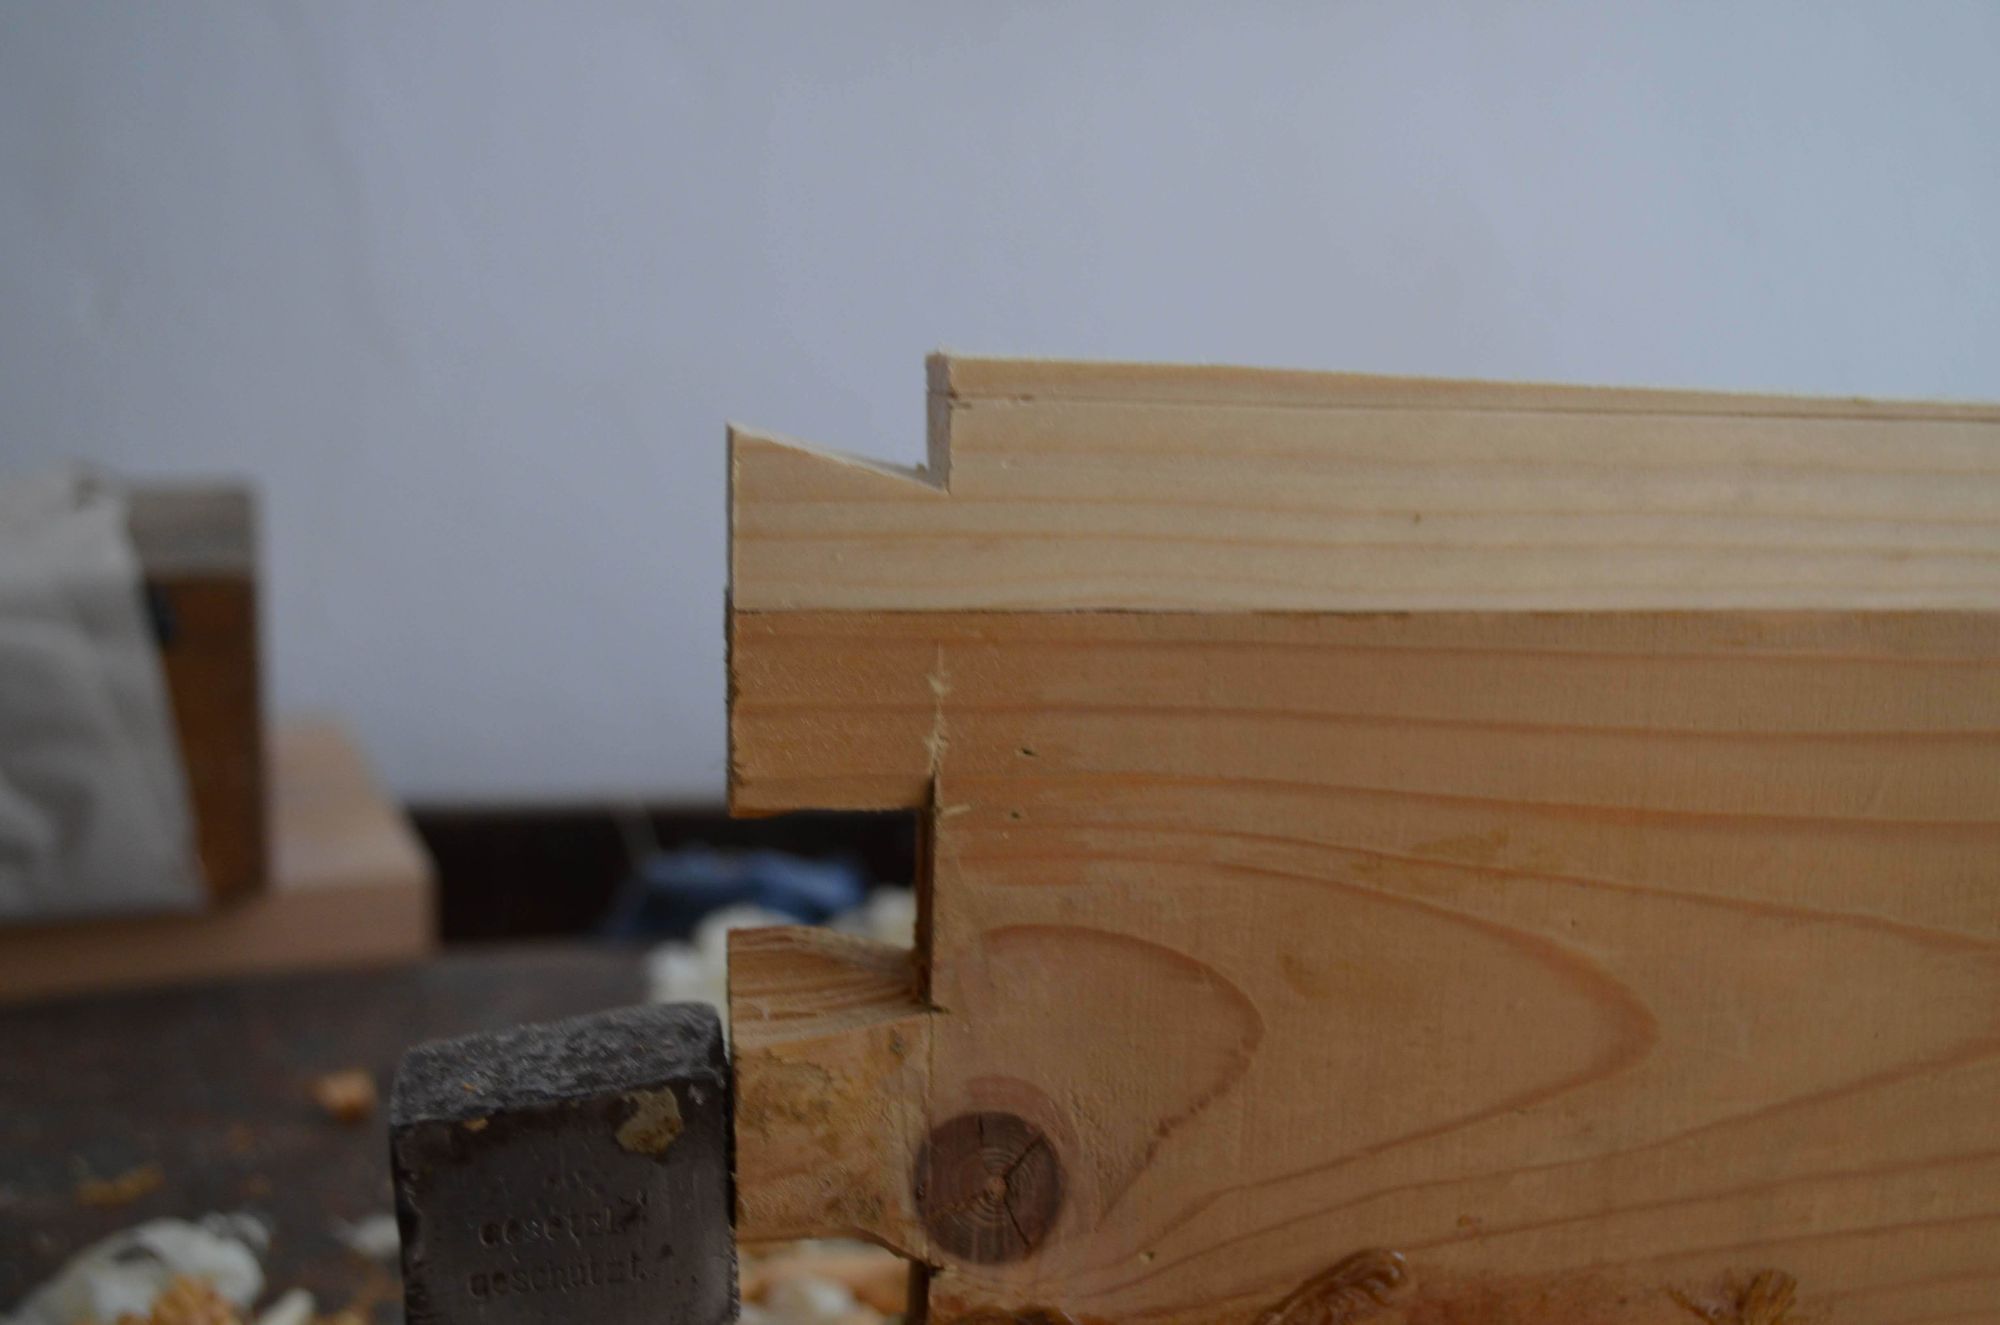
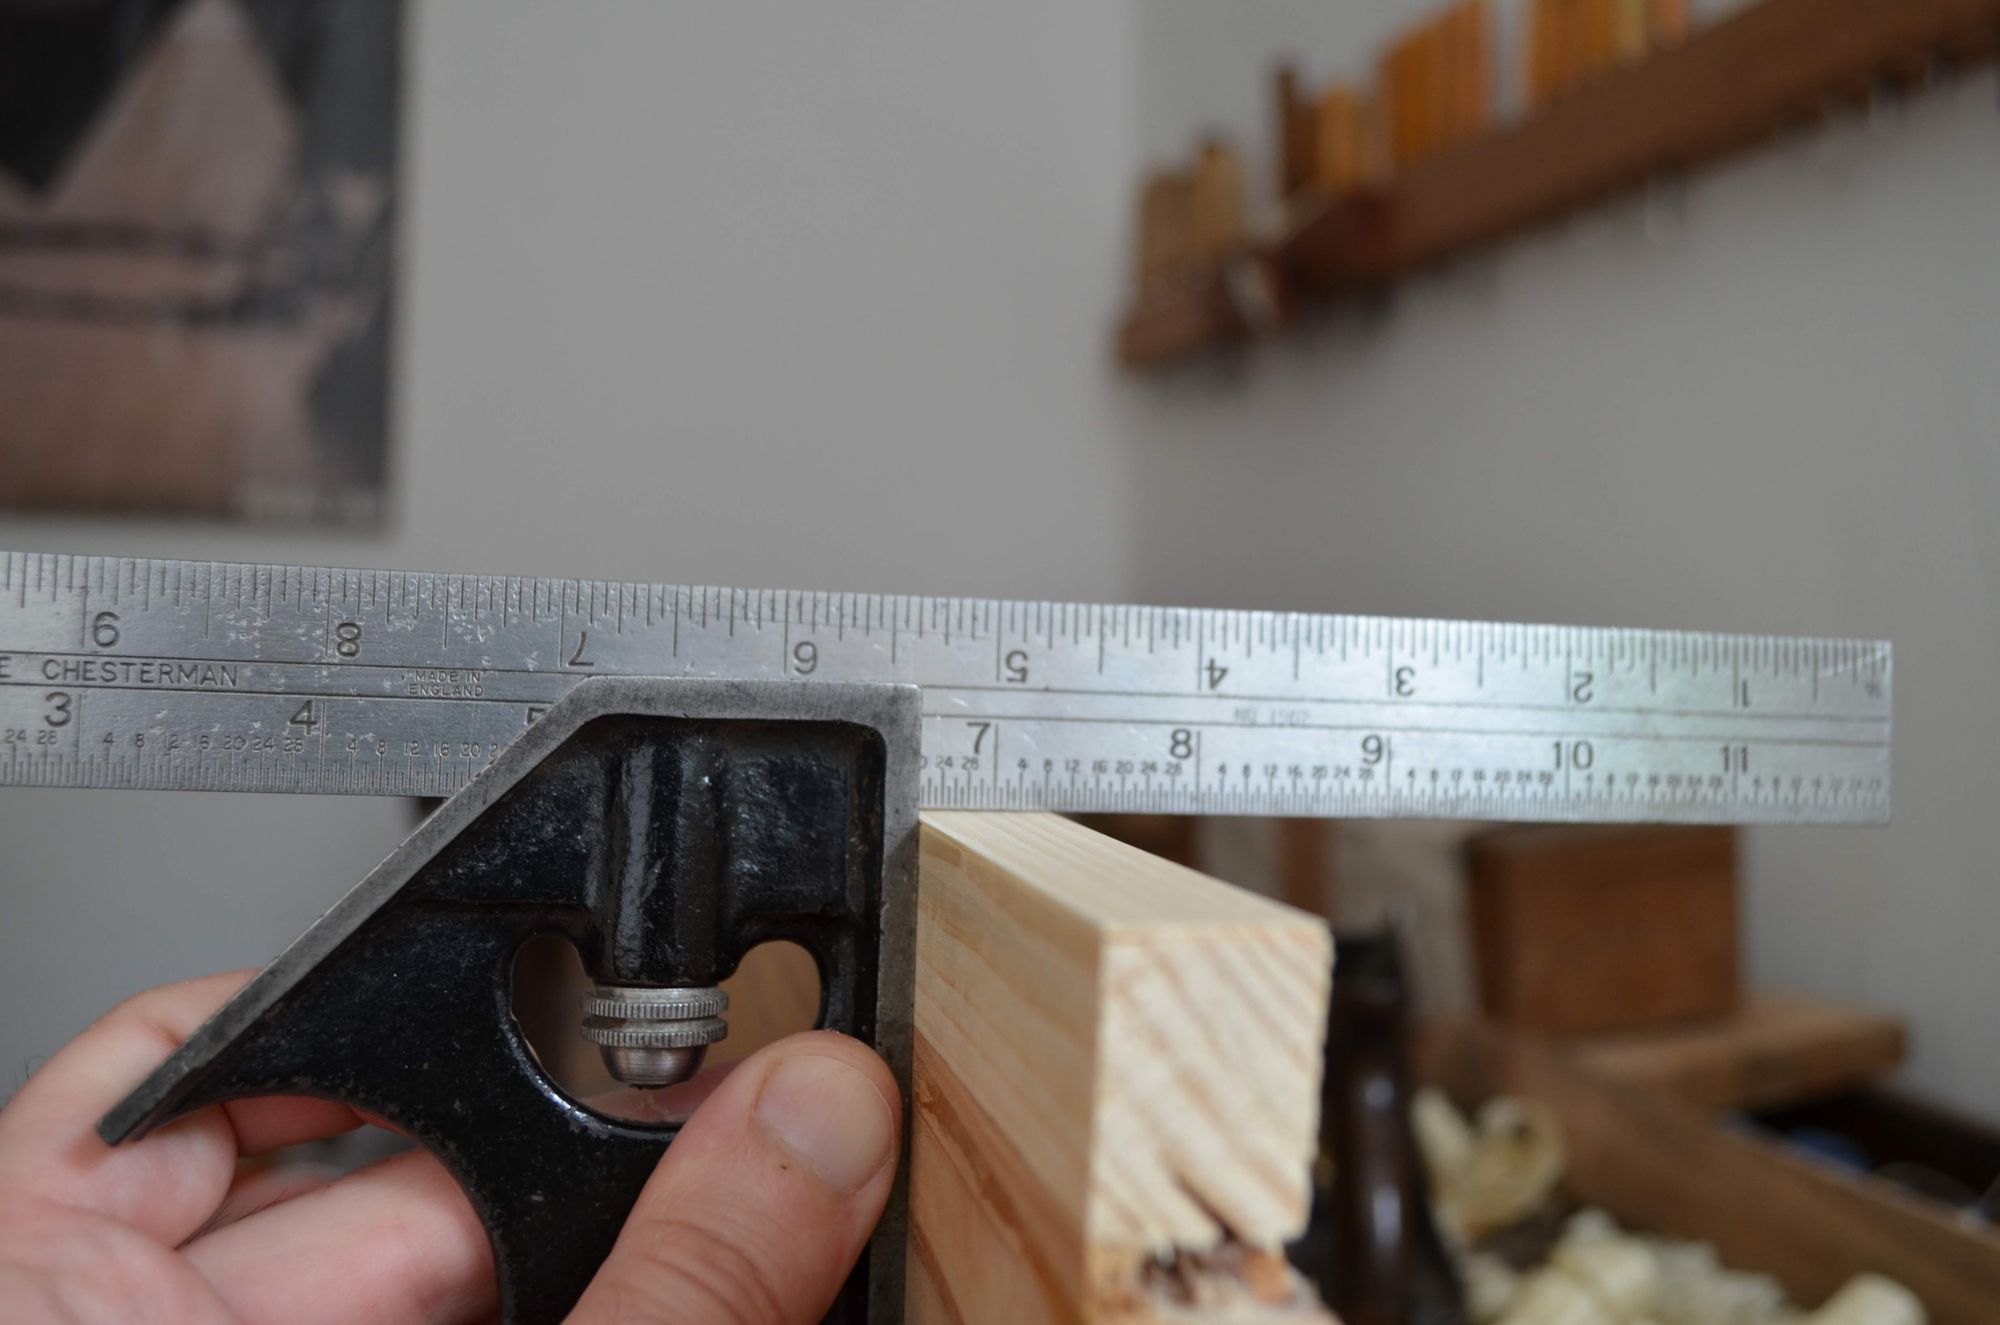
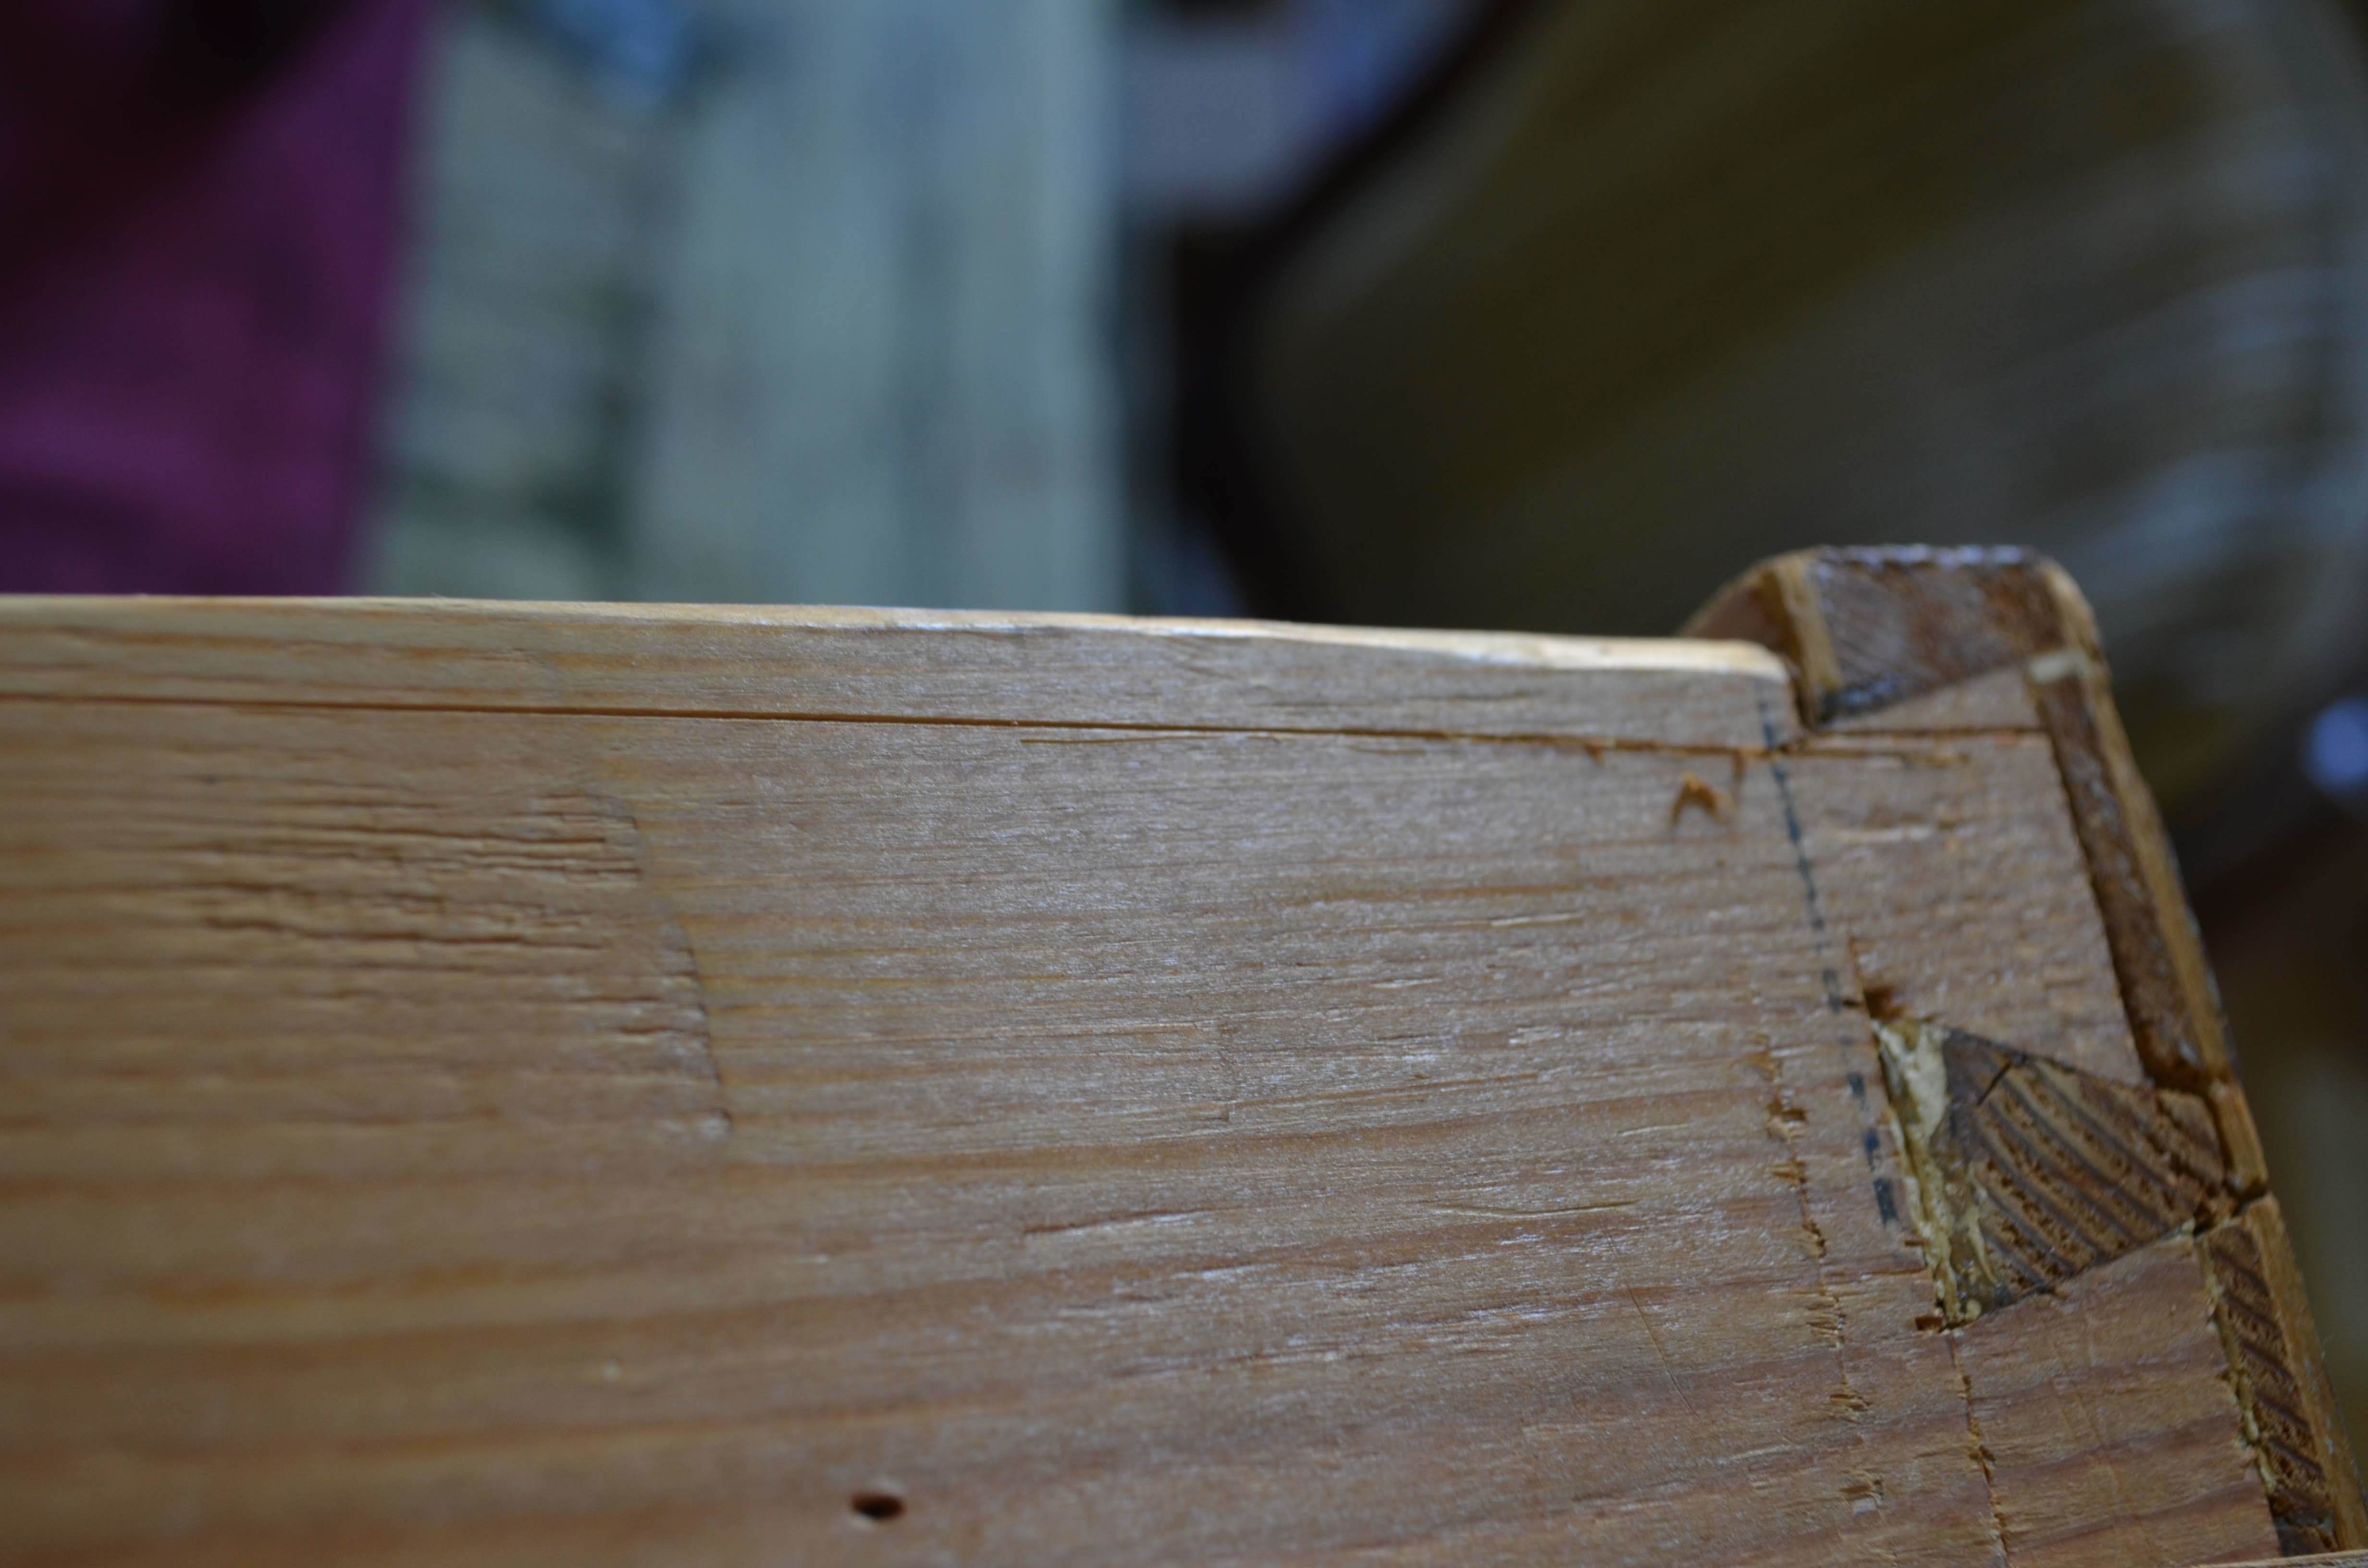
The rest was all about getting the measurements right, building and glueing up the replacement for the missing material, including the half dovetail. And as usual, checking for square.
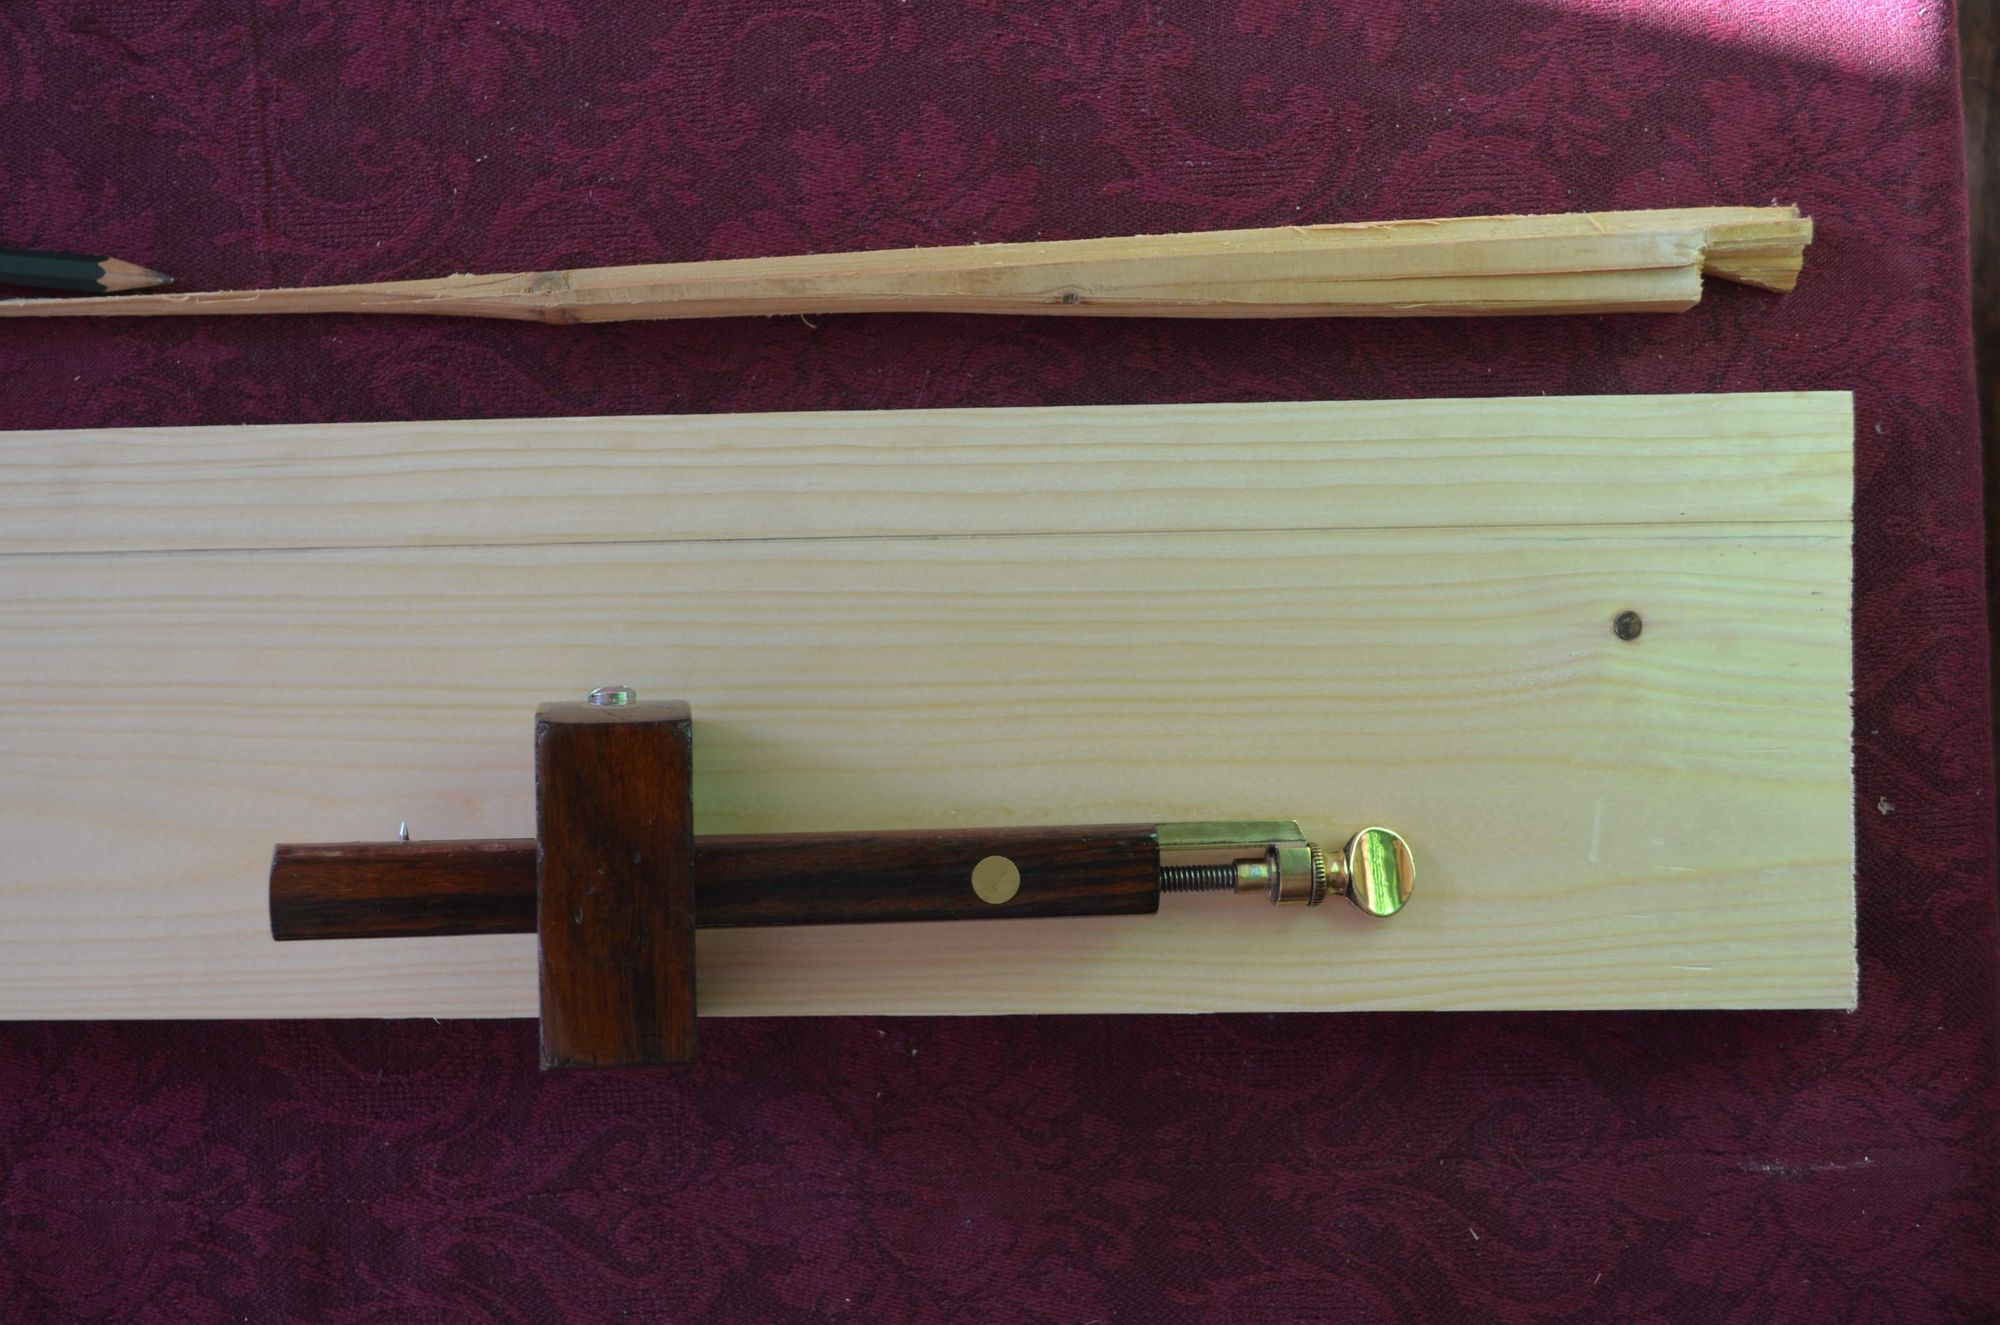
Next stop: recreating the groove for the drawer bottom.
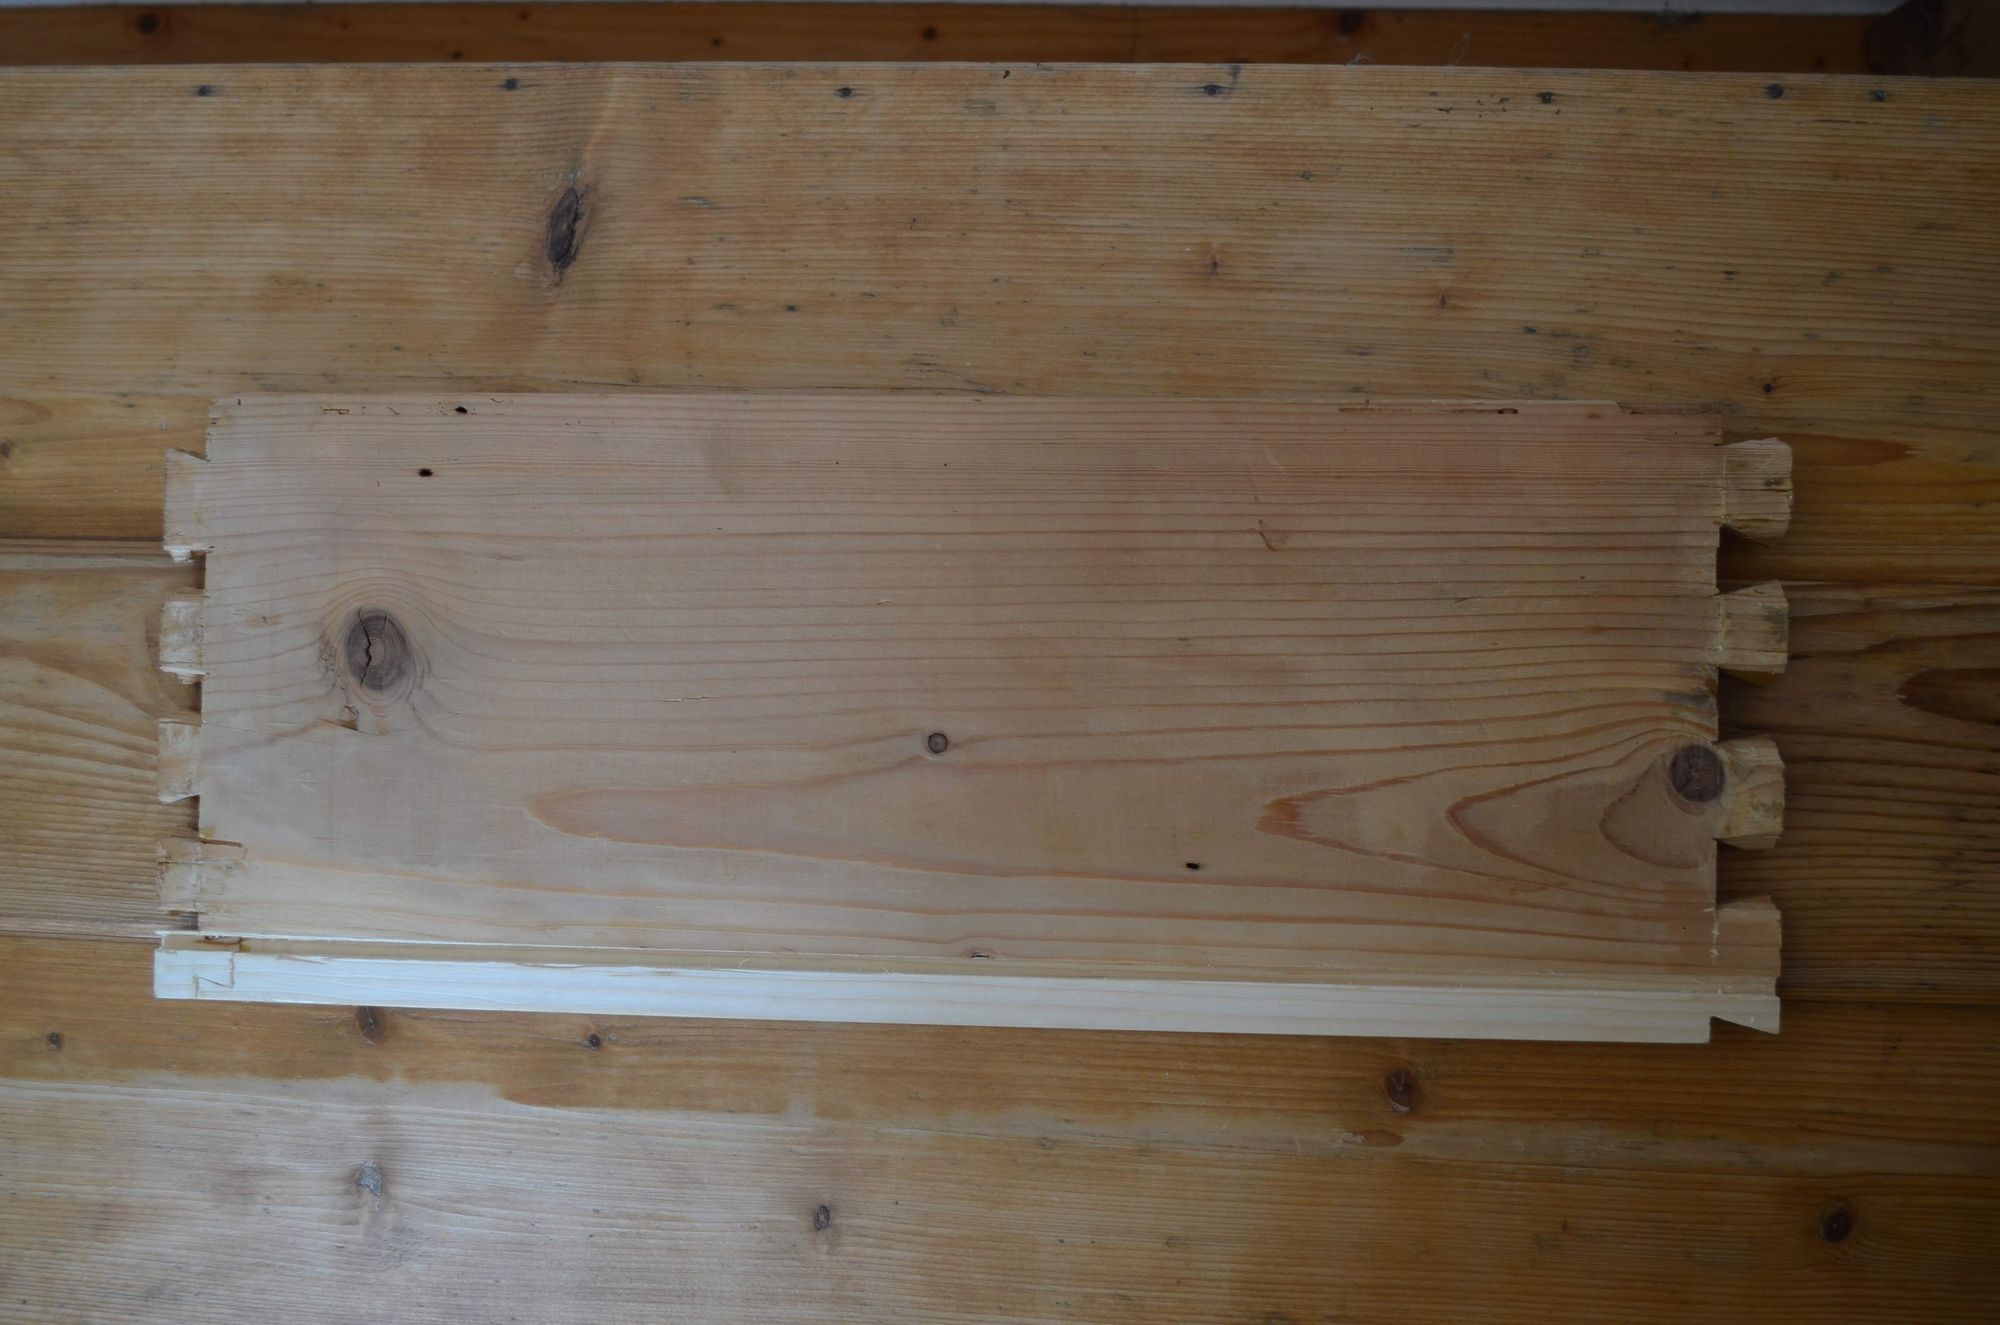
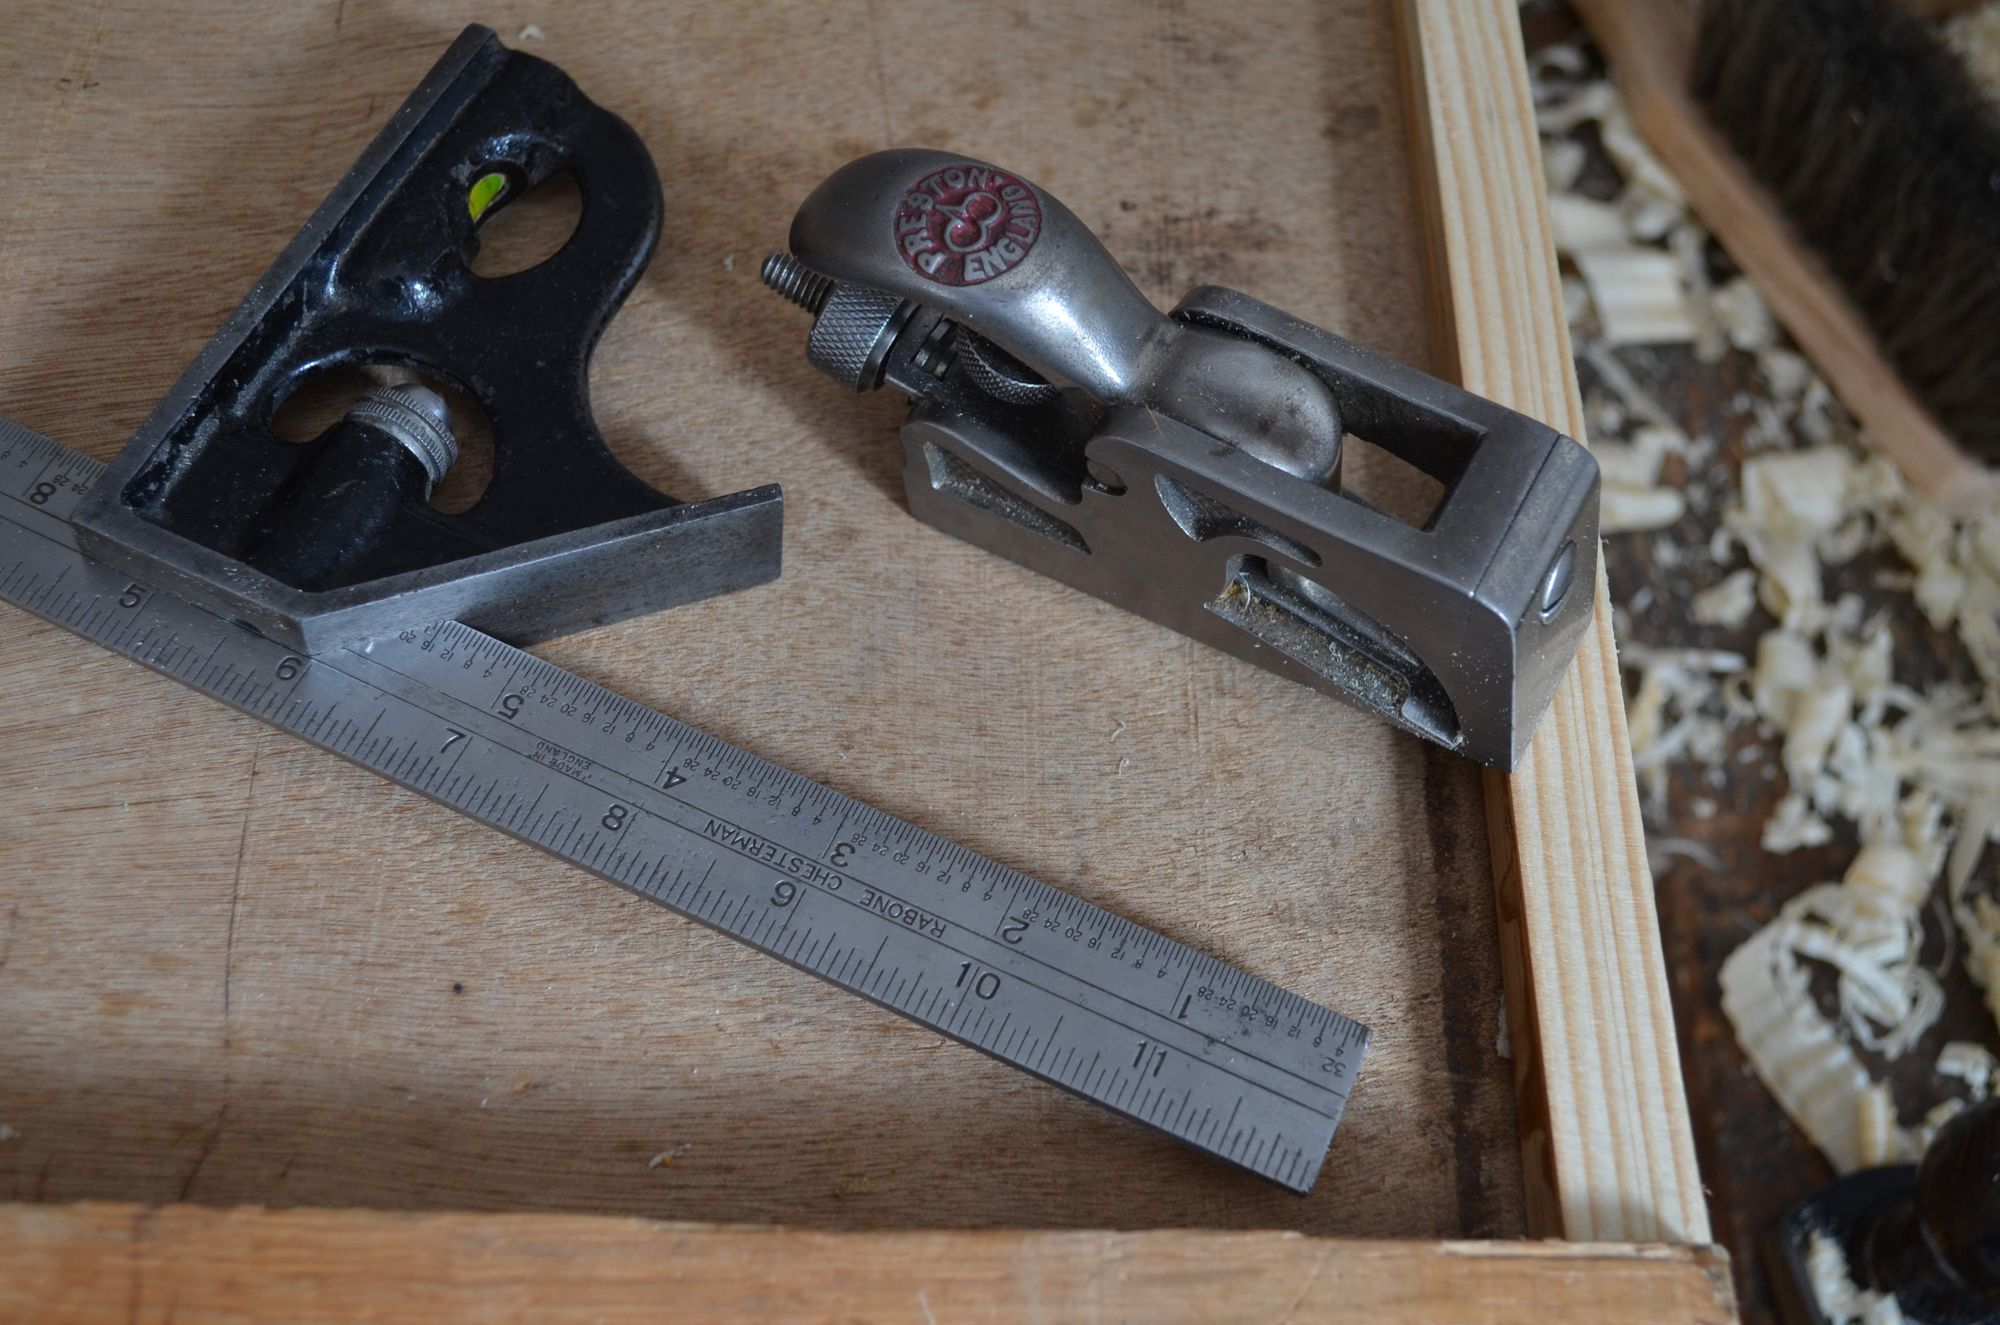
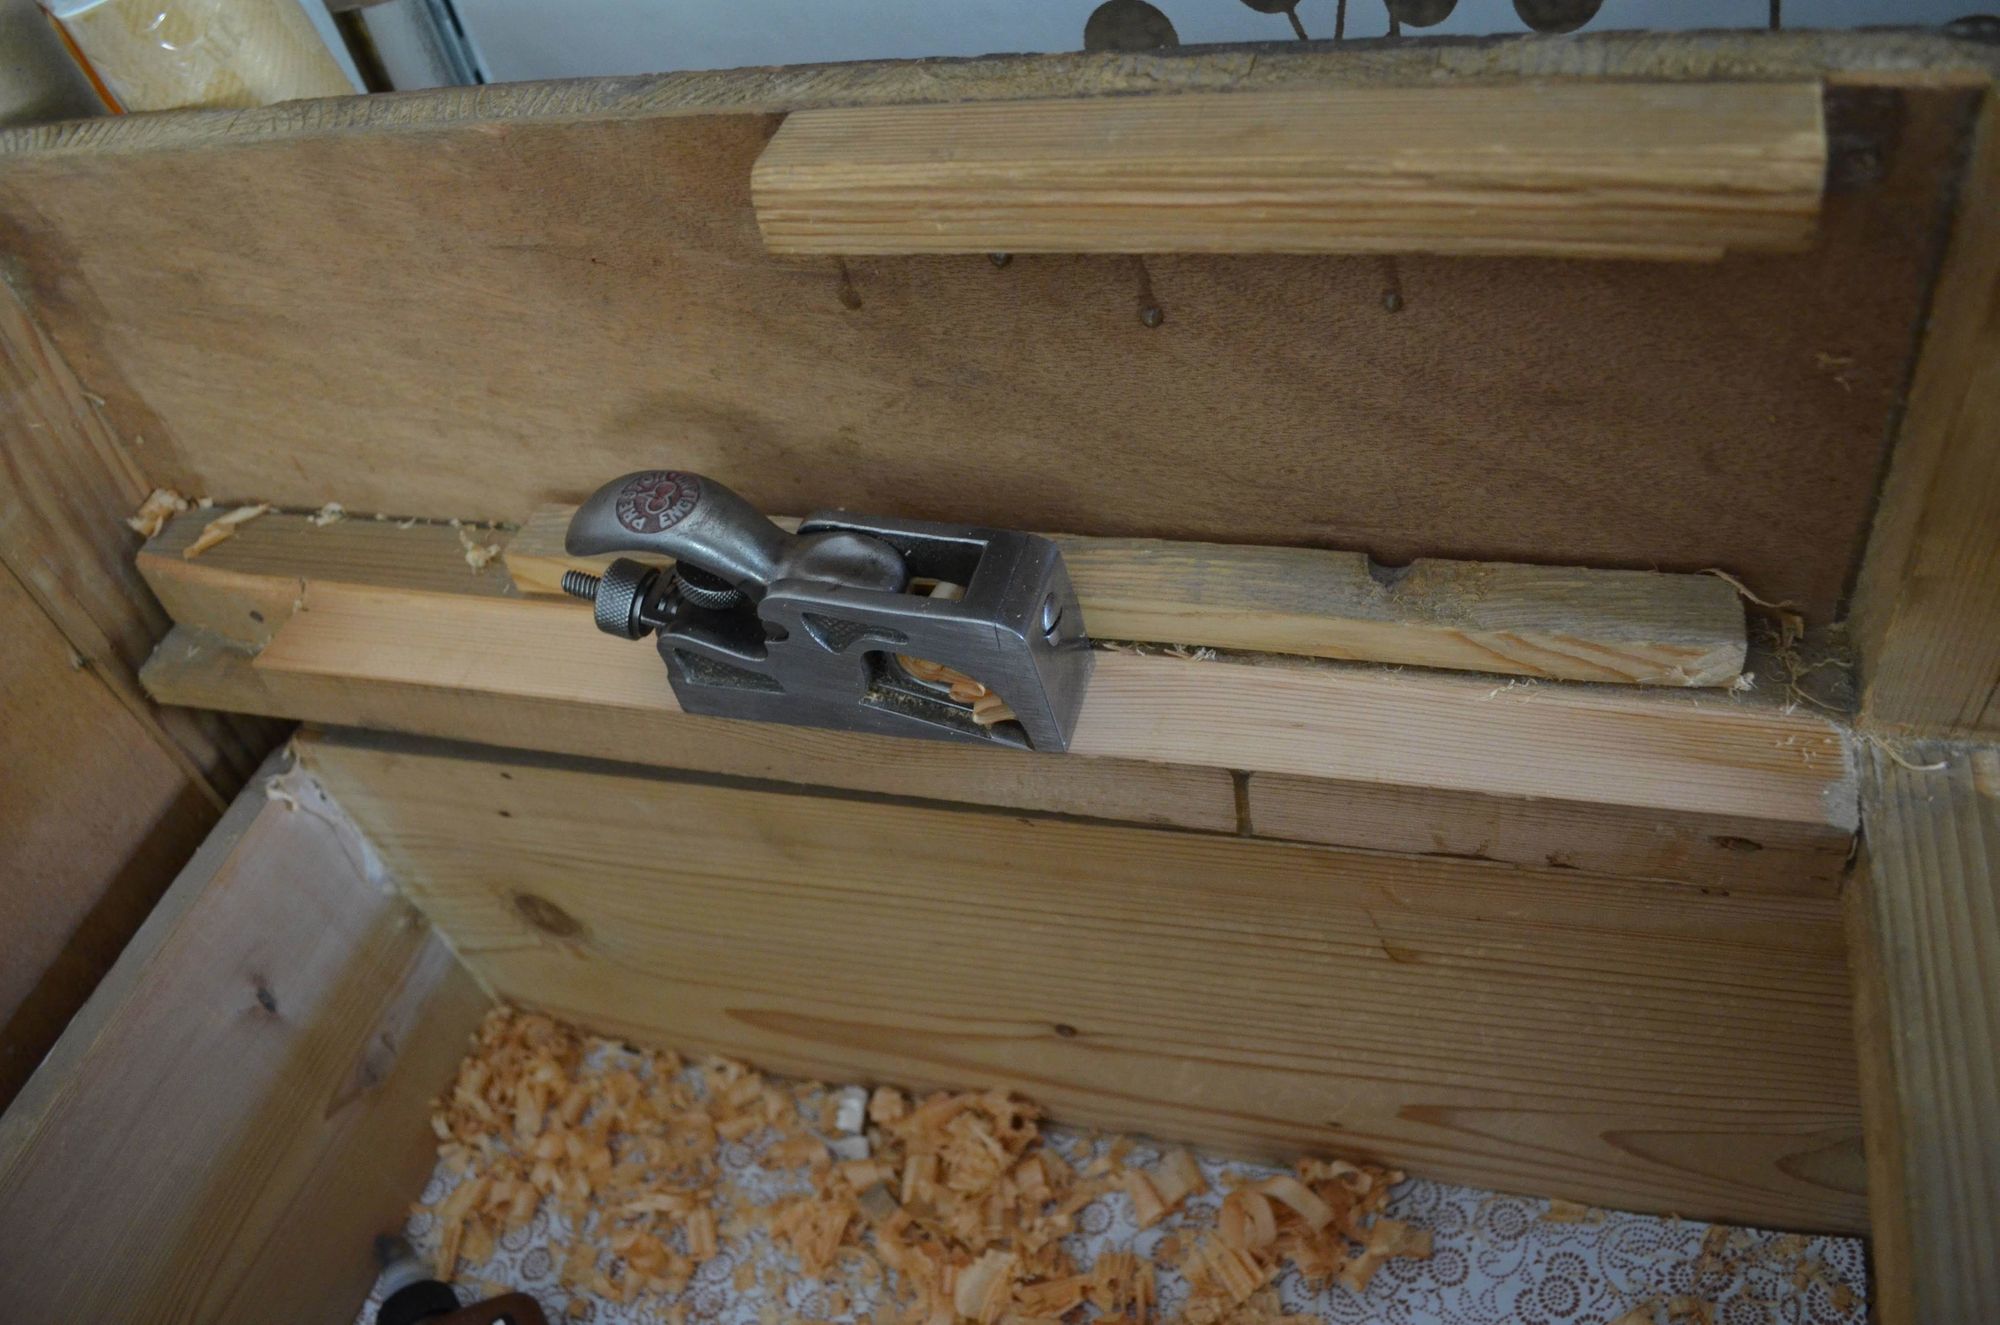
This allowed me to use another plane that does not come into play often: a wooden plough plane. It worked perfectly to create the groove. One only has to remember to start from one end and then progressively work your way backwards until reaching out the other end and the adjusted depth.
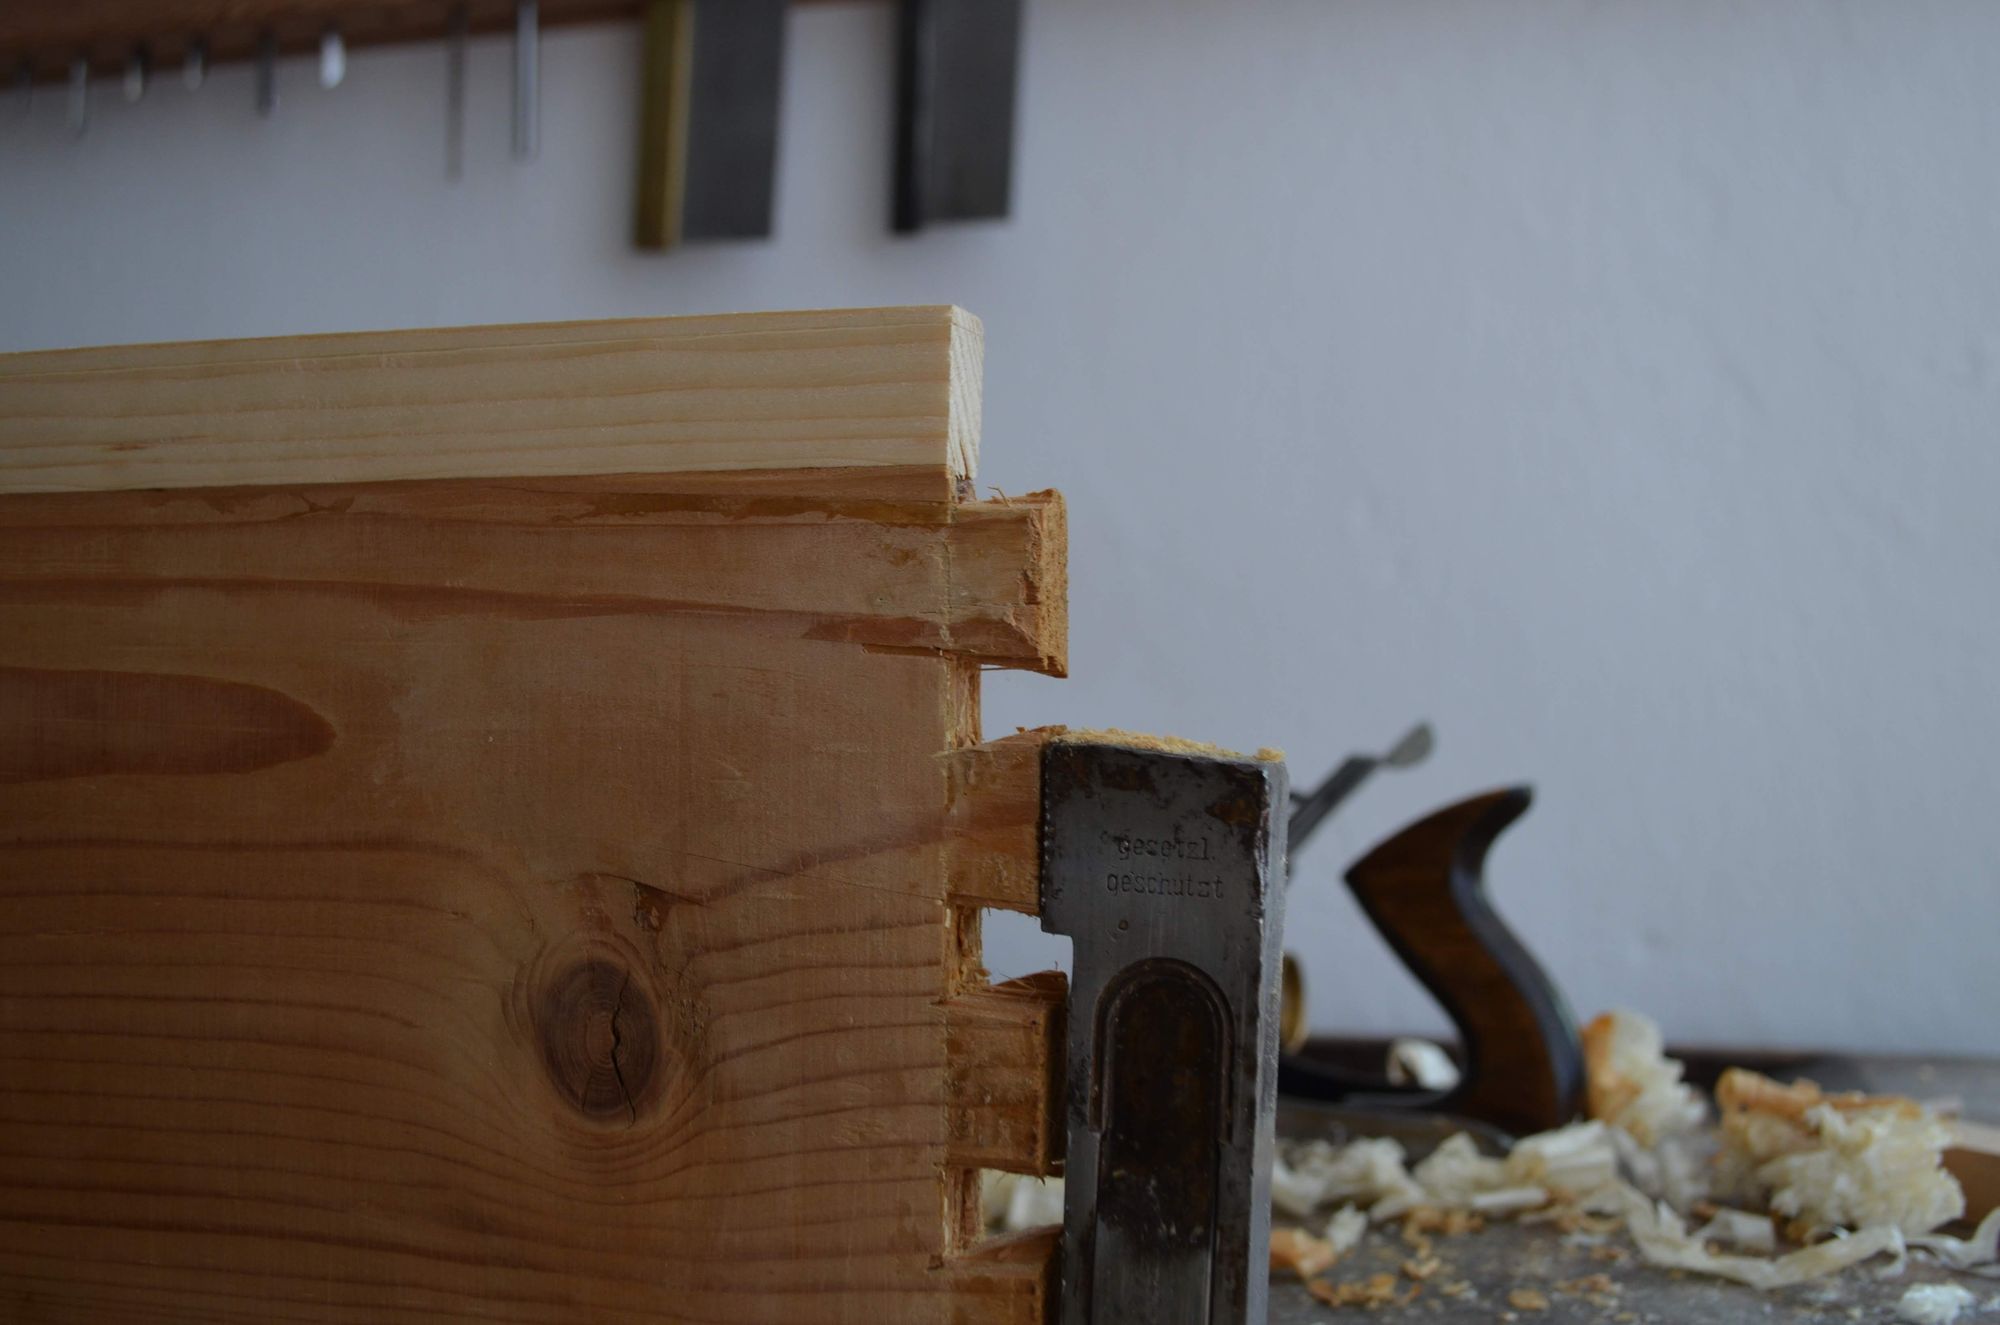
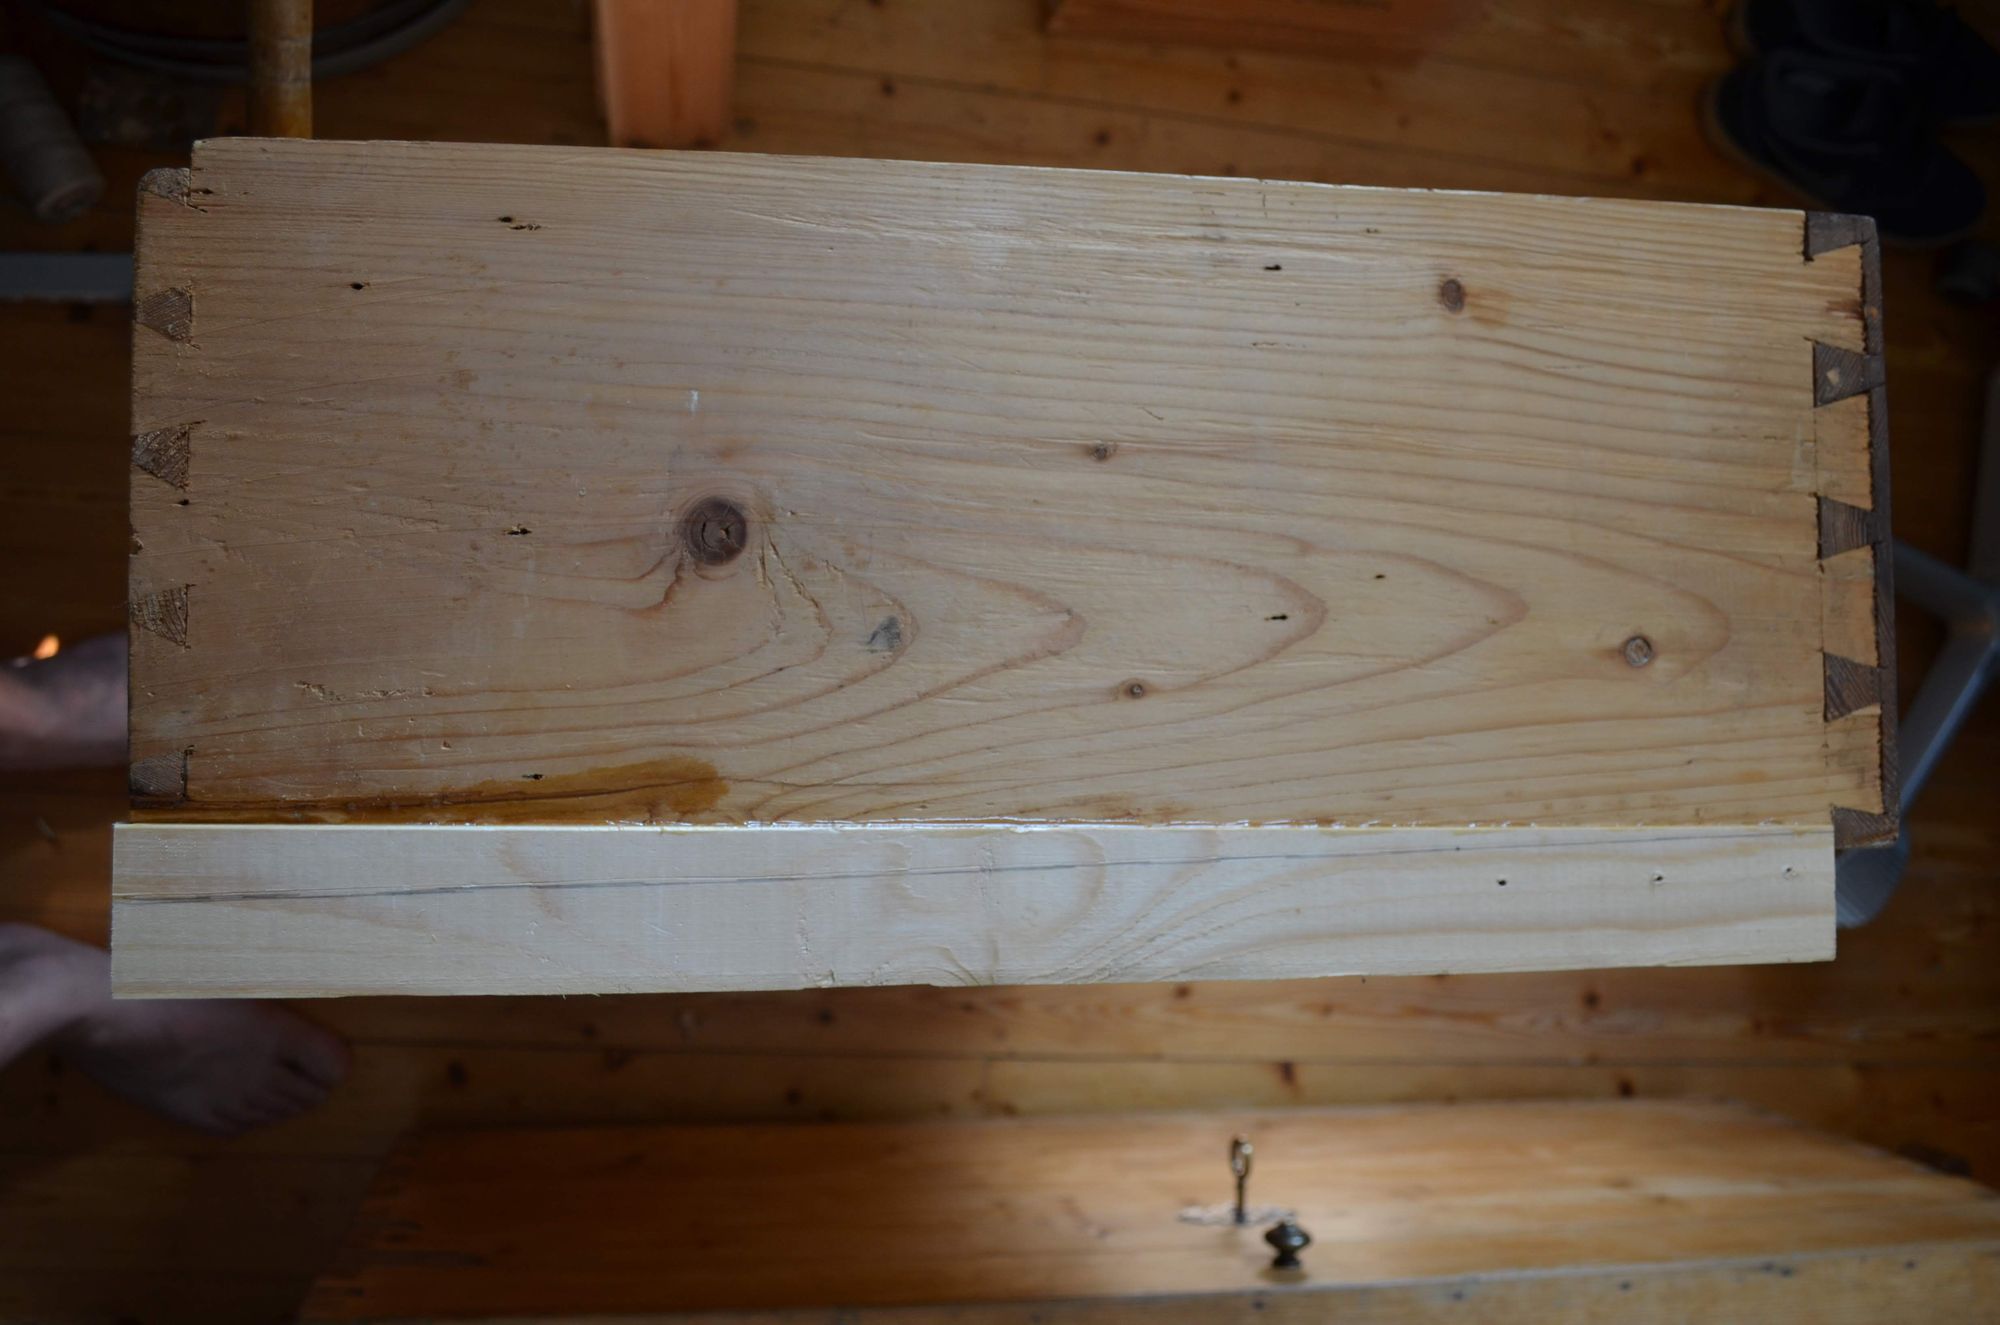
The rest was about doing the same for the other side of the drawer, which was much easier and could be done in place. The Preston plane was invaluable here to do the final planing on the drawer bases, right up to the drawer front.
To plane the bases, I had to get creative with holding the drawer on the workbench.
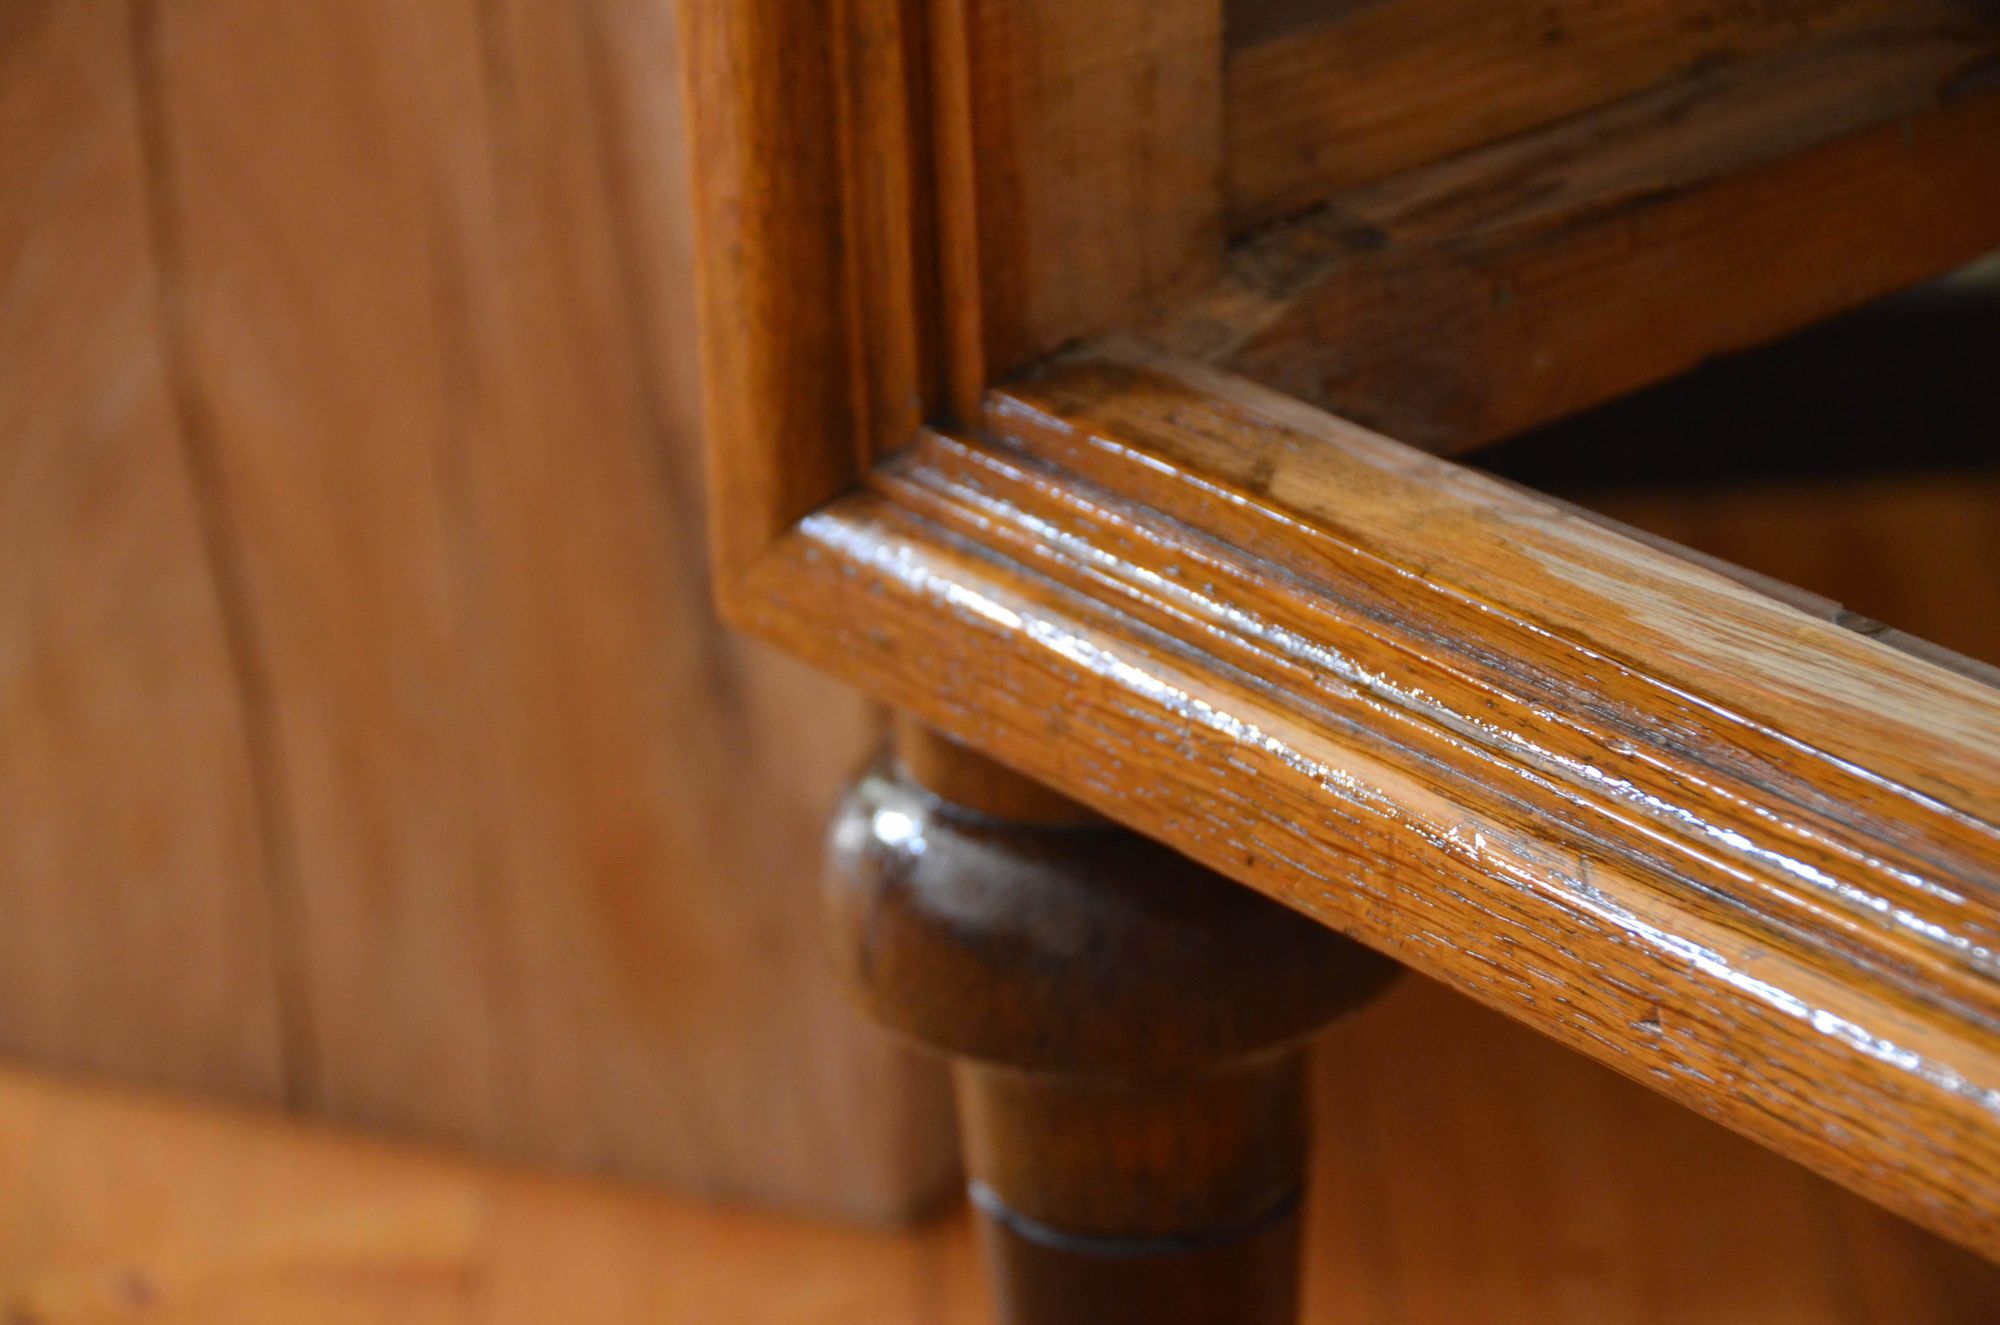
Break a leg
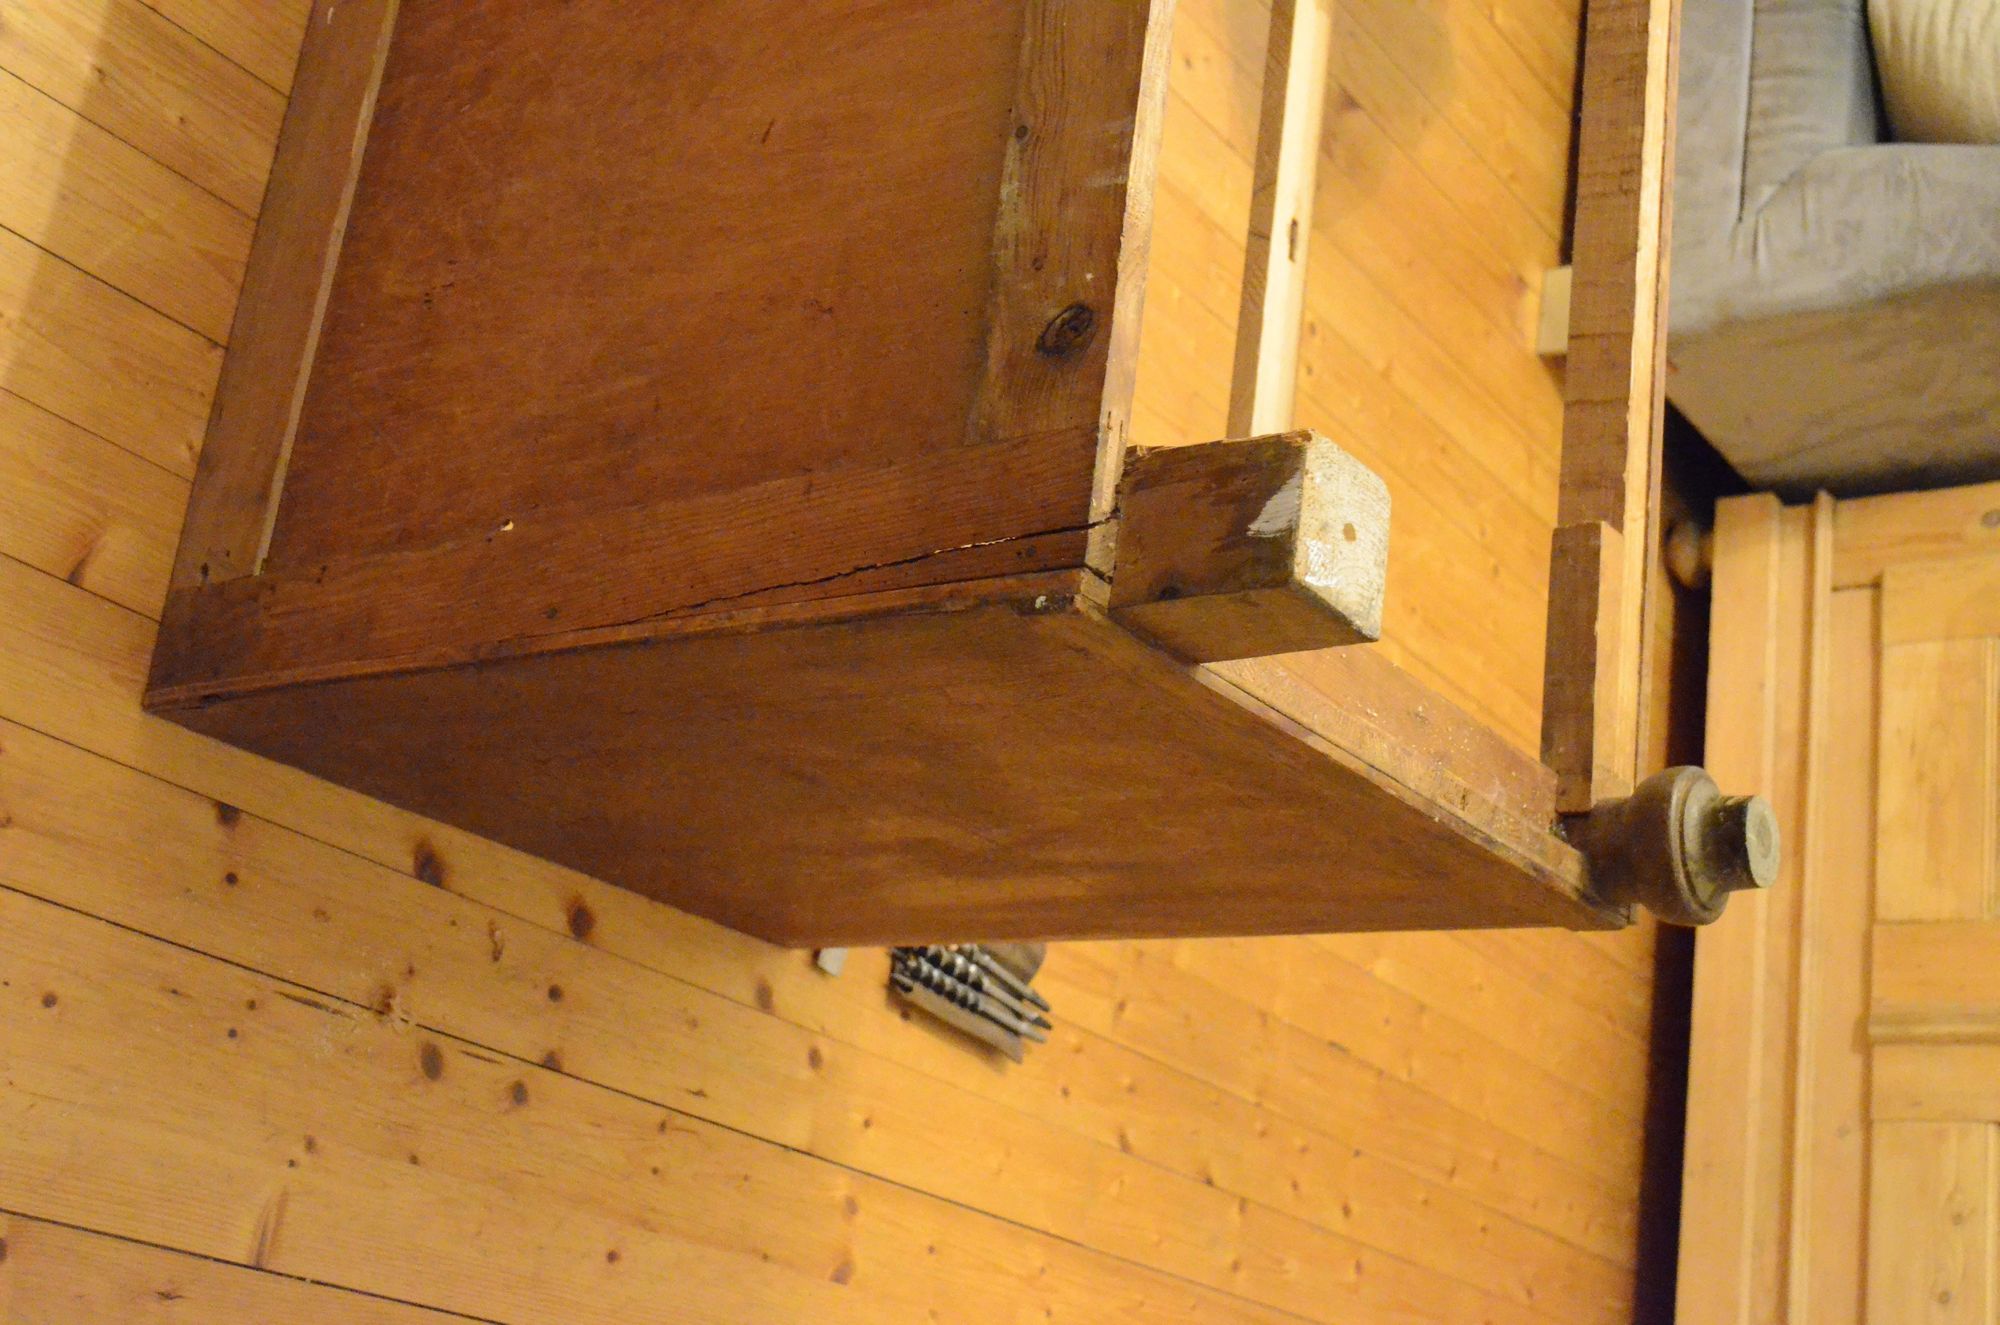
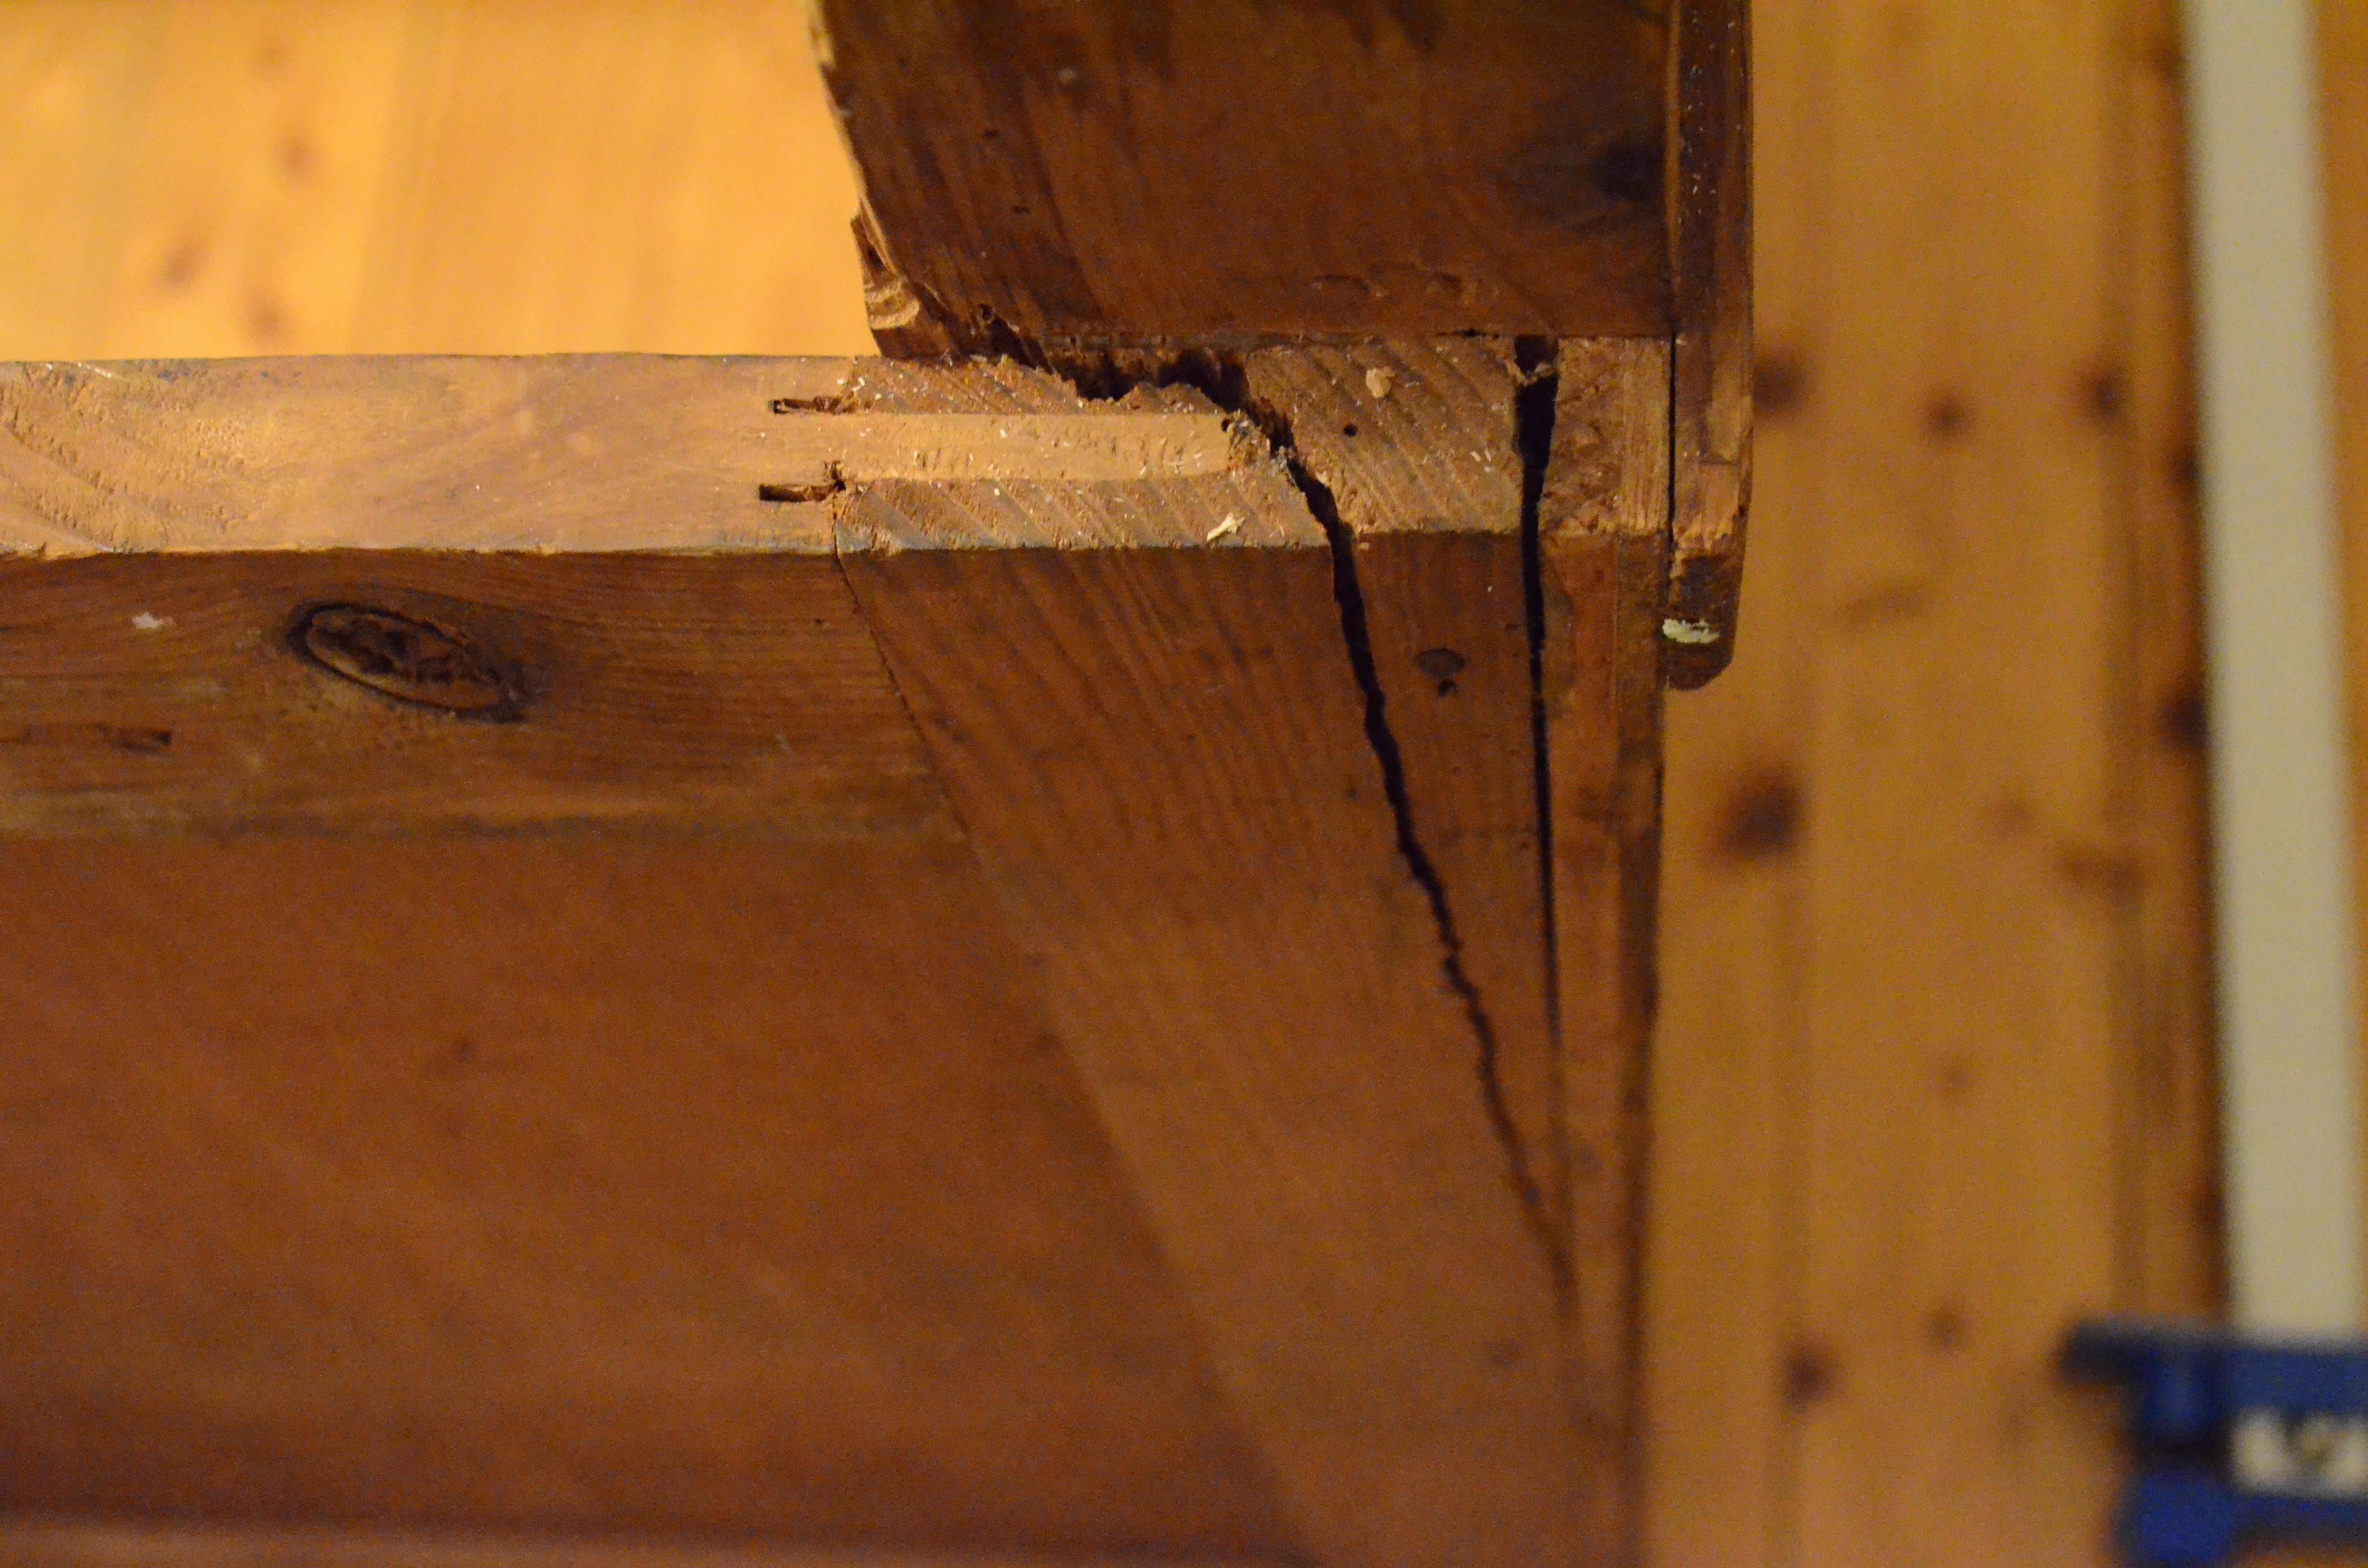
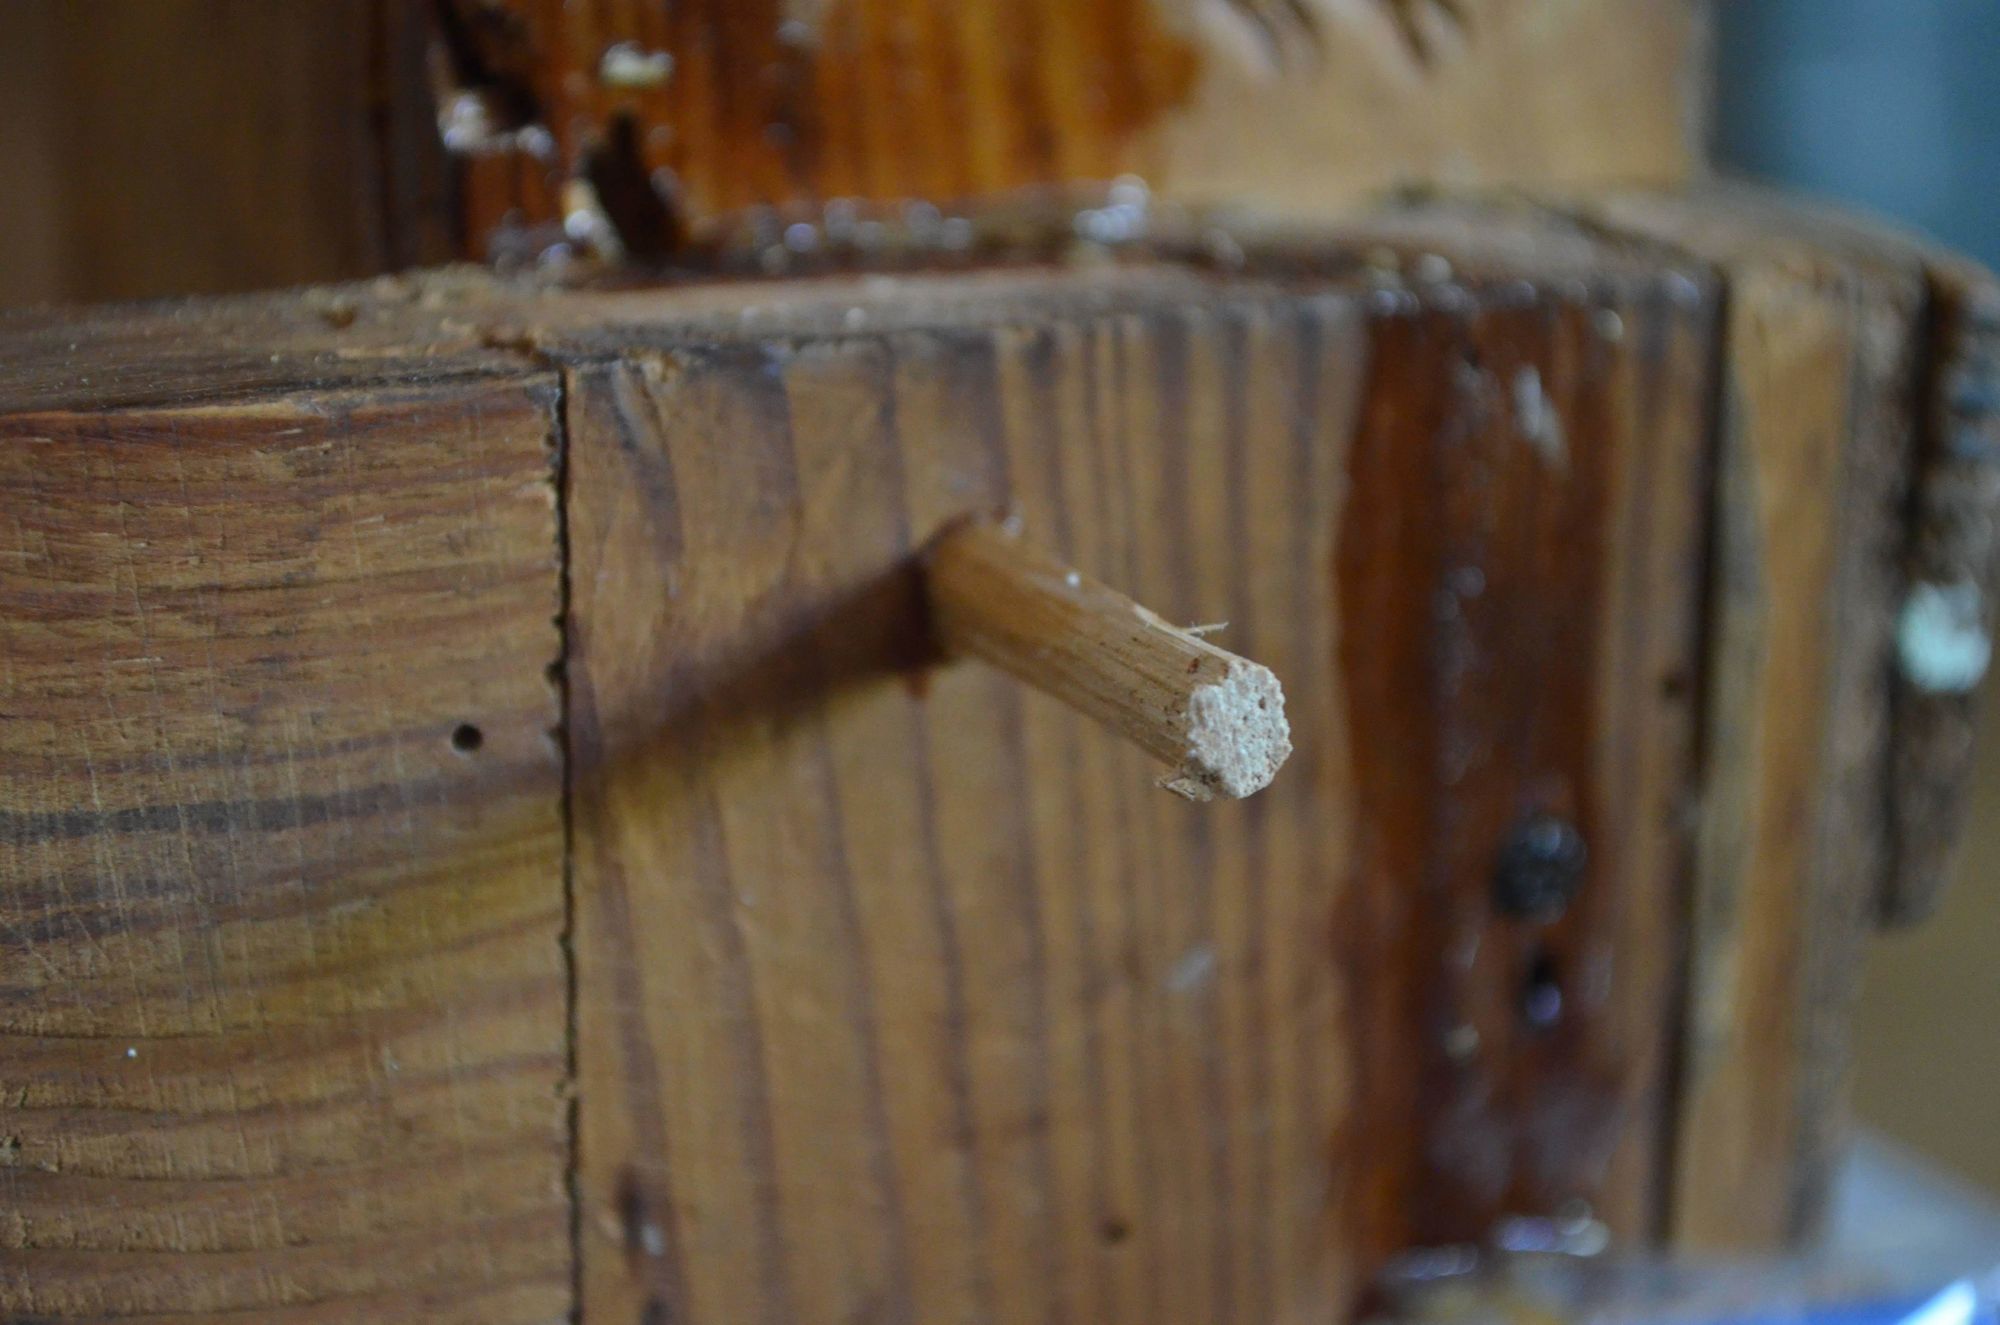

Just as I thought the major repairs had been finished, I noticed one of the legs had a major split. A previous woodworm infestation was to blame there.
Nothing that some hide glue could not fix –plus a wood nail for good measure. The feet extensions were tested in parallel and fitted perfectly.
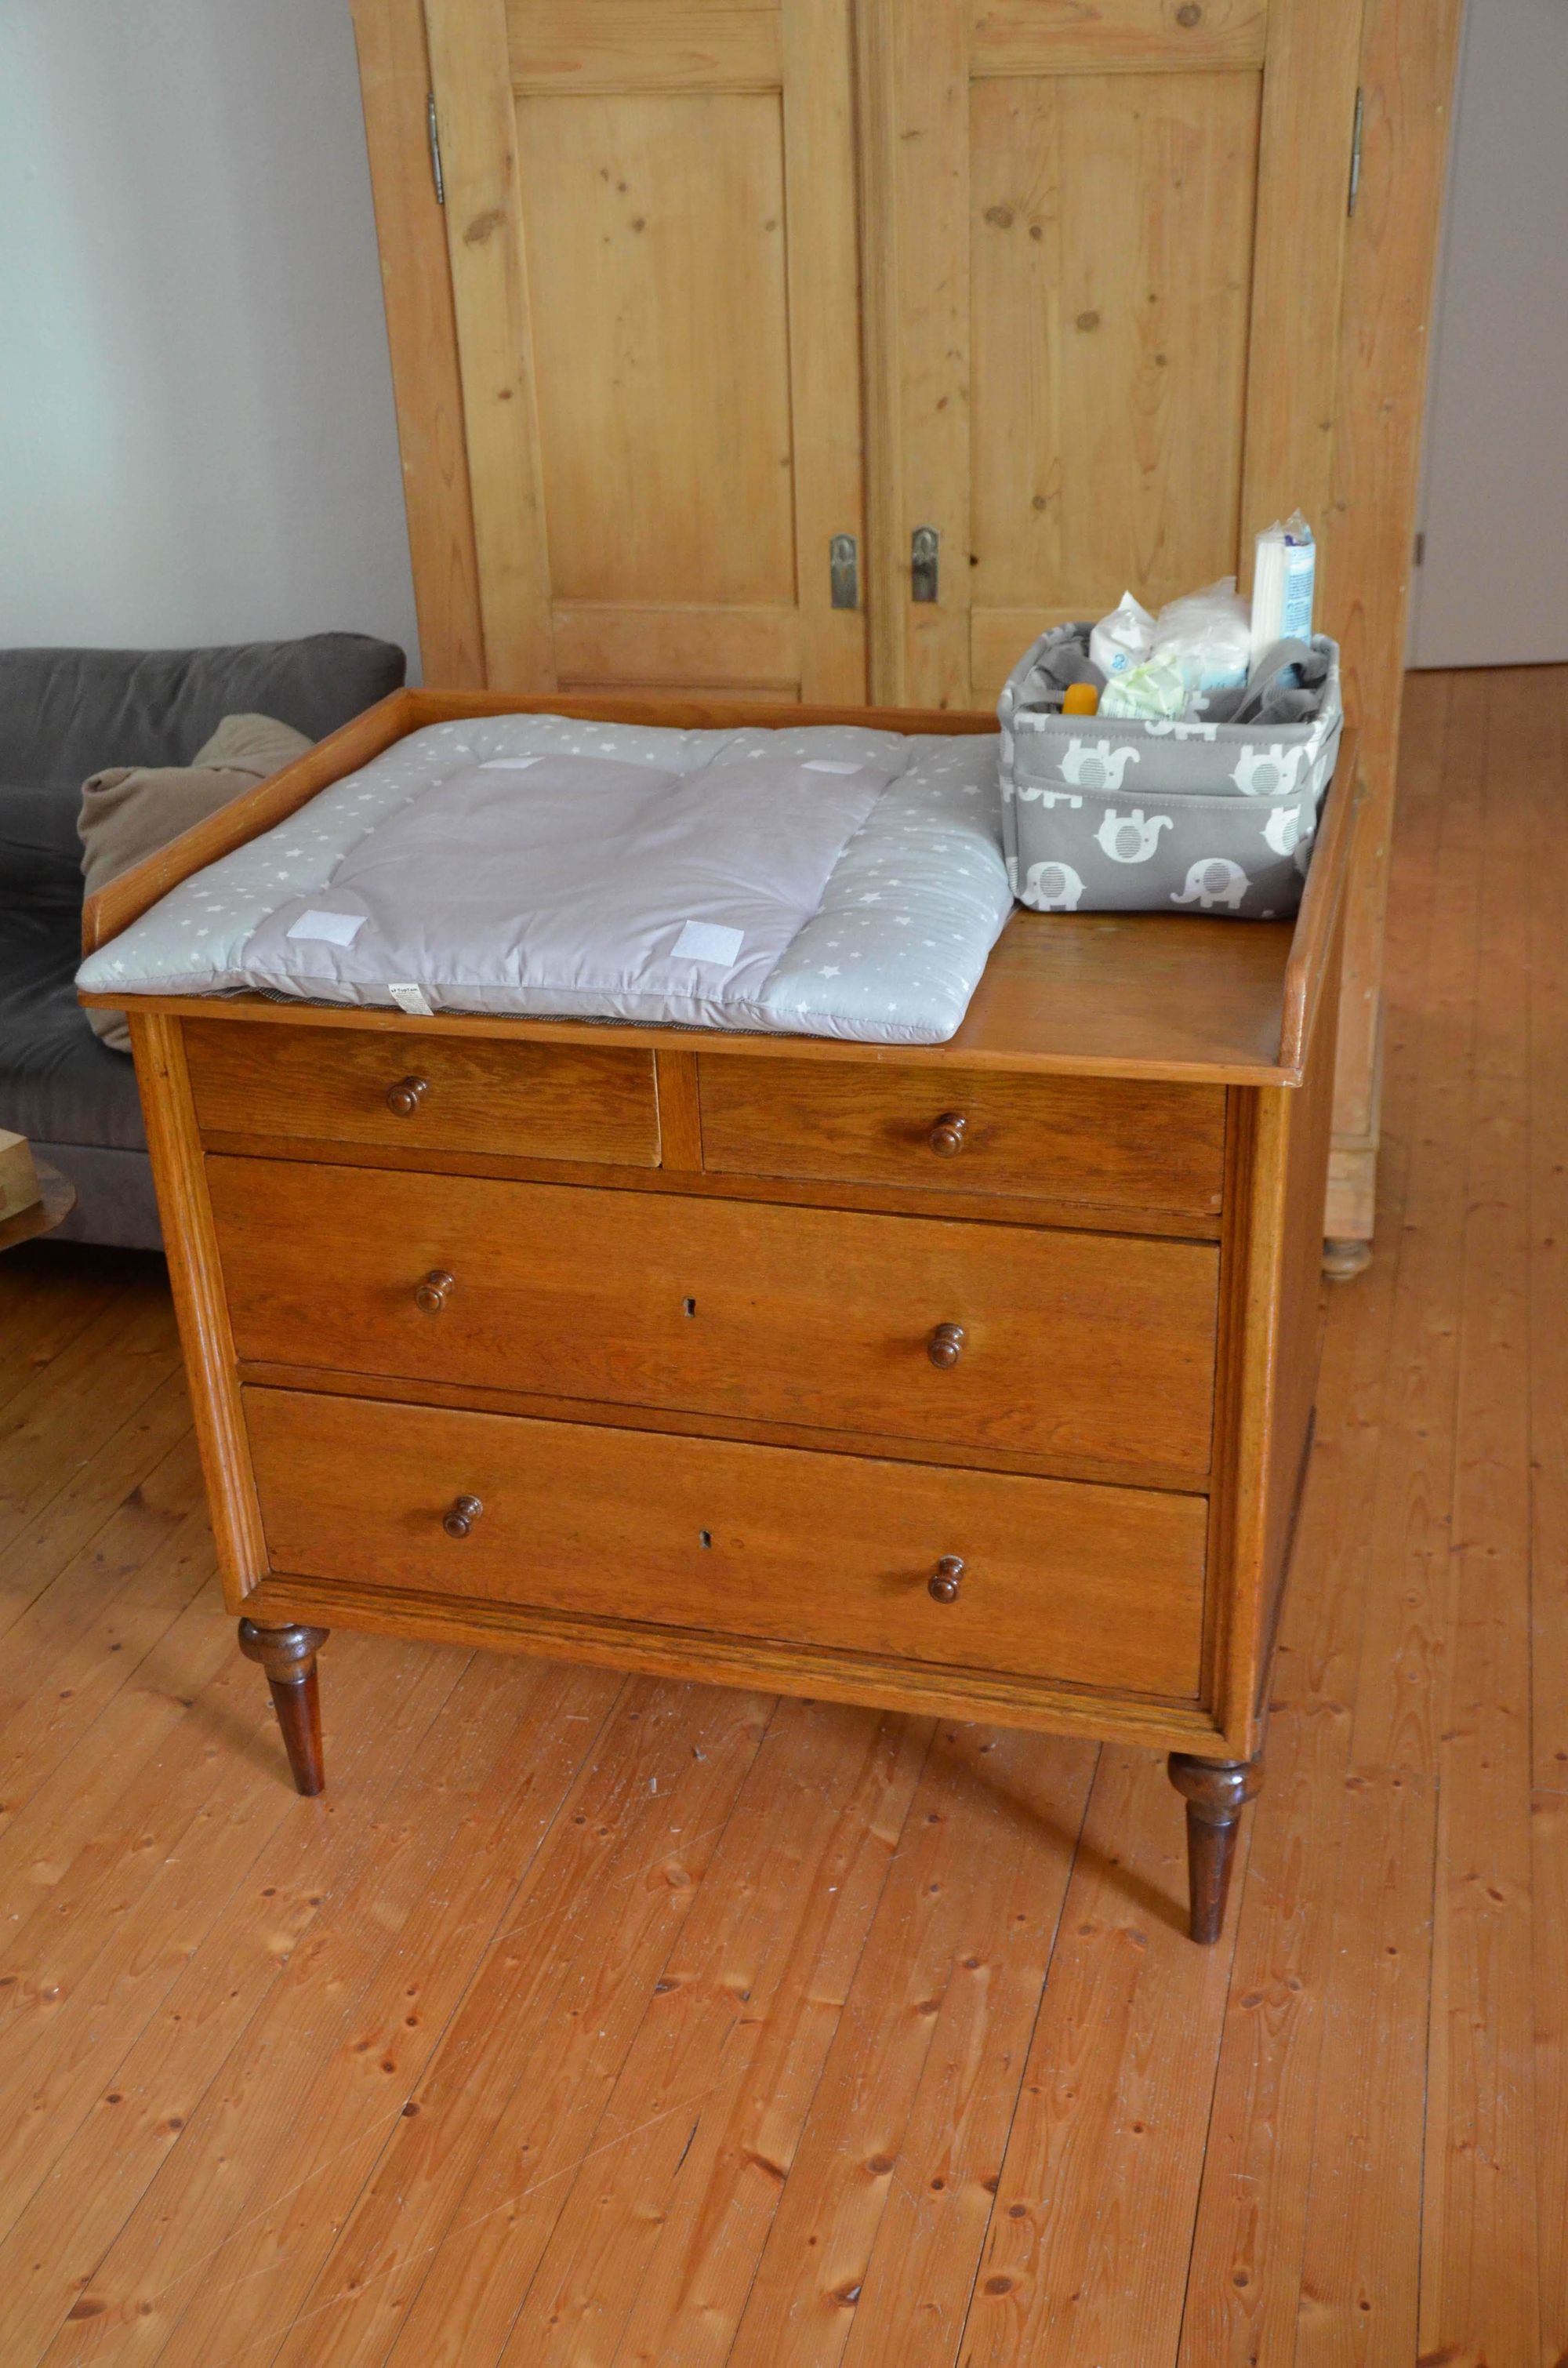
With the new shoes on
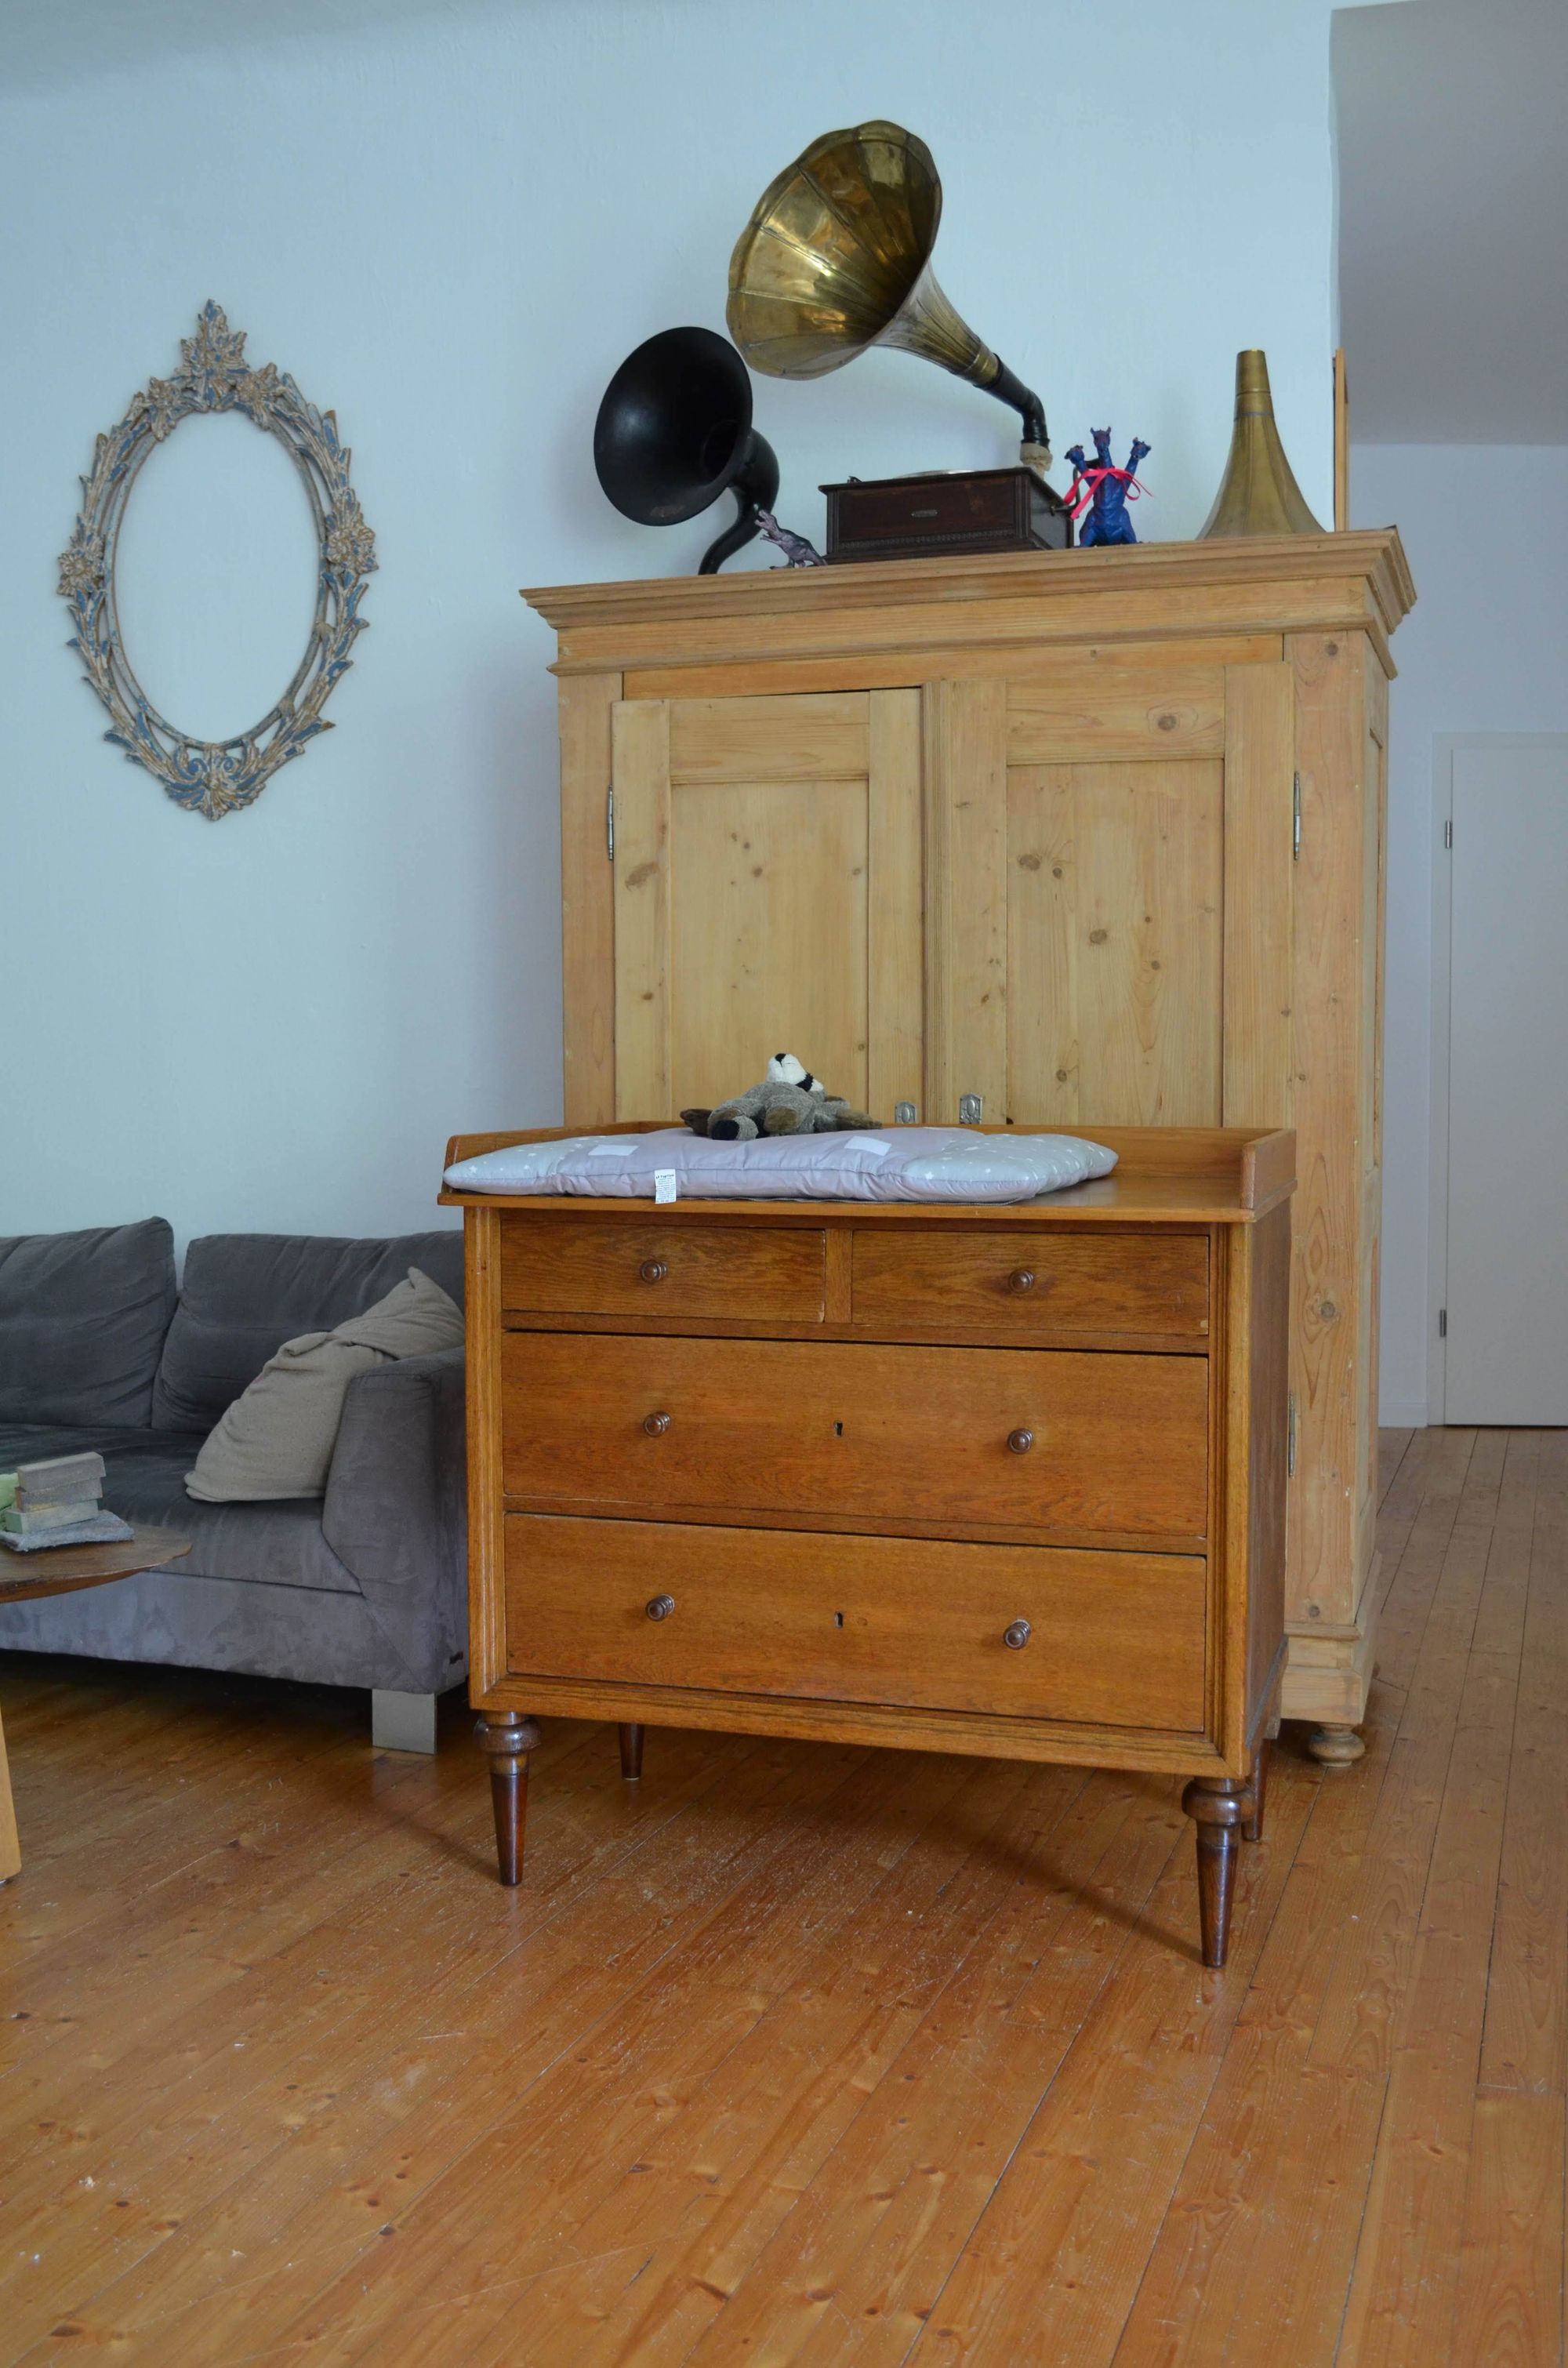
I was really pleased with the feet extensions. Not only they do their job nicely, but they look great too. They raise the original table up to 15 cm (6 inches) more, which makes a world of difference. Our backs will welcome it.
My main concern was that the extended feet might look out of place. But seeing the finished table, I felt they even gave an air of novelty to an otherwise utilitarian piece of furniture.
I did not get a perfect colour match with the stain, but it was close enough for my taste. It has a slight redder tint when compared to the original feet, due to the homemade, rust-based stain. I could probably make it darker, but I'm happy with the way it is now.
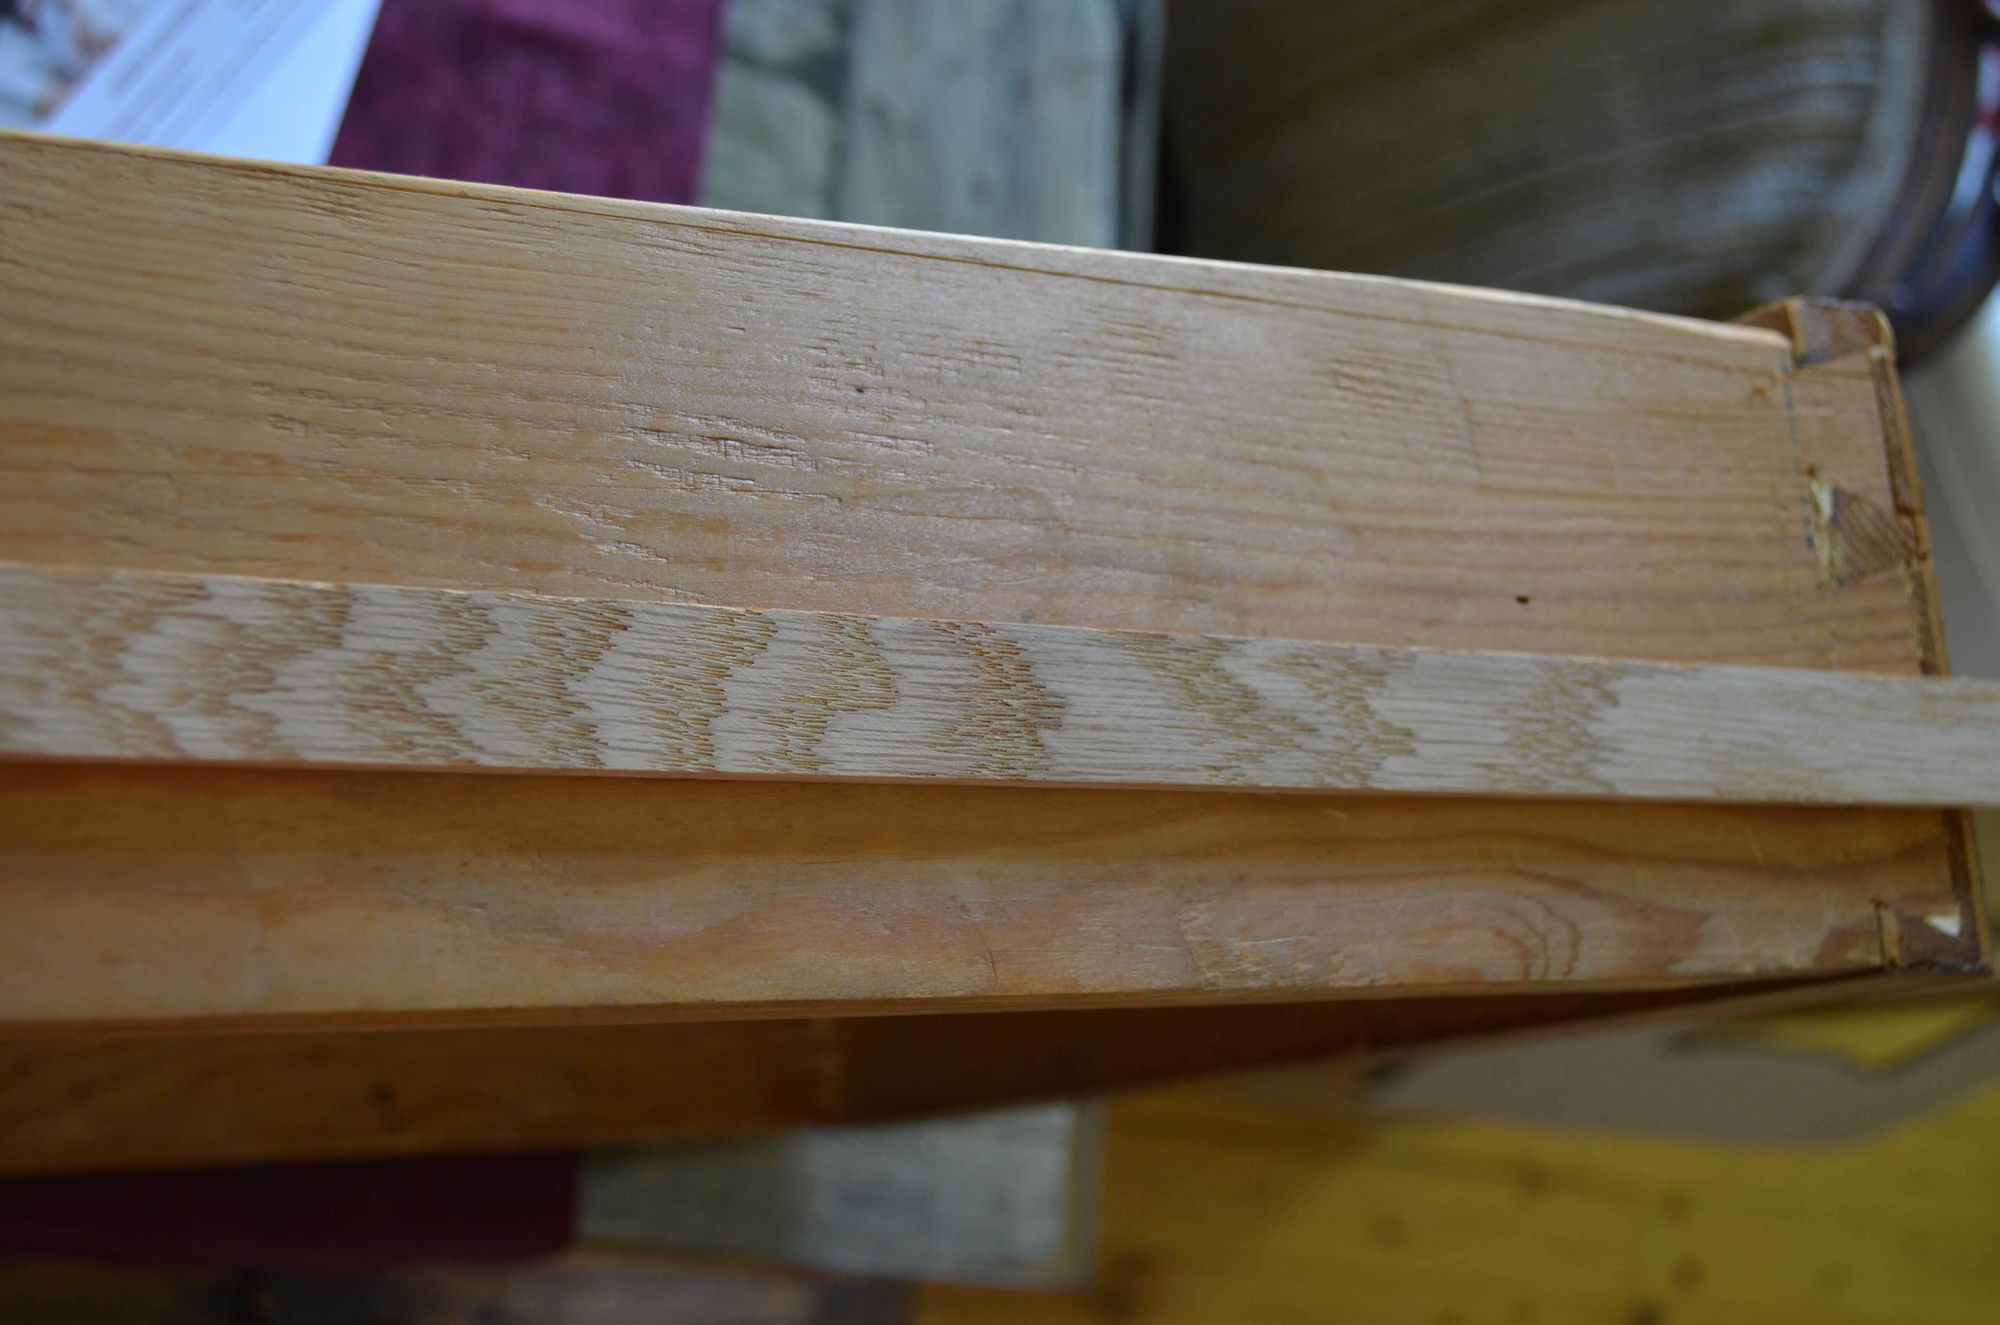
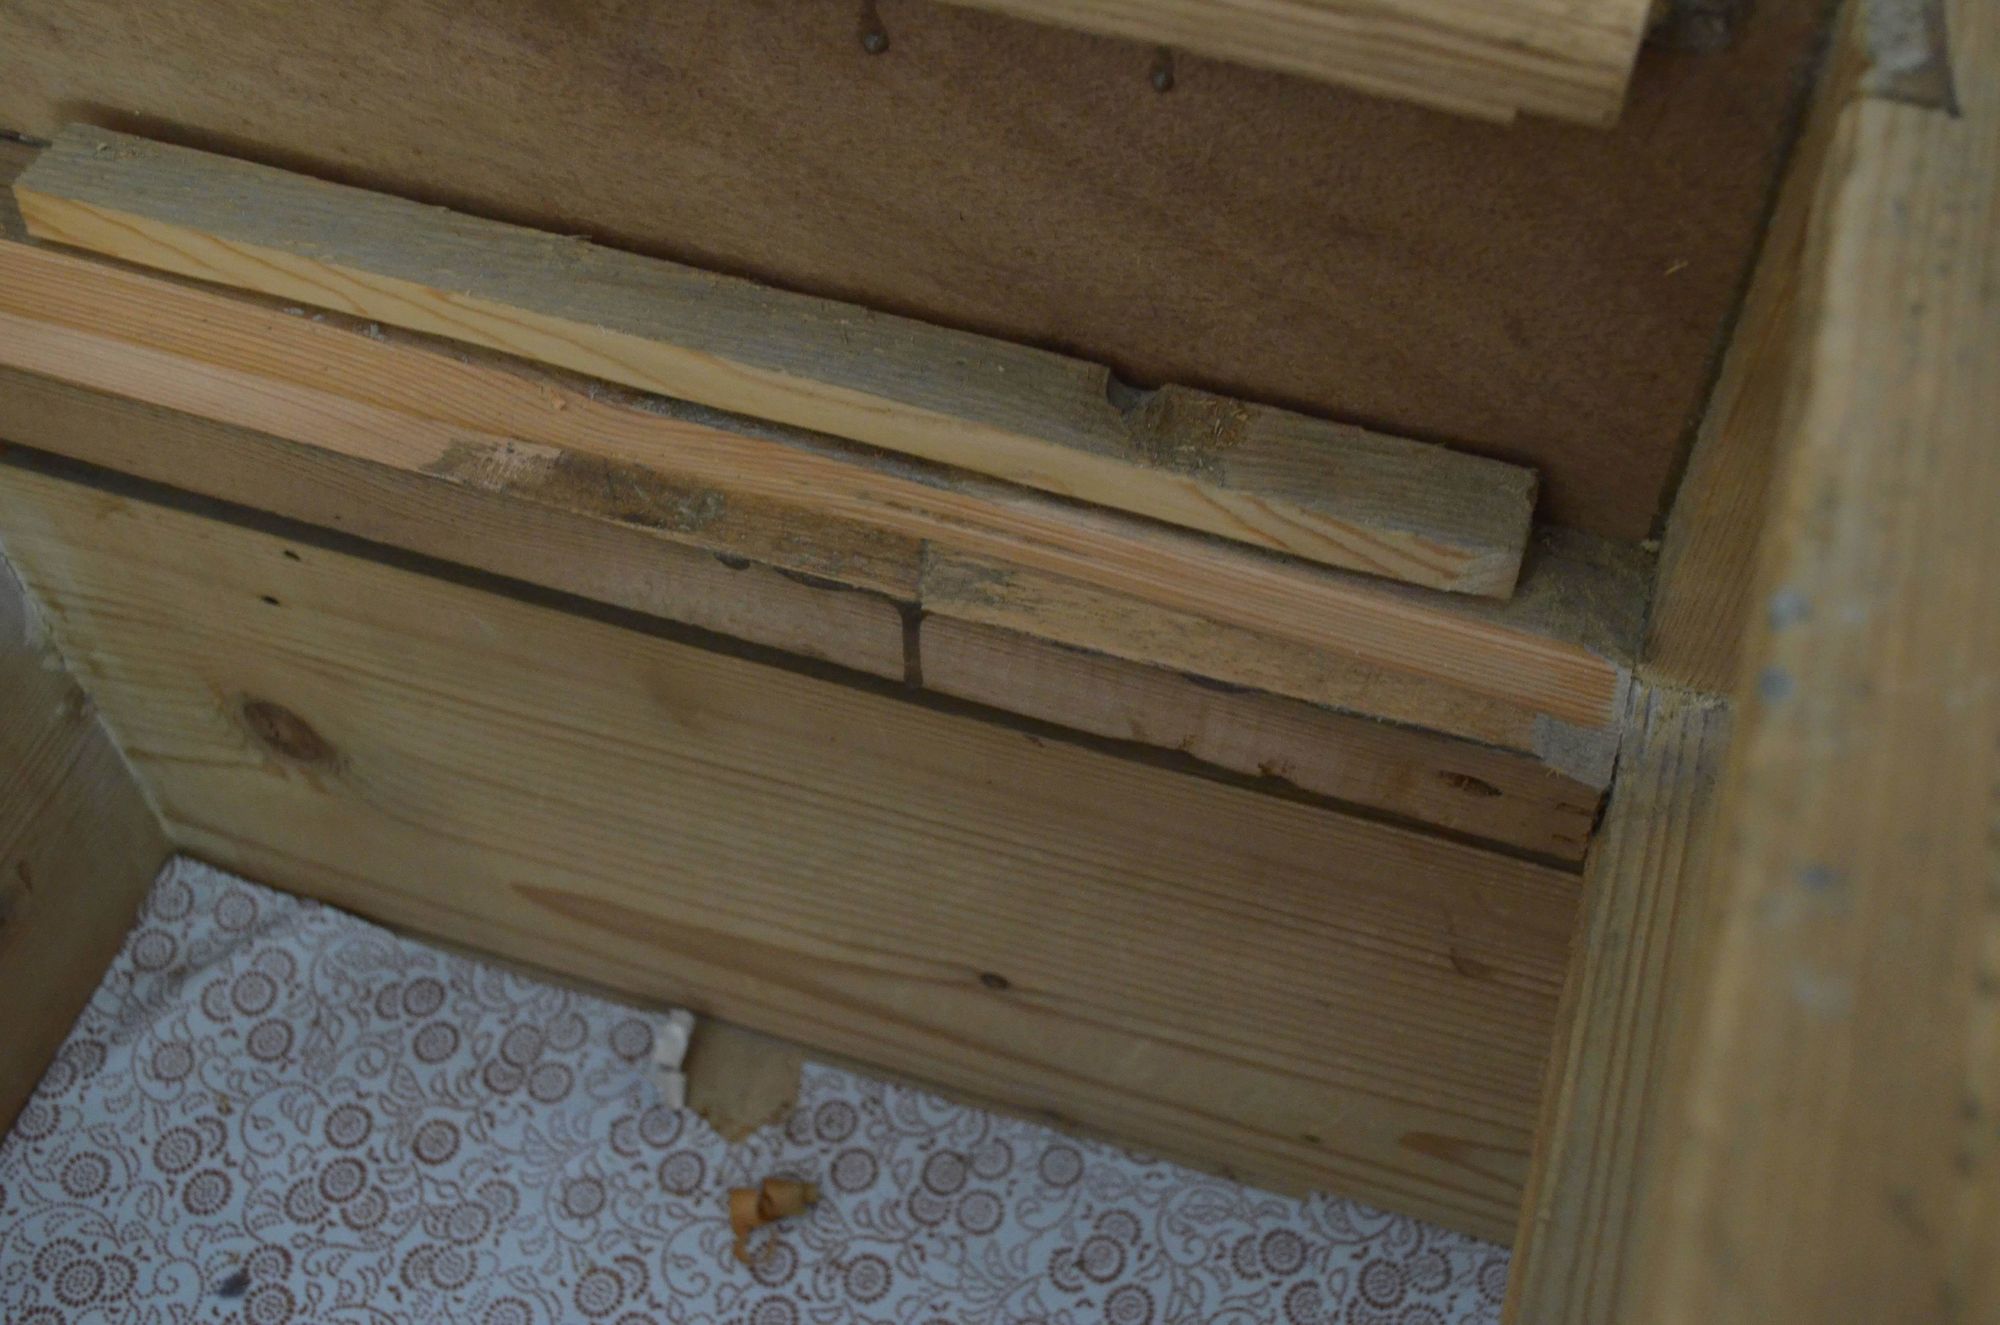
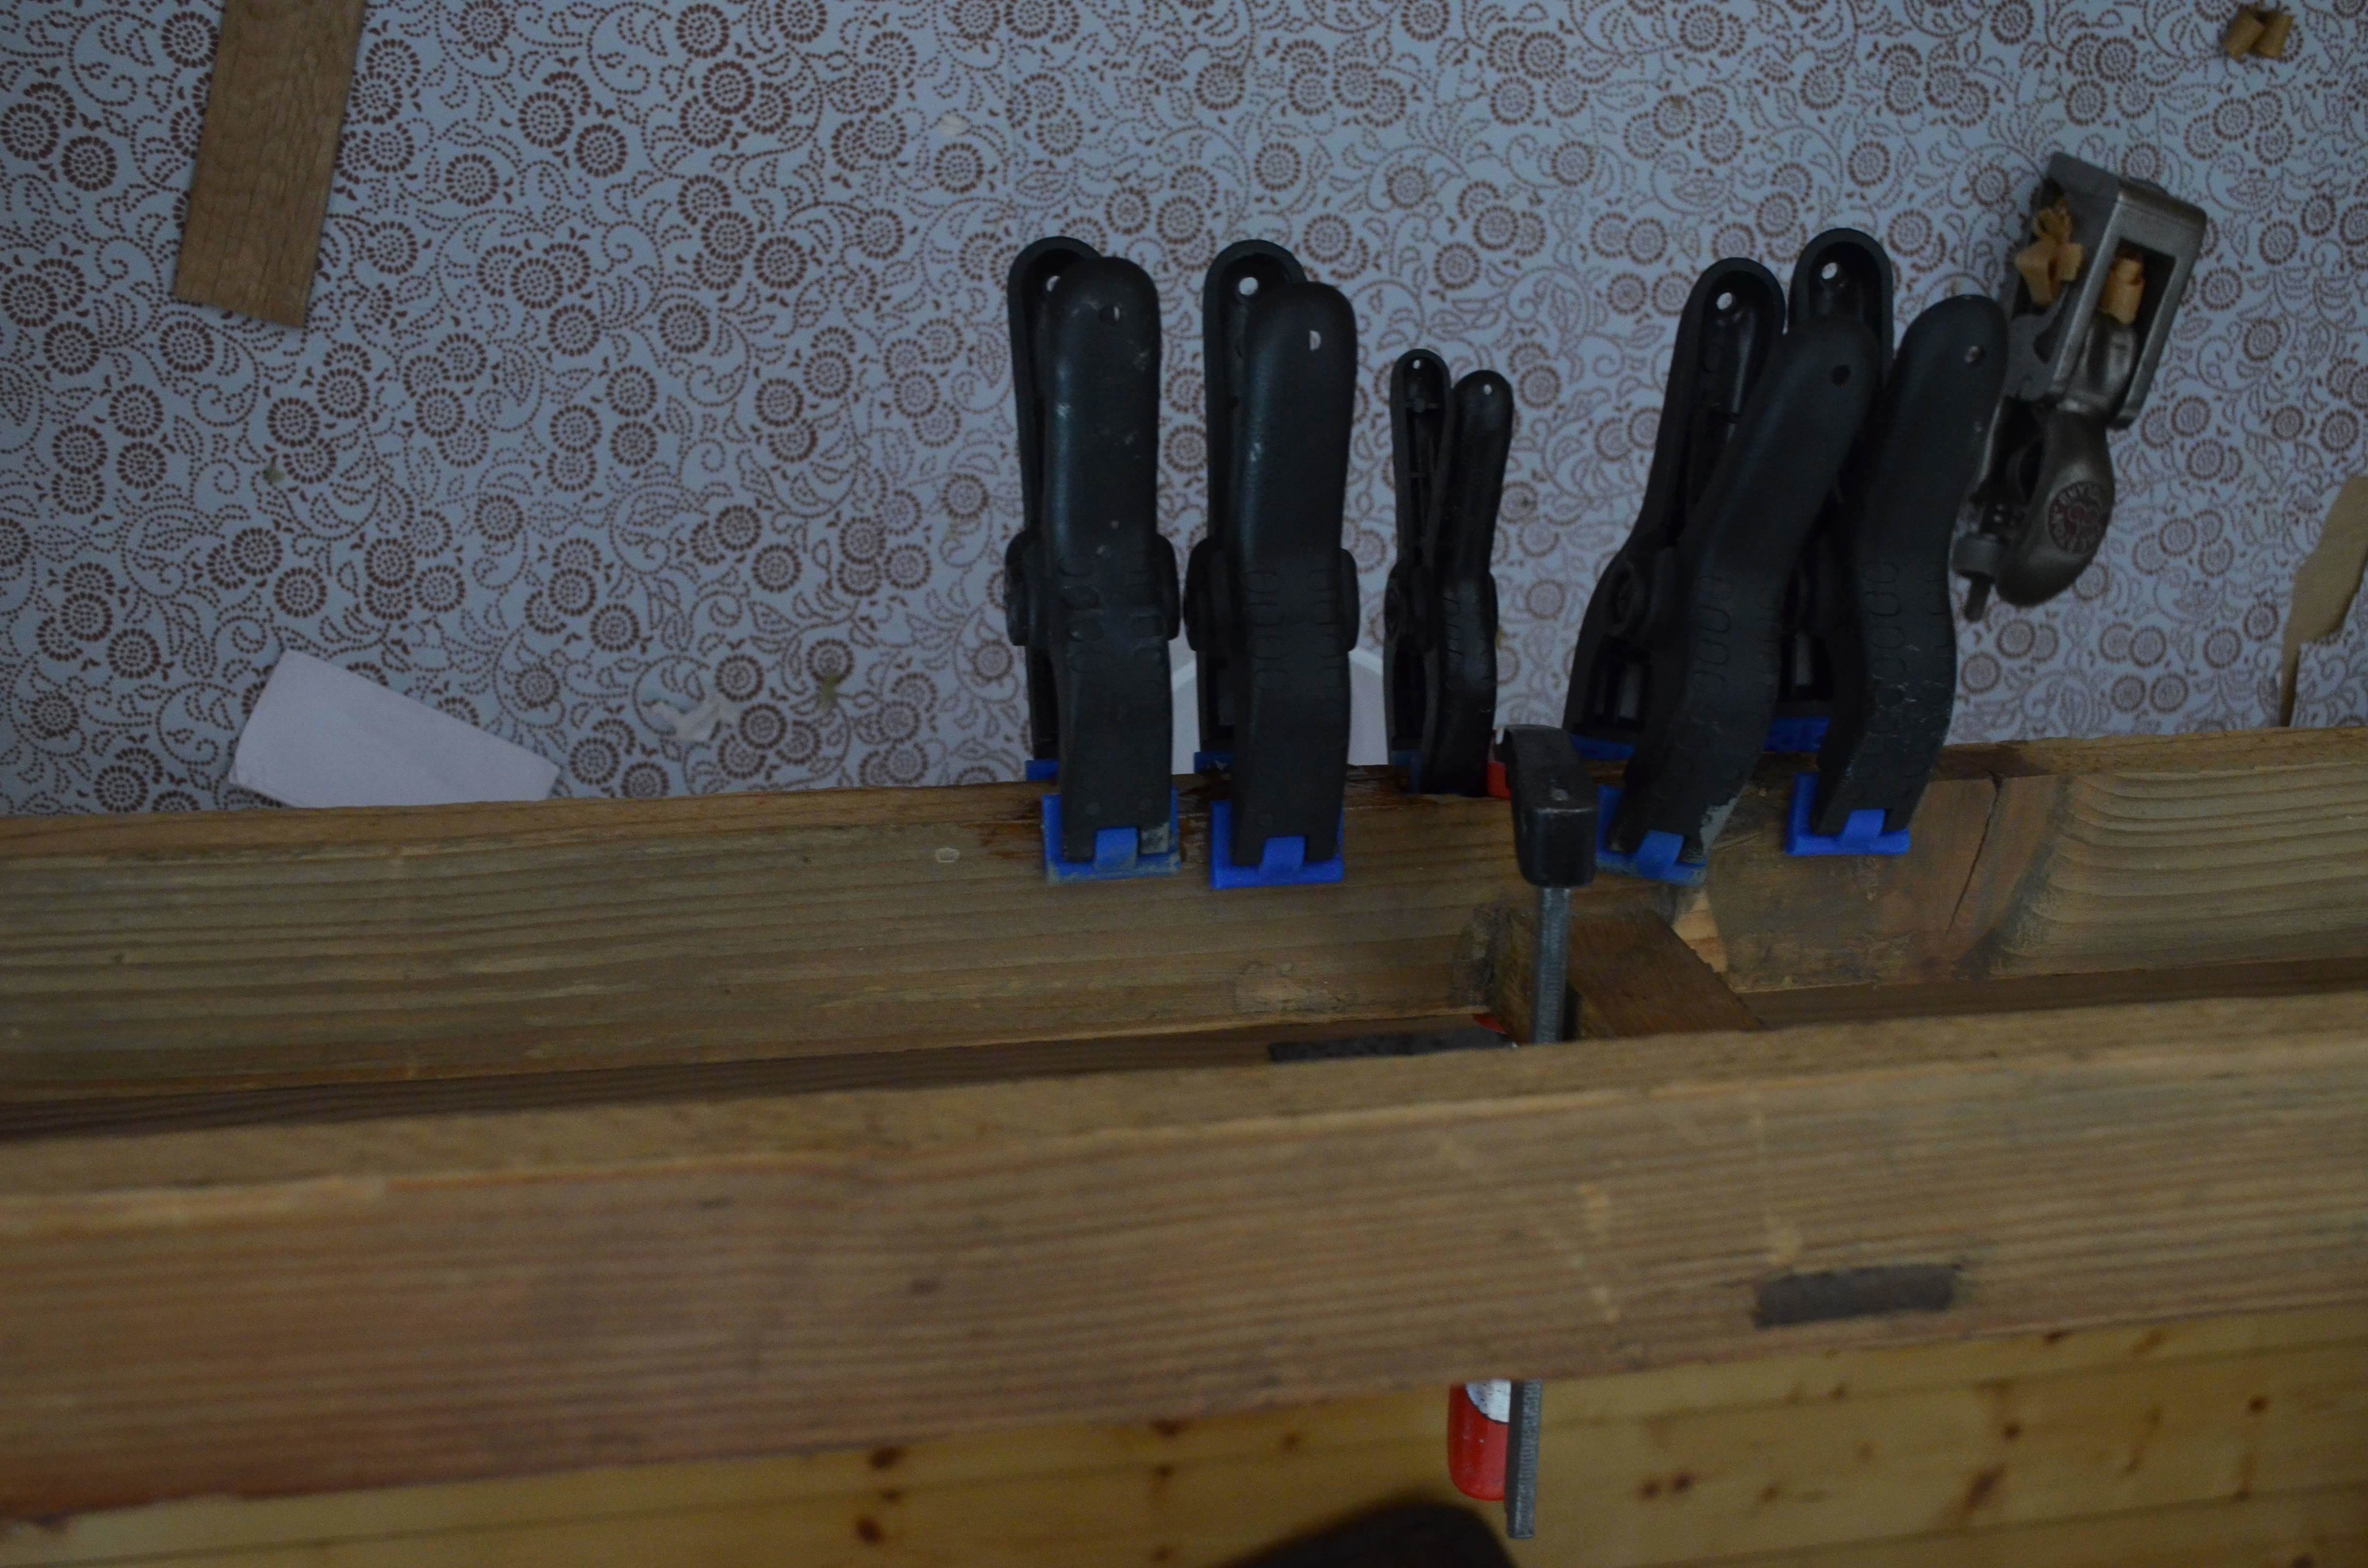
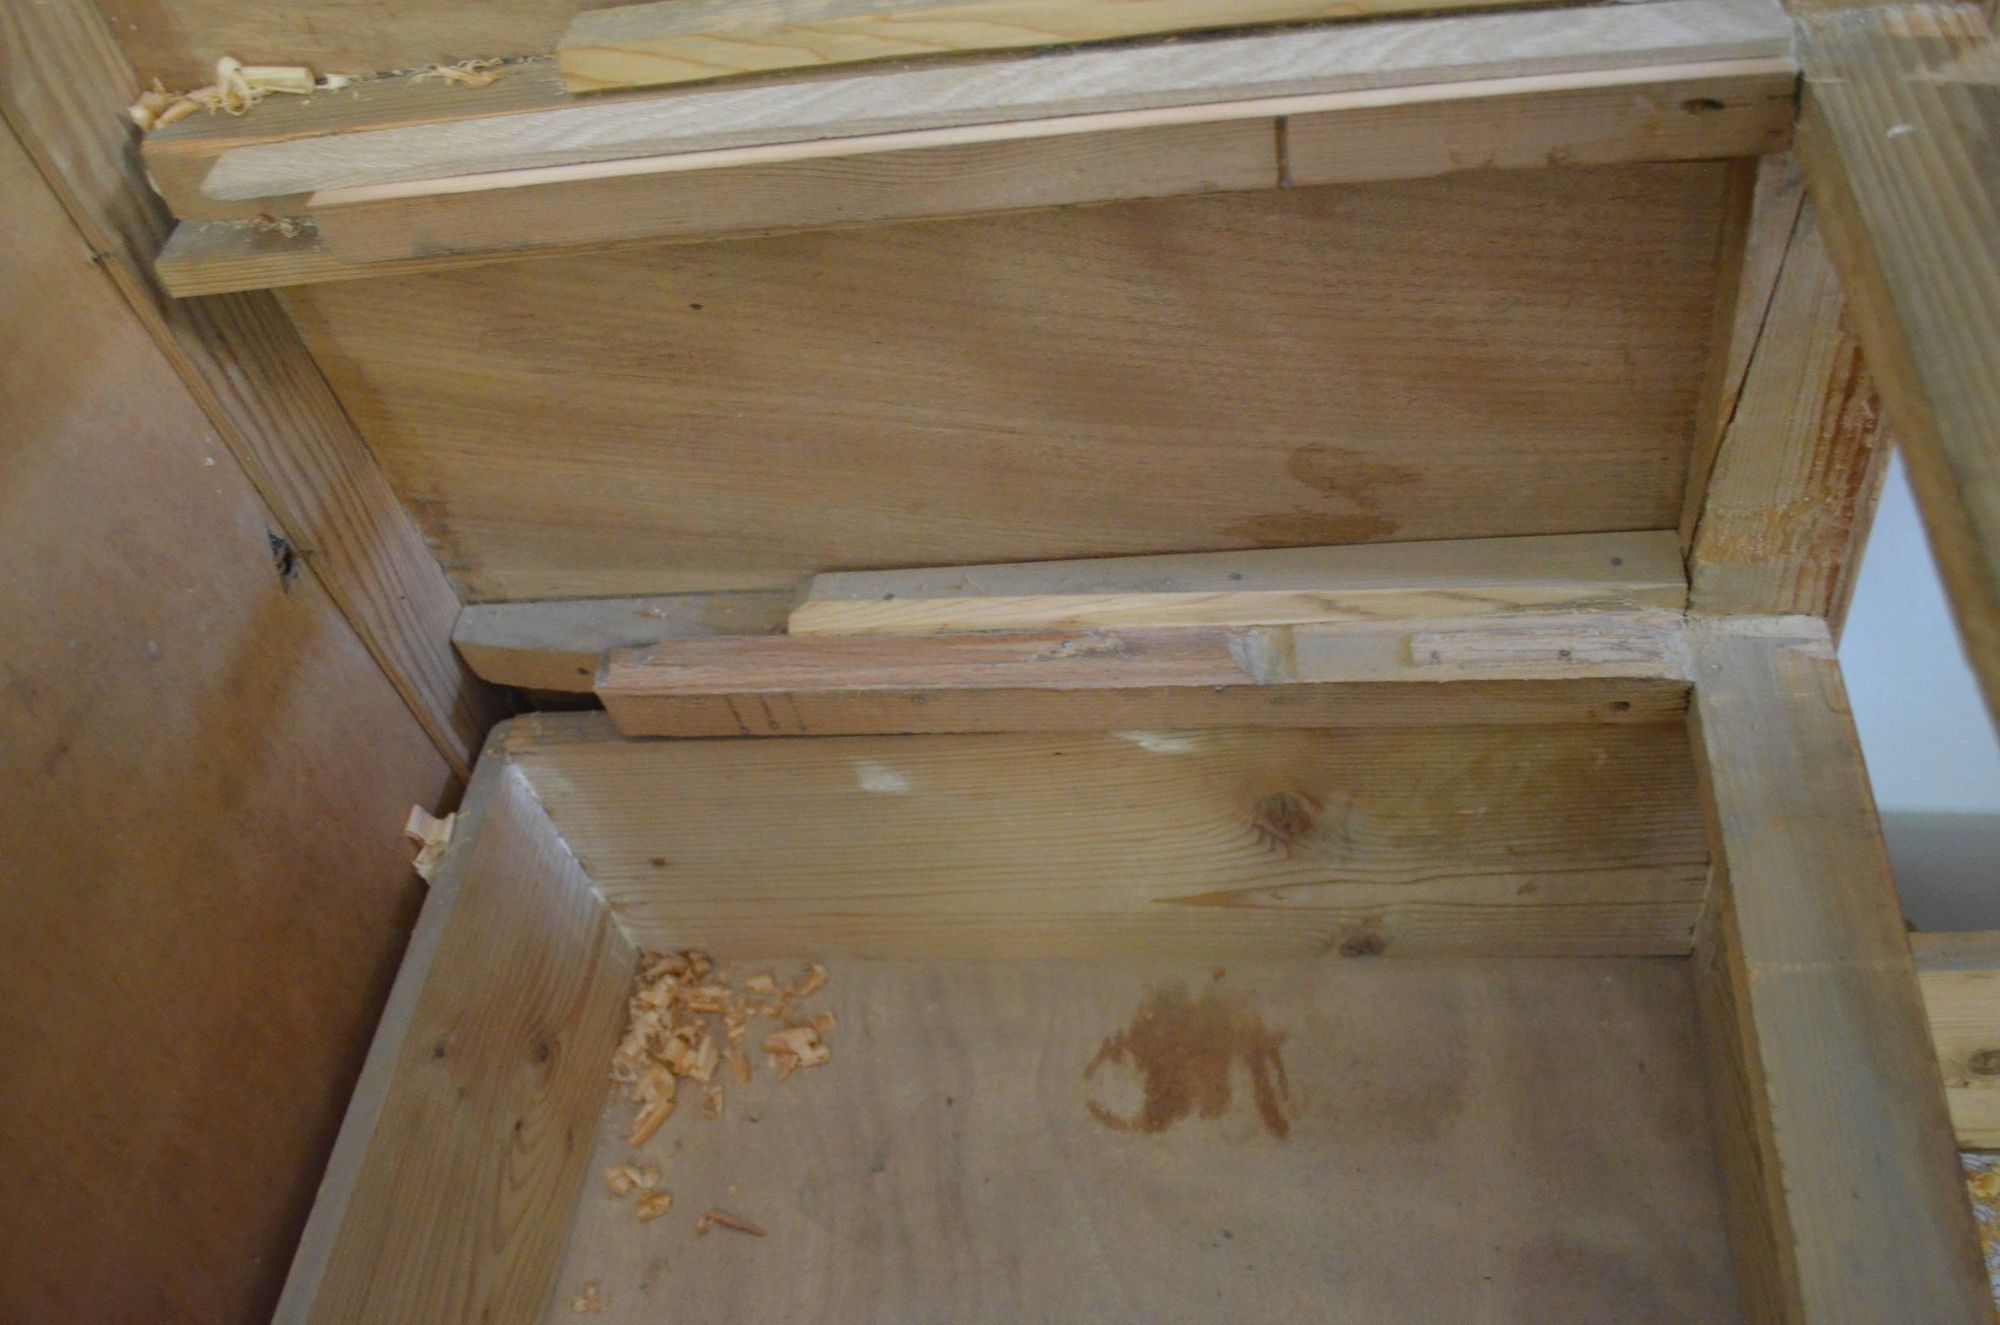
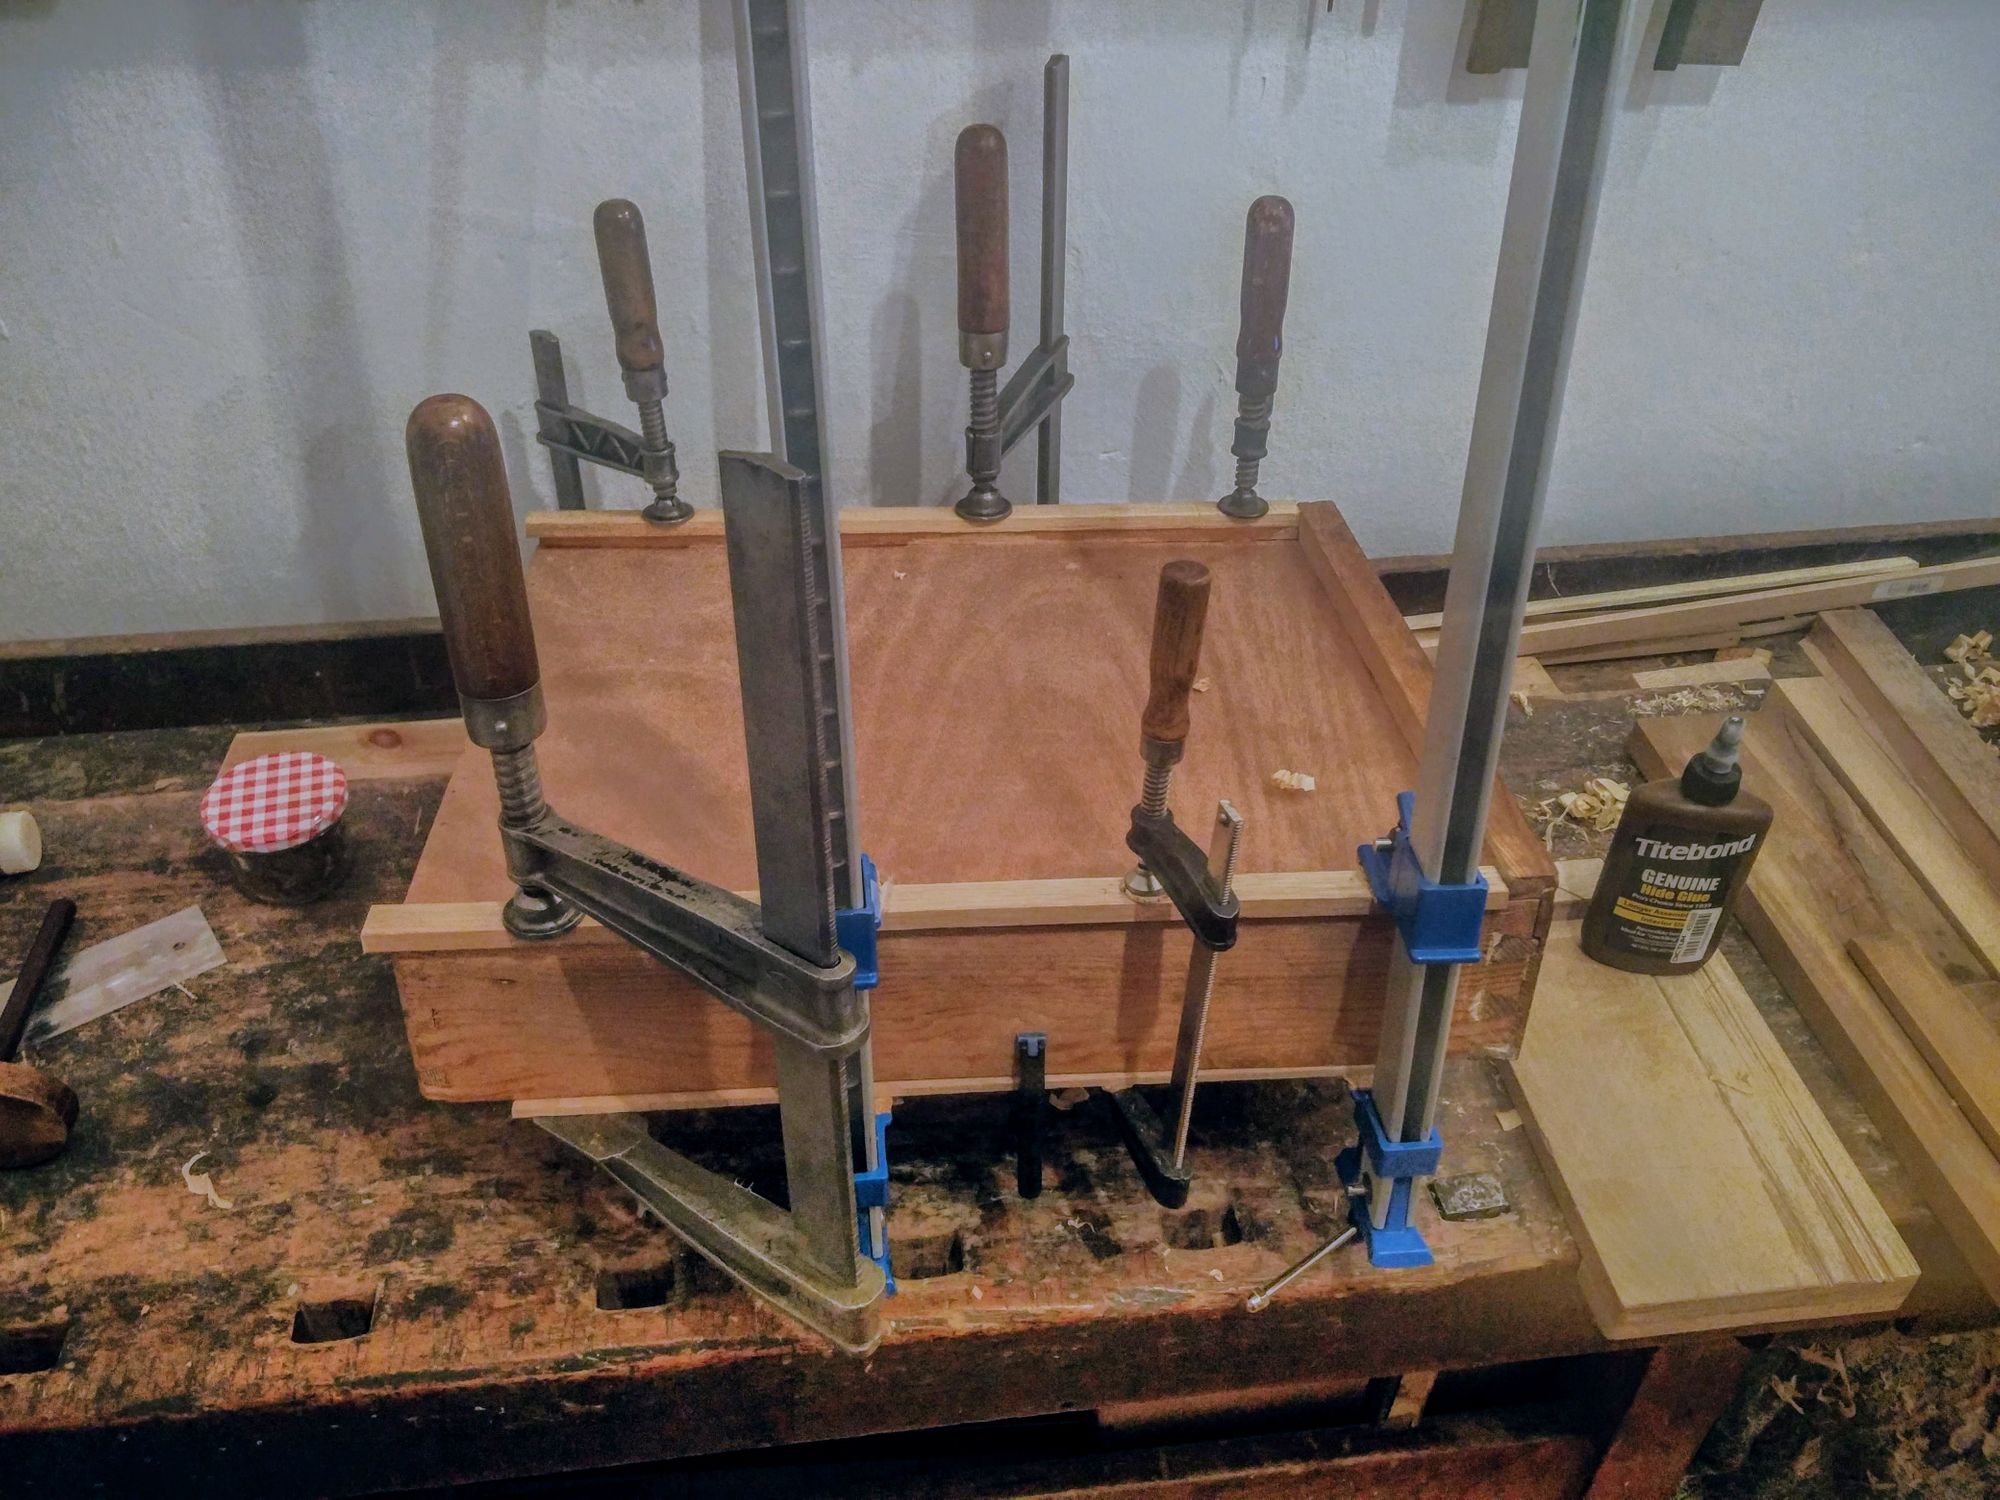
New runners

To repair the runners, I glued strips of hardwood of roughly the right height to lift the drawers, enough to slide and close properly again. I had oak and beech at hand, which should extend the chest of drawers' life for many more years of service.
What the pictures do not capture is that this was the most tedious part of the restoration.
Every drawer involved an excruciating trial and error dance, in which the fit would be tested, then a few mils from the runner strip would be planed off, and then the fit tested again. Rinse and repeat, until the drawer would slide smoothly without binding.
The middle stretcher that acts as the runner for the two upper drawers can also be seen in these pictures. The original was bent and worn in such a way that I had to discard it and build a new one. It is fitted to the front section with a mortise and tenon joint, and a screw at the back. I'm not sure why the back was not also a mortise and tenon for increased strength. I'm guessing it was because it was fitted after the main carcass was put together
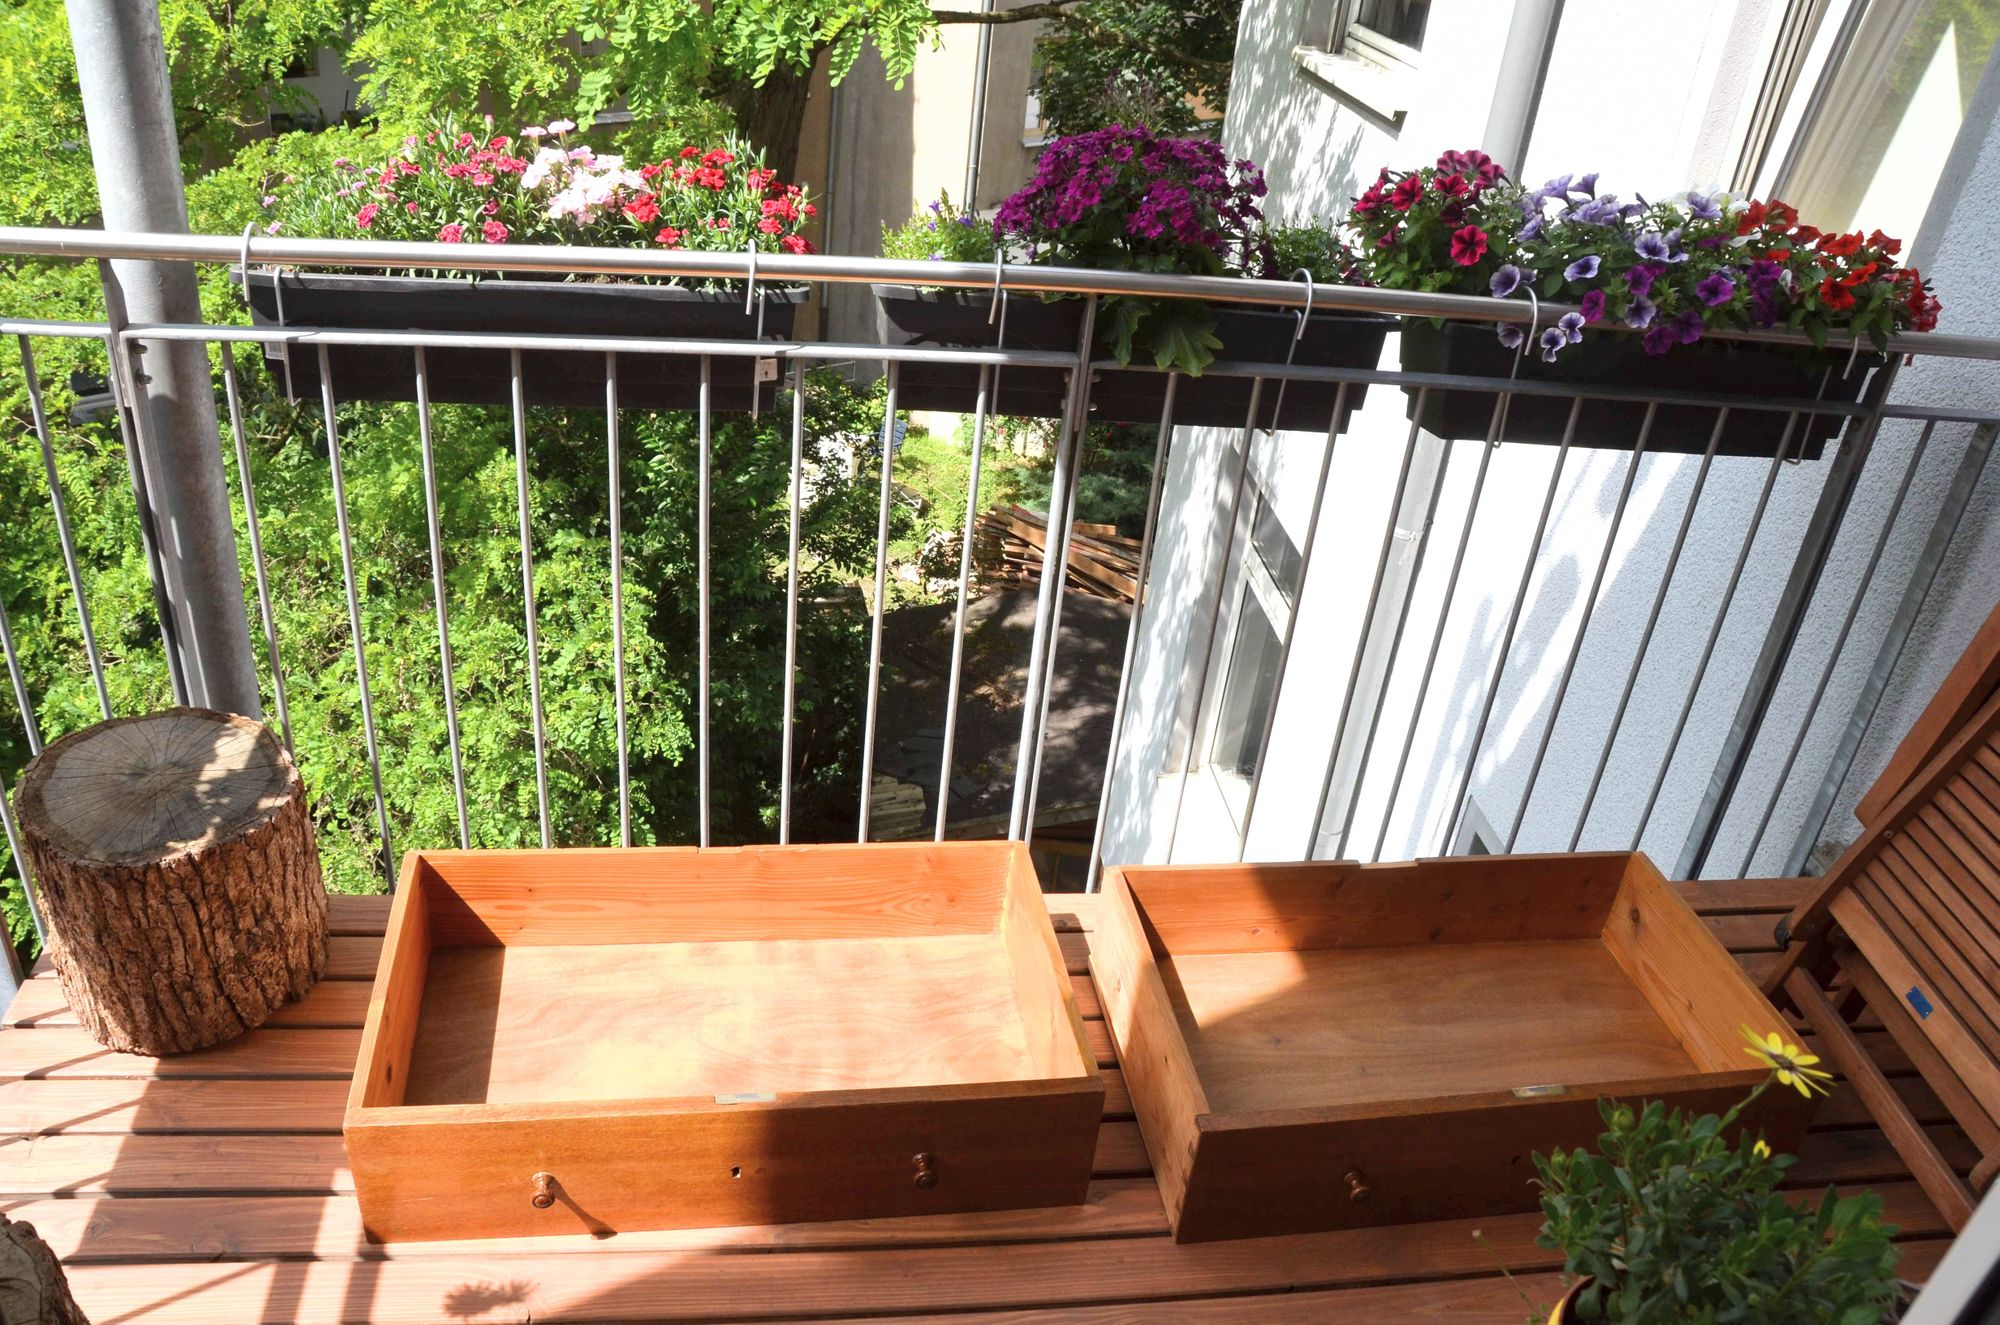
Top drawers

Fixing the top small drawers was much easier than their bigger sibling. One of them had just minimal wear. That was dealt with with a thin strip of pine, planed to size to restore the original drawer height.
The other drawer had lost a fair chunk of the middle section on its bottom, which required some major surgery. I sawed off the bottom at the highest part of the curvature of wear, planed it square, glued oak strips and planed them to achieve the right eight. The Preston 2579, used as a chisel plane, was perfect for planing up to the front piece.
Finish
Applying the finish is always a rewarding moment. It generally marks the point when the hard work is complete and you can sit back and enjoy the result. I applied three coats of blonde shellac for the contemporary look.
And so the restoration was done.
All in all, what could have been a few days of work full time took a span of months, with time stolen from weekends and evenings. Most importantly, still finished ahead of the deadline.
A well remembered kit can shape how supporters talk about a team when collectors use kit details to place a team in a particular period. The matchday image of Ajax is often shaped by the shirt worn in important games and title runs. For collectors looking at classic seasons, Premier League football shirts remains a natural way to describe interest in club apparel without sounding promotional. The wider kit culture keeps the paragraph grounded in football culture rather than simple promotion.
Done